With the holidays fast approaching, Spence and I decided to create a special gift for Every-Tuesday readers this year! Introducing the Winter Watercolor Mini Kit! Below, you can download a kit of winter watercolors as transparent pngs which I painted and Spence enhanced in Photoshop for your holiday needs 🙂 Over the next month and a half, I’ll be sharing tutorials using elements from the mini kit and elements from the full kit available here. Let’s kick this off with a winter watercolor holiday postcard!
Pin it for later!
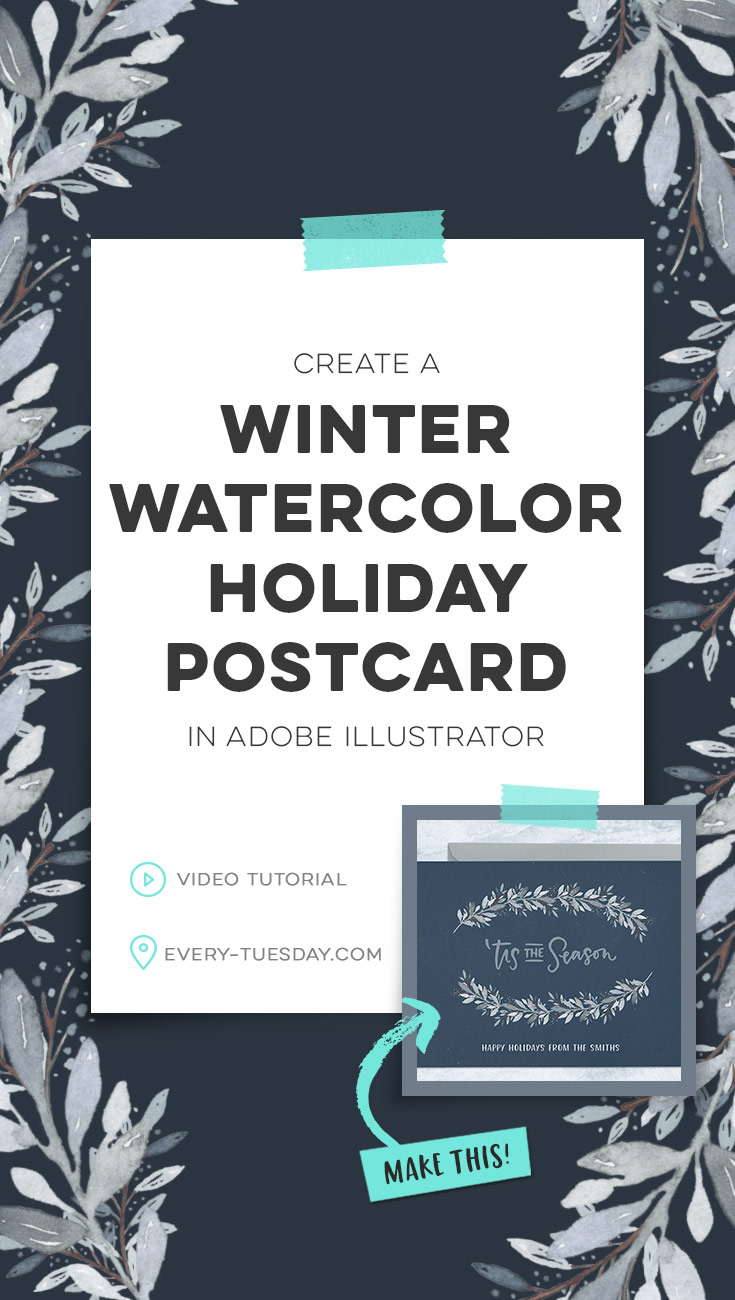
Create a Winter Watercolor Holiday Postcard
Mentioned in this video:
Colors used (RGB):
- dark blue: 70/87/105
- medium blue: 148/159/171
- light blue: 223/226/235
Grab your free winter watercolor mini kit below!
Usage rights for this mini kit: you may use on any personal projects or for any non-profit purposes. If you plan to use these in logos/for-profit business purposes or commercial usages (making items with the mini kit you plan to sell), you’ll need to pick up the extended license of the full kit here.
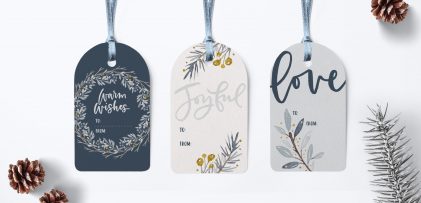
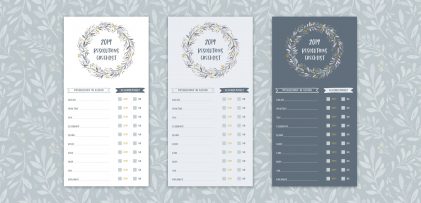
Like the mini kit and want to see more? Here’s a peek at the full kit!

It’s also available on Creative Market here!

Here’s the written version of this tutorial on creating a winter watercolor holiday postcard:
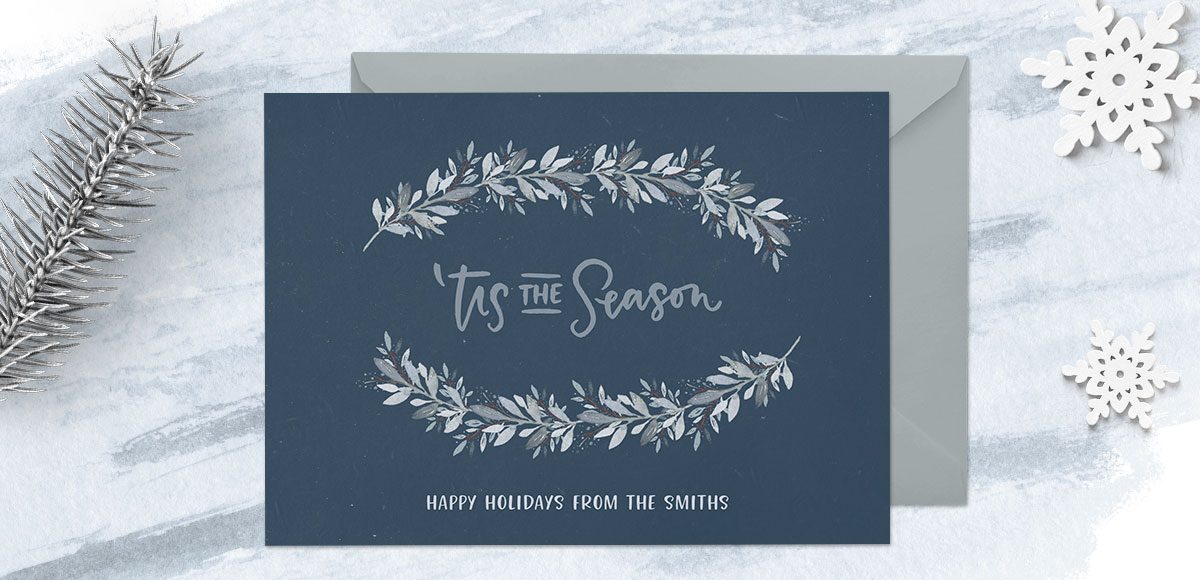
- Create your document (we’re using 7″x5″ here, RGB, 300ppi with a .125″ bleed on all sides).
- Place your lettering centerpiece in and lock its layer. Create a new layer for your artwork.
- Create an ellipse around your lettering to use as a guide and lock it. Place in elements you’d like to use for your half wreath.
- Begin creating your half wreath by placing your main element along the path first, then supporting it with contrasting, simple elements beneath it.
- Once finished, group all of your wreath elements together, reflect over the horizontal axis, then the vertical axis and position at the bottom of the ellipse guide.
- Delete your ellipse guide, add in a background, move your lettering to the top and recolor as desired. Add custom text beneath the wreath/lettering combo.
- Save as an illustrator file, then save as a pdf file with trim marks. Uncheck ‘Preserve Illustrator Editing Capabilities’ to reduce the size of your pdf without compromising quality.
- Print on your favorite photo paper or cardstock, cut out + done!
Download your free Winter Watercolors Mini Kit!

Where should we send your Winter Watercolors Mini Kit?
Receive special offers on courses + products, a new design file every month plus instant access to the Resource Library!

Pick up over 50 design + lettering files as our gift to you when you join the Tuesday Tribe for free!
error
Congrats!
Please check your email to confirm.



Helen | November 27, 2018
|
Hi, I’ve been hibernating and have just seen your beautiful pregnancy photo. Congratulations, I wish you both all the best. What a lovely way to start the New Year. xxx
Teela | Author | November 28, 2018
|
Thanks so much, Helen! ❤️
Wendy | November 27, 2018
|
Hi Teela!
Newbie question here: When I’m trying to place the text from the mini kit, I don’t know how to just grab one of the text groups. When I “File, place,” they all come in together, and I don’t see how to unlock or ungroup them to pick just one. I’m sure the solution is super obvious, so I apologize. TIA! 🙂
Teela | Author | November 28, 2018
|
No prob! Open up the lettering Illustrator file (double click it to open in Illustrator), then you can just copy and paste what you need from that file into your design file 🙂
Wendy | November 28, 2018
|
THX SO MUCH!! I appreciate your help!! Also, congrats on your pregnancy!! <3