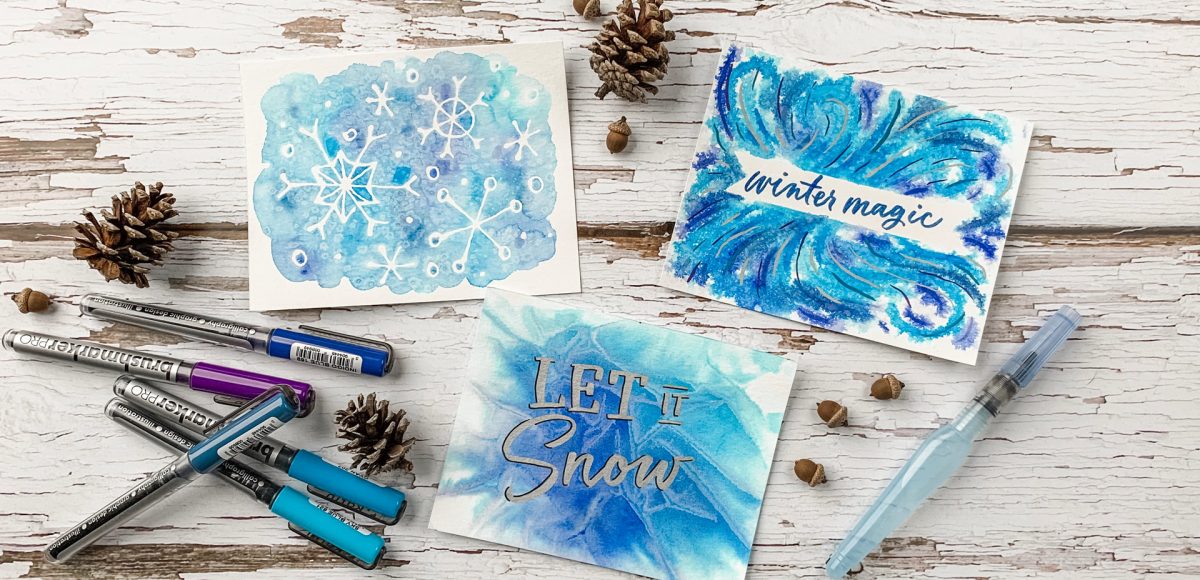
When I received these Karin markers a few weeks ago, I obsessively played with them for days on end. Unlike other watercolor markers I’ve tried, these ones were packed with pigment, so easy to use and blended like a dream with water. The more I experimented, the more I was drawn to all the incredible textures you can achieve with them! In this week’s tutorial, I’m sharing 3 winter watercolor texture tricks you can use for cards + holiday artwork! Read on for the full tutorial + supply list!
Pin it for later!
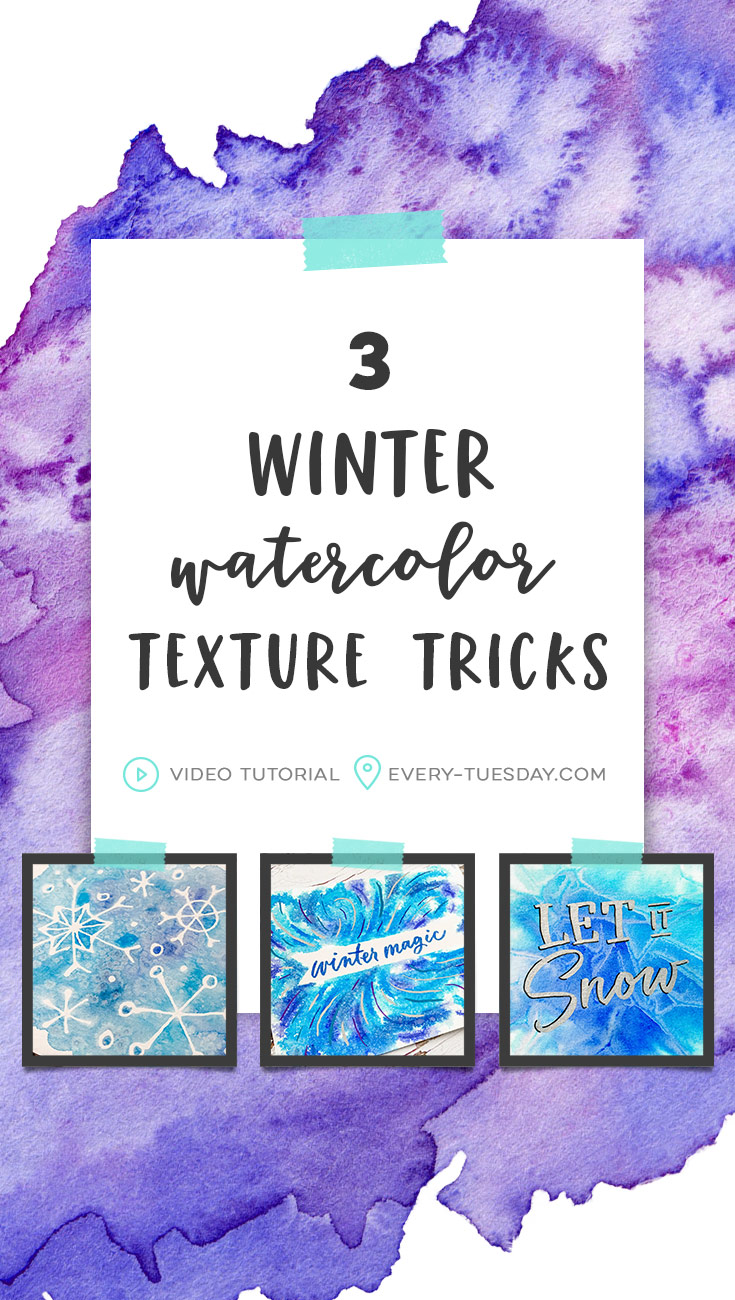
3 Winter Watercolor Texture Tricks
Supplies used in this video (for all 3 tricks):
Trick 1:
- Pentel waterbrush (small)
- Masking fluid
- table salt
Trick 2:
- Karin Deco Brush Markers
- Artists’ Tape (or washi tape)
- 2.5oz spray bottle
- table salt
- scissors
Trick 3:
- Karin Deco Brush Markers
- Tombow Monoline pens
- Seran wrap
- 2.5oz spray bottle
- Shadow/Highlight cheatsheet (pdf)

Here’s what we did to create the 3 winter watercolor texture tricks:
Trick 1:
- Use your masking fluid to draw snowflakes directly onto the watercolor paper. Once fully dry, use the watercolor brush pen to paint splotches of different color all over the paper.
- Grab your waterbrush and blend the splotches together, using an almost circular motion. Work quickly to keep the paper wet.
- Add a few sprinkles of salt on top and allow to fully dry. Once dry, rub off the remaining grains of salt and peel up the masking fluid. Done!
Trick 2:
- Using Artist Tape or washi tape, cut a ribbon shape to fit within the size of your watercolor paper. Affix the ribbon and then tape the watercolor paper onto your cutting mat.
- Draw swirls or any design you’d like using the brush pens. Once finished, spray with the salt water mixture (1/2 tbsp to 2.5oz water). Allow to fully dry. If you’d like to make any areas darker, you can add another layer (as shown in the video).
- Once dry, add extra metallic details using the Deco Brush pens, following the same flow and movement of the original swirls. Peel up the ribbon and add lettering to the negative space. Done!
Trick 3:
- Cut a piece of seran wrap large enough to cover the size of your watercolor paper. Place on top of your paper and brush scribbles of color that fit within the size of the paper directly onto the seran wrap. Set aside.
- Affix your watercolor paper to your cutting mat. Spray with the salt water mixture from trick 2 until the paper is shiny, but not soaked.
- Place the seran wrap color side down onto the wet watercolor paper. Push the color around until you’re happy, then create wrinkles with the seran wrap to mimic large crystal angles. Allow to dry.
- You can let it dry completely (a few hours or overnight) for crisp angles, or remove the seran wrap sooner (after 10-15 mins) for softer edges (as shown). If you remove the seran wrap early, after it’s removed, let it continue to fully dry.
- Once dry, apply your lettering! Done!
Receive special offers on courses + products, a new design file every month plus instant access to the Resource Library!

Pick up over 50 design + lettering files as our gift to you when you join the Tuesday Tribe for free!
error
Congrats!
Please check your email to confirm.
You May Also Enjoy
 3 Watercolor Texture Tricks Using Brush Pens Posted in Tutorials, Color, Textures, Beginner, Watercolor
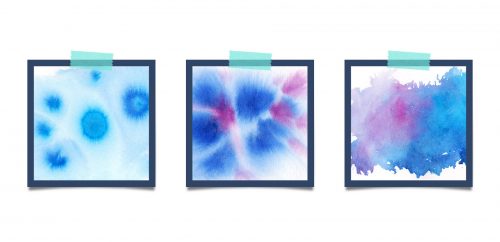 3 Simple Tricks for Unique Watercolor Textures Posted in Tutorials, Color, Textures, Crafts
 3 Blending Effects using Metallic Watercolors Posted in Tutorials, Hand Lettering, Color, Crafts, Beginner, Watercolor
 3 Easy Watercolor Lettering Effects Using Brush Pens Posted in Tutorials, Hand Lettering, Crafts, Beginner, Watercolor
No comments