May 2015

You know how you see Christmas decorations when it’s only Halloween? I feel kind of like that with sharing a free printable Father’s Day card today. Well, we are less than a month out, so it’s not as crazy as the Christmas in October shenanigans, so I think we’re cool. I gave away the free Mother’s day card two weeks before the holiday and it had such a great response, I felt bad I hadn’t shared it sooner. So! To make sure the option for a free semi-diy Father’s Day card is on the table earlier on, here it is, along with your 3 week notification the holiday is coming 🙂

It’s that time of the year when there are a bunch of events to celebrate: graduations, weddings and anniversaries from weddings before. Confetti is obviously a must have, real and digital. 🙂 That’s why we’re creating our own digital custom confetti brush in Photoshop in this week’s video tutorial! We’ll create the shape of our confetti, adjust color at the slide of a knob, and even control how much it scatters in a few quick and easy steps. Prepare to start confetti-tizing all of your digital celebration themed work from here on out 🙂 Let’s get started!

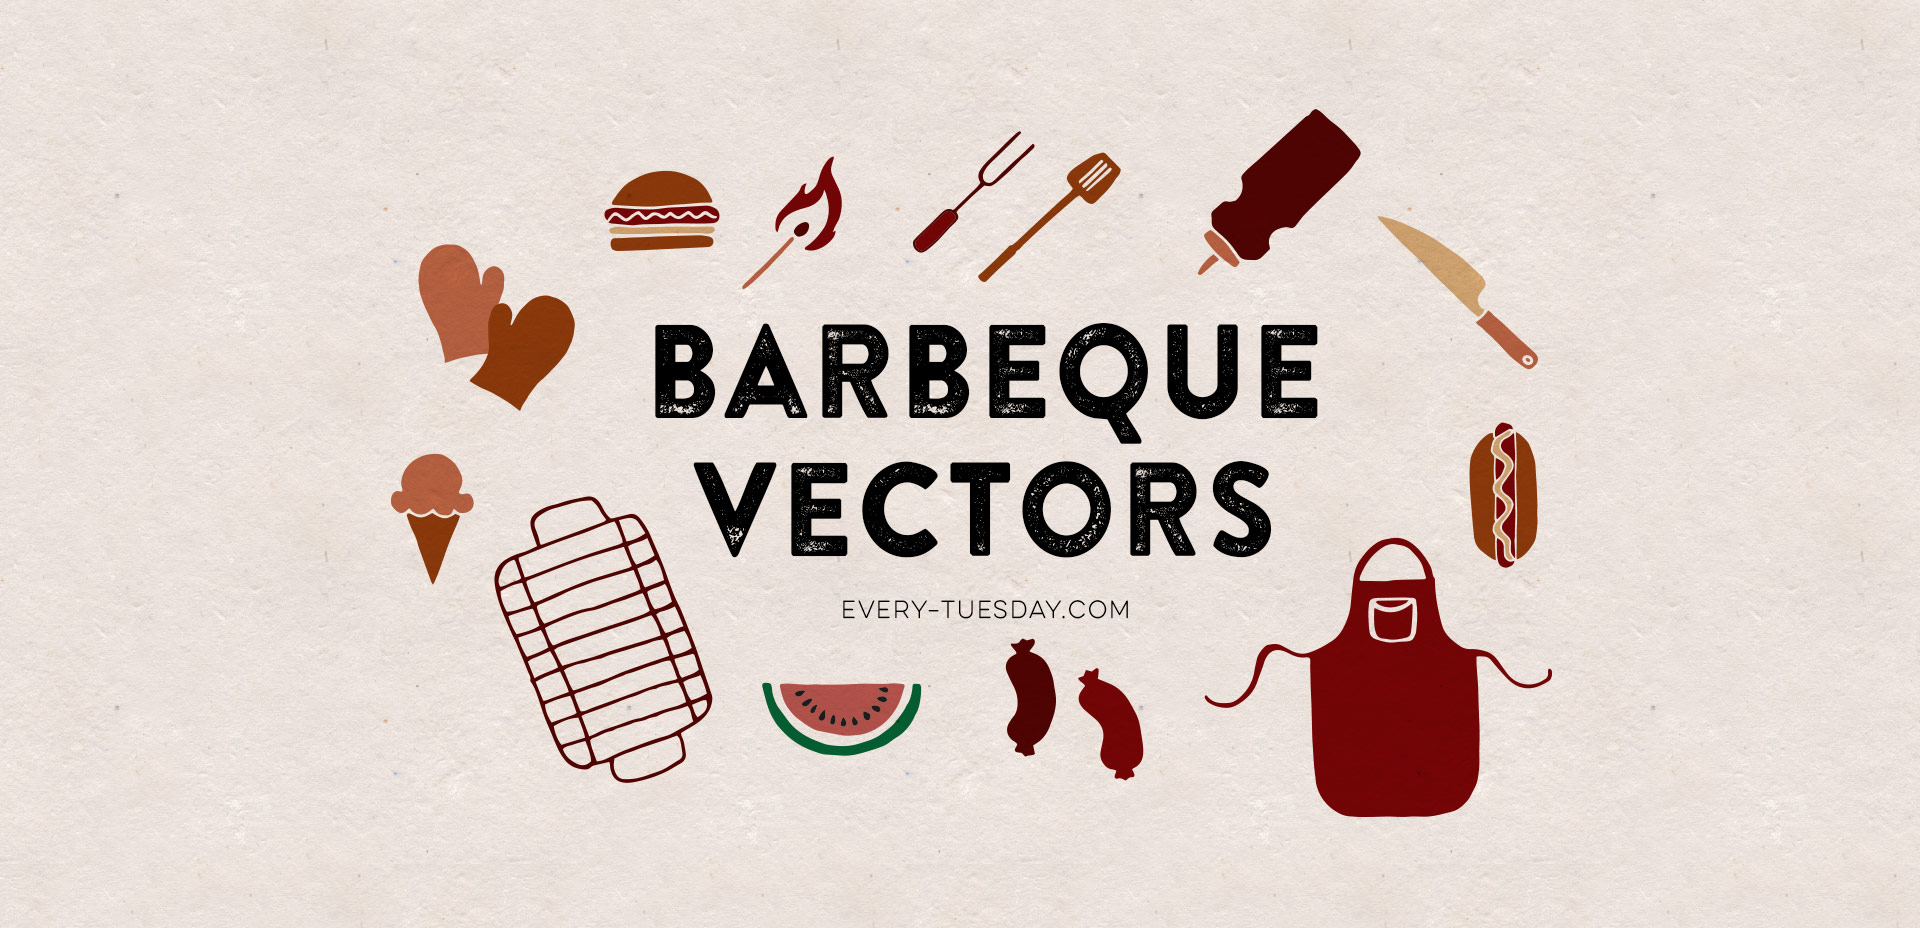
If you’re throwing a BBQ or are in need of some summer get-together themed vector elements, this week’s freebie is a set of hand drawn BBQ vectors! Slap them on your homemade sauce and marinades, create some party coasters, rubber stamp them on napkins, or stick them in your facebook BBQ party invite. Whatever you use them for, you’ll be able to ring in summer better than all of your friends. 🙂 Read on for the free download link!

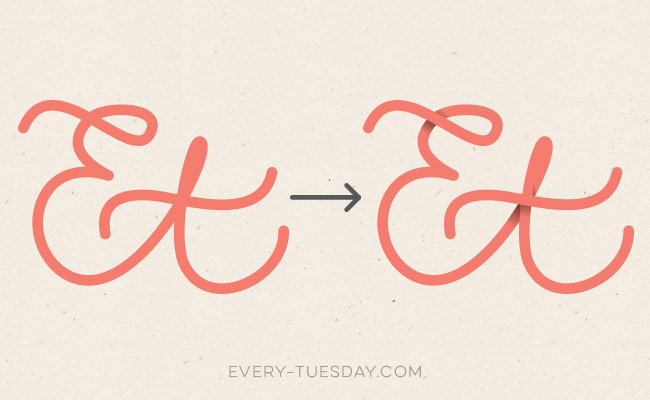
Happy Tuesday! I thought I’d add a more advanced tutorial to the mix since we’ve really laid all the foundation in earlier tutorials. Plus, this one’s really fun and with just a few quick steps, you end up with a pretty cool outcome. In this week’s video, we’ll add vector dimension to typography by taking some hand lettering created with the Wacom tablet (like in this or this tutorial), and we’ll add vector gradients to simulate shadows to bring in that vector dimension. The end result is a 3d looking piece of your own typography, plus you can use the same technique for any kind of artwork, not just typography – think logos, patterns, icons and illustrations! Let’s get started!

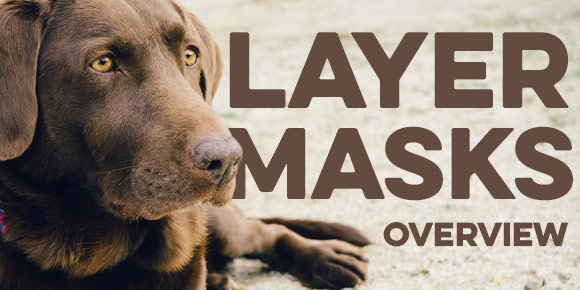
Hope you’re having a great week! I had a rough start to mine, but it’s finally coming around – almost Friday! Anyway, today we’re talking about a sometimes confusing subject: photoshop layer masks. I realize it’s not the sexiest topic ever, but I can’t stress enough how important it is to understand and use them. I was actually so scared of layer masks that I went through my entire 4 year degree avoiding them. I cringe thinking about all the extra work I made for myself in my college days. I’m still not sure what sounded so scary about them, but I’m so glad I got over my layer mask-ophobia because I’ve been empowered to create and edit images and artwork quickly and non destructively in photoshop ever since. Here’s a quick, everything-you-need-to-know-to-avoid-confusion overview 🙂

Hope your weeks are going well and if they aren’t, tomorrow’s Friday! I have a little survey favor to ask if you can spare (literally) 10 seconds today (please don’t cringe!). Every week, I try to think of things I wish I would have known when I was first getting started or while I was fully established in my career. I want to make this site as helpful as possible for anyone feeling unsure, intimidated or just wanting to learn a little more about being in the field or designing new work. I’m playing around with the idea of creating a full course on a design topic so things can go a little deeper than a 15 minute vid. Obviously this would be a big time commitment, so I’d like to make sure I spend that time on a topic that will be the most useful to readers of this blog. So! My little survey is only one question (hence your 10 seconds) which you can answer by clicking the box of your choice below. Thanks so much in advance! Have a great rest of your week with the extra karma I’m sending your way 😉

Happy Tuesday! Hope you all had a great weekend! It was around 80*F all weekend just outside of Atlanta and perfect. Spence and I put new mulch around our home for the first time, added some solar lights to the walk up to the front door and sat on our patio each morning sipping delicious lattes from our recently purchased espresso machine. Wish we could do that every day 🙂

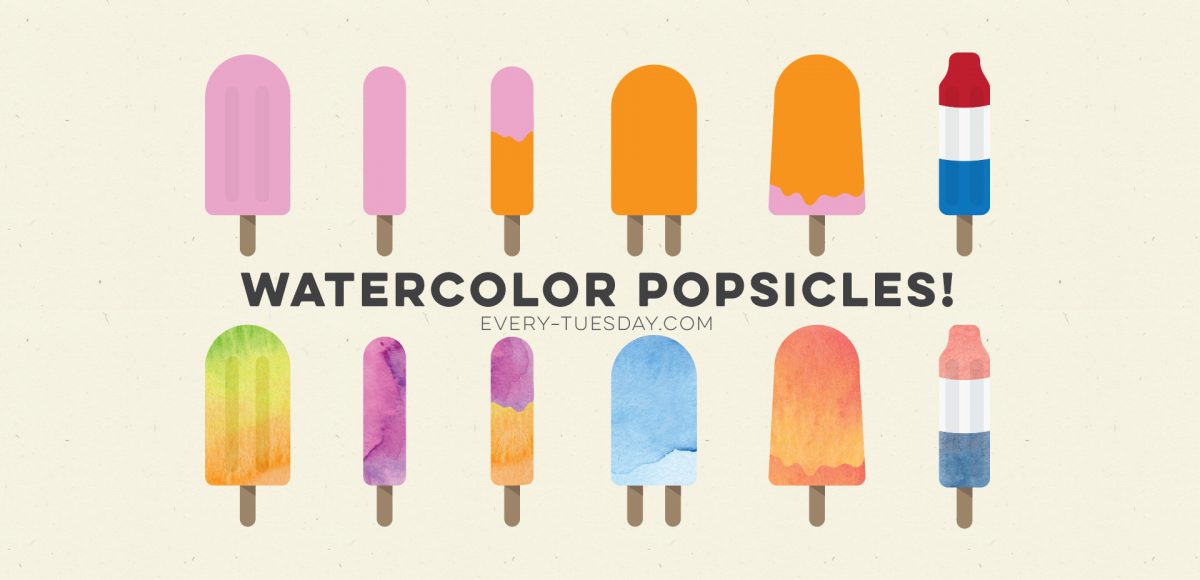
With it getting warmer out and summer noticeably on the way, I was thinking after completing the yard work this weekend that I could really go for a popsicle! I had a request not too long ago to add a few more cute illustration-type tutorials, so this week, a watercolor popsicle it is! We’ll create everything in Illustrator, then add in some pretty watercolor texture to finish it all off – a popsicle kind of is frozen watercolor if you think about it, so it totally works 🙂 Let’s get started!

GDPR Icon

Your Privacy Matters

We use cookies to customize and create content that’s most important to you. We’ll never share the info we collect.

View Privacy Policy