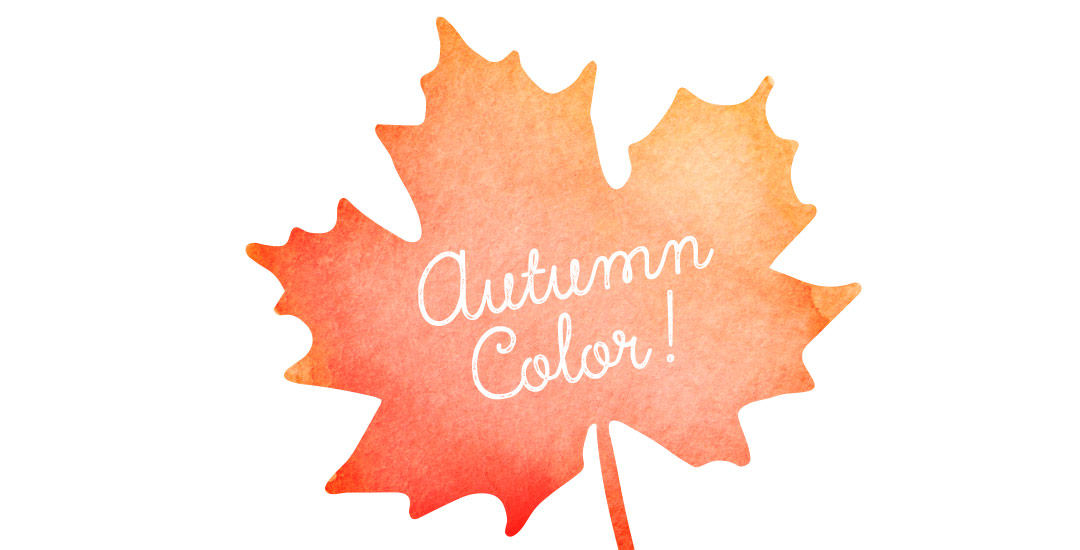
Home2015August

August 2015

Every evening after work, after our hour commute home, after we’re greeted by this little body of wiggles, we eat a quick snack, then head out on a mile walk in our subdivision. It’s my favorite part of every day, and the past two days it’s gotten even better. The humidity of the deep South is slowly departing and when there’s a slight breeze, the sun is setting and the temperature is perfect, I take it all in and am convinced it’s bliss. I’ve always looked at autumn as kind of depressing – leaves dying and impending winter storms – definitely derived from 20 years of severe winters in upstate New York. Even I am surprised how much my attitude towards fall has changed. Now it’s about apple cider, cinnamon brooms, cozy blankets, crisp breezes and that distinct, beautiful smell in the air. Thinking about how soon it’ll be here and the little glimpses I’ve felt on our walks this week, it was time to put together some autumn color schemes for season-specific artwork.

If you’ve been following my Instagram, you know how obsessed I’ve been lately with lettering using a waterbrush! It combines two strong passions of mine – watercolor and typography and I can’t get enough! Since I’ve been experimenting like a crazy woman, I wanted to share some tips I’ve learned over the past few weeks. I’m no expert by any means, but I’ve gotten into a rhythm and I’ve been really happy with how I’ve improved by remembering a few simple things. If this is something you’d like to try, my hope is that this video will save you time, money and supplies. Speaking of supplies, everything mentioned in the video that I’m currently using is listed below the vid 😉 For more on brush lettering with watercolor, check out my master course!

After the Lovebird and Watercolor Popsicles tutorials, I had a few requests to create more illustration-based tuts (if this is something you’d like to see more of, please let me know!). Last week, Tamara made a request for a donut tutorial which I thought would be fun, plus it incorporates quite a few useful techniques I find myself using all the time. So! Even if you don’t have an appetite for some digital donuts, I promise you’ll walk away with something you’ll use many times in the future. In this tutorial, we’ll create 2 different versions of typical donuts in Illustrator utilizing the blob brush, scatter brush, paint streak textures and clipping masks. Let’s get started!

As the summer begins to wind down, things are already feeling busier! I’m finding myself constantly searching for a sheet of paper to scribble notes on, to-do reminders, or phone numbers to call. If this is you too, you might want a prettier sheet of paper to make your list a bit more achievable..I know I do! For that reason, this week’s freebie is a set of 3 watercolor notecard printables – print two notecards per any 8.5″x11″ or A4 cardstock or regular paper. The final printed size for each notecard is 5.5″x8.5″, full preview + download link below!

Happy Tuesday! This week’s tutorial comes courtesy of Jodie who asked a great DIY question I think will help a lot of people. Personal business card printing can get pricey pretty quickly if you’re looking for anything better than a paper thin glossy card (ick). I’ve DIY’d every personal business card I’ve ever made. Yup. And you know what? Even fancy shmancy design studios loved em. So say you’ve designed up a killer card design in Illustrator and don’t want to be wasteful with your paper. Say you also have a back of the card designed that you need to match up to the front when you print on your home printer. What’s the best way to make the most of your paper and have things work out perfectly front to back? In this week’s tutorial, I share how to bulk print DIY business cards using Illustrator to print 8 cards, front and back using one sheet of 8.5″x11″ paper. You can also use the same method in InDesign if you’d prefer using that instead. Let’s go!

Have you ever run into a situation where you know adding a little – just a little bit – of subtle texture could take something you’ve done to the next level? This happens to me allll the time, which is why this week I want to give away a couple of vector mini grit textures. Each texture’s grittiness is on the smaller/finer side to work perfectly with more detailed artwork. And because they’re vector, no matter what you use em on, they’ll never lose resolution and can infinitely scale for any size you need them. Check out a few ways you can use them below!

Happy Tuesday! This week’s tutorial is brought to you by Whitney + Monica who both emailed asking how to vectorize hand drawn doodles so they would have reuseable, and infinitely rescalable vectors. You’ve probably seen vector artwork around a lot lately – I just released a pack of vectors a few weeks ago and gave 5 of them away for free. In this tutorial, using that vector pack as an example, I share how I took those hand drawn elements from a doodle on a sheet of copy paper to a crisp vector that can be used over and over again on any application. Do you remember the how to vectorize hand lettering tutorial? If you’ve practiced that at all, you’ll be in great shape with converting doodles 🙂 In this video, we’ll go over 3 different methods of cleaning up your doodles, so whether you’re a beginner or advanced Illustrator user, there’s an option that will work for you. Let’s get started!

GDPR Icon

Your Privacy Matters

We use cookies to customize and create content that’s most important to you. We’ll never share the info we collect.

View Privacy Policy