Home2017January

January 2017

I realized the other day that I did some short mini vids on Instagram wayyyy back on how to recolor textures in Procreate, but never a tutorial here. Introducing textures into your Procreate work can create some pretty stunning, unique results. Using textures myself led me to offer the procreate watercolor kit and metallic kit, which I still use constantly. The silvers and golds from the metallic kit look stunning, but you can change their colors to anything you’d like! Colors like rose gold and blue glitter are a cinch to make, and in this week’s video, I share how!

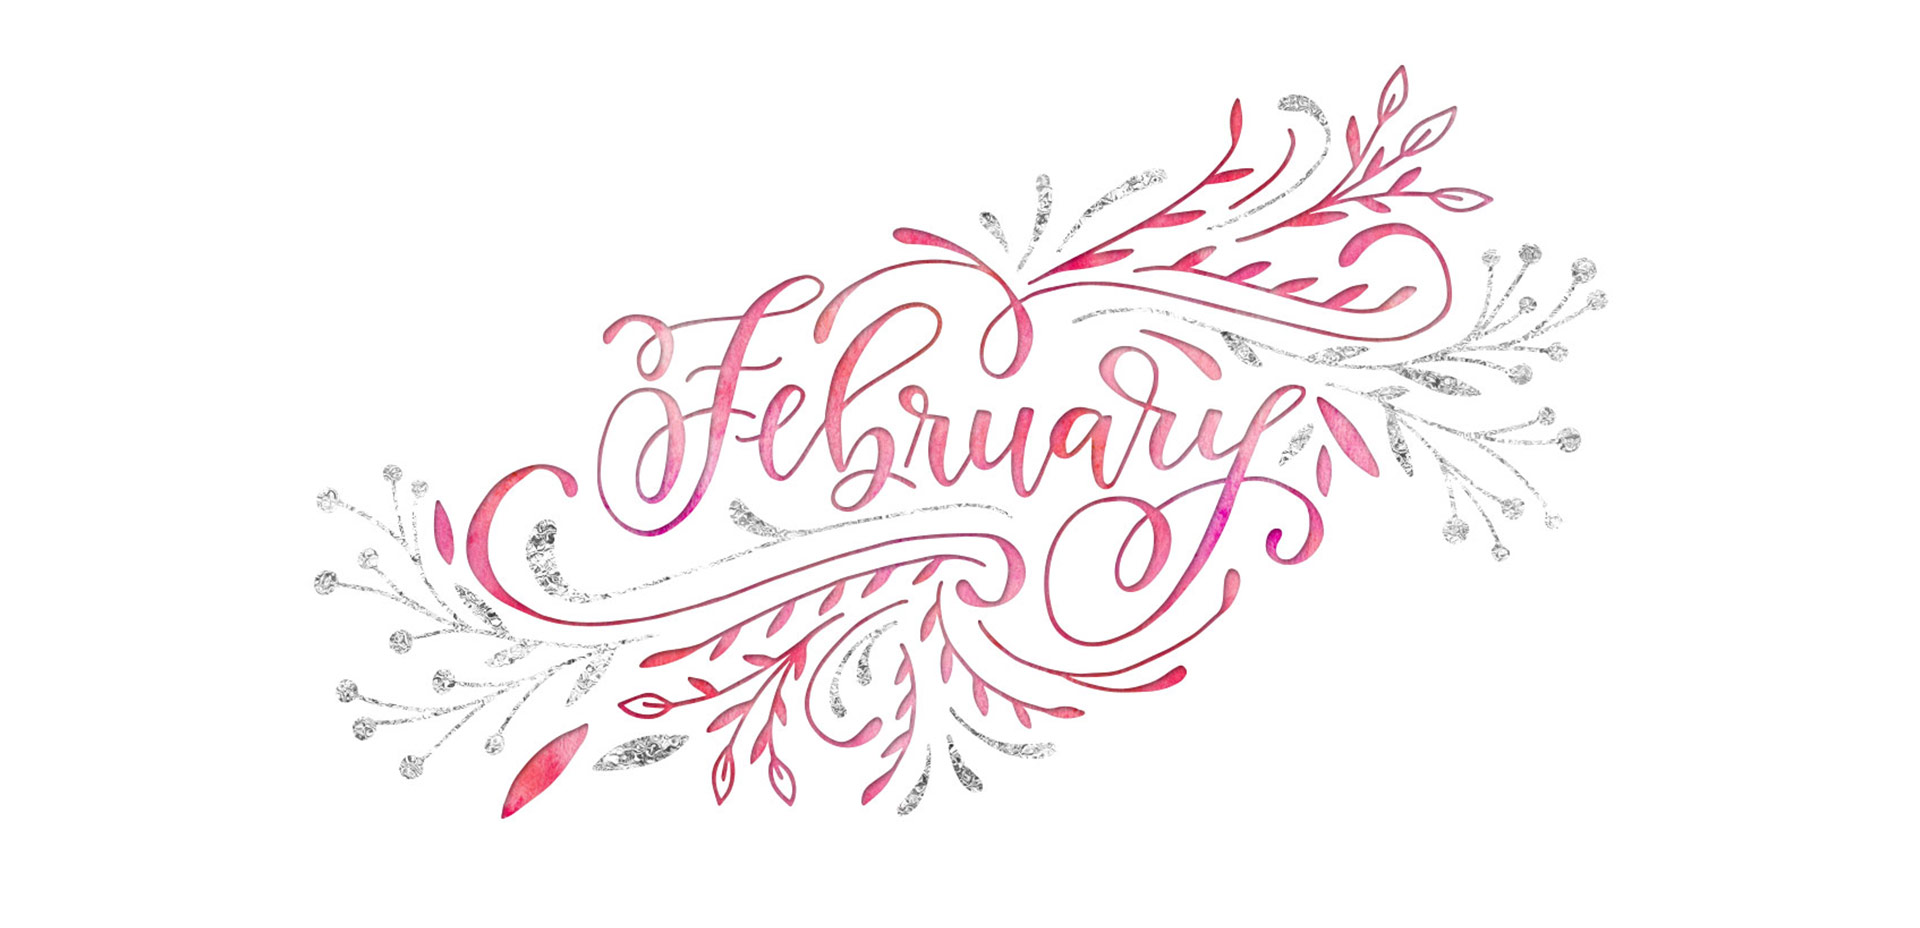
It’s the last Thursday in January, which means it’s time for your free February 2017 desktop wallpapers! This month’s wallpaper was created with a Micron 05 (.45mm), scanned in and vectorized in Illustrator. I cleaned up my vectors using my iPad Pro + Astropad app (here’s how I do that). I then colorized and sized it in Photoshop using my Glitz+ Glam Kit as well as the watercolor patterns from my Watercolor Texture Kit Vol. 3. Finally, the dates were added in (the ‘R’s’ stand for Thursday so as not to be confused with Tuesday). Yep, not the quickest process, but I love making em 😉

The download includes the wallpapers in two common resolutions: 1280x1024px and 1920x1080px, with and without dates. I’ve left the year off of the ‘no-dates’ versions, so you can use it for any February in the future, too!

It’s been a little while since I’ve posted a watercolor tutorial! If you’ve been here for some time, you know we can’t have that 😉 This week I want to share how to create a custom watercolor photoshop brush! Having a watercolor photoshop brush in your brush library is super handy for two reasons: #1 you don’t have to file > place large textures or search for them on your computer, and #2 it keeps file sizes smaller. These are really quick to create and can be huge time savers. See the full tutorial below!

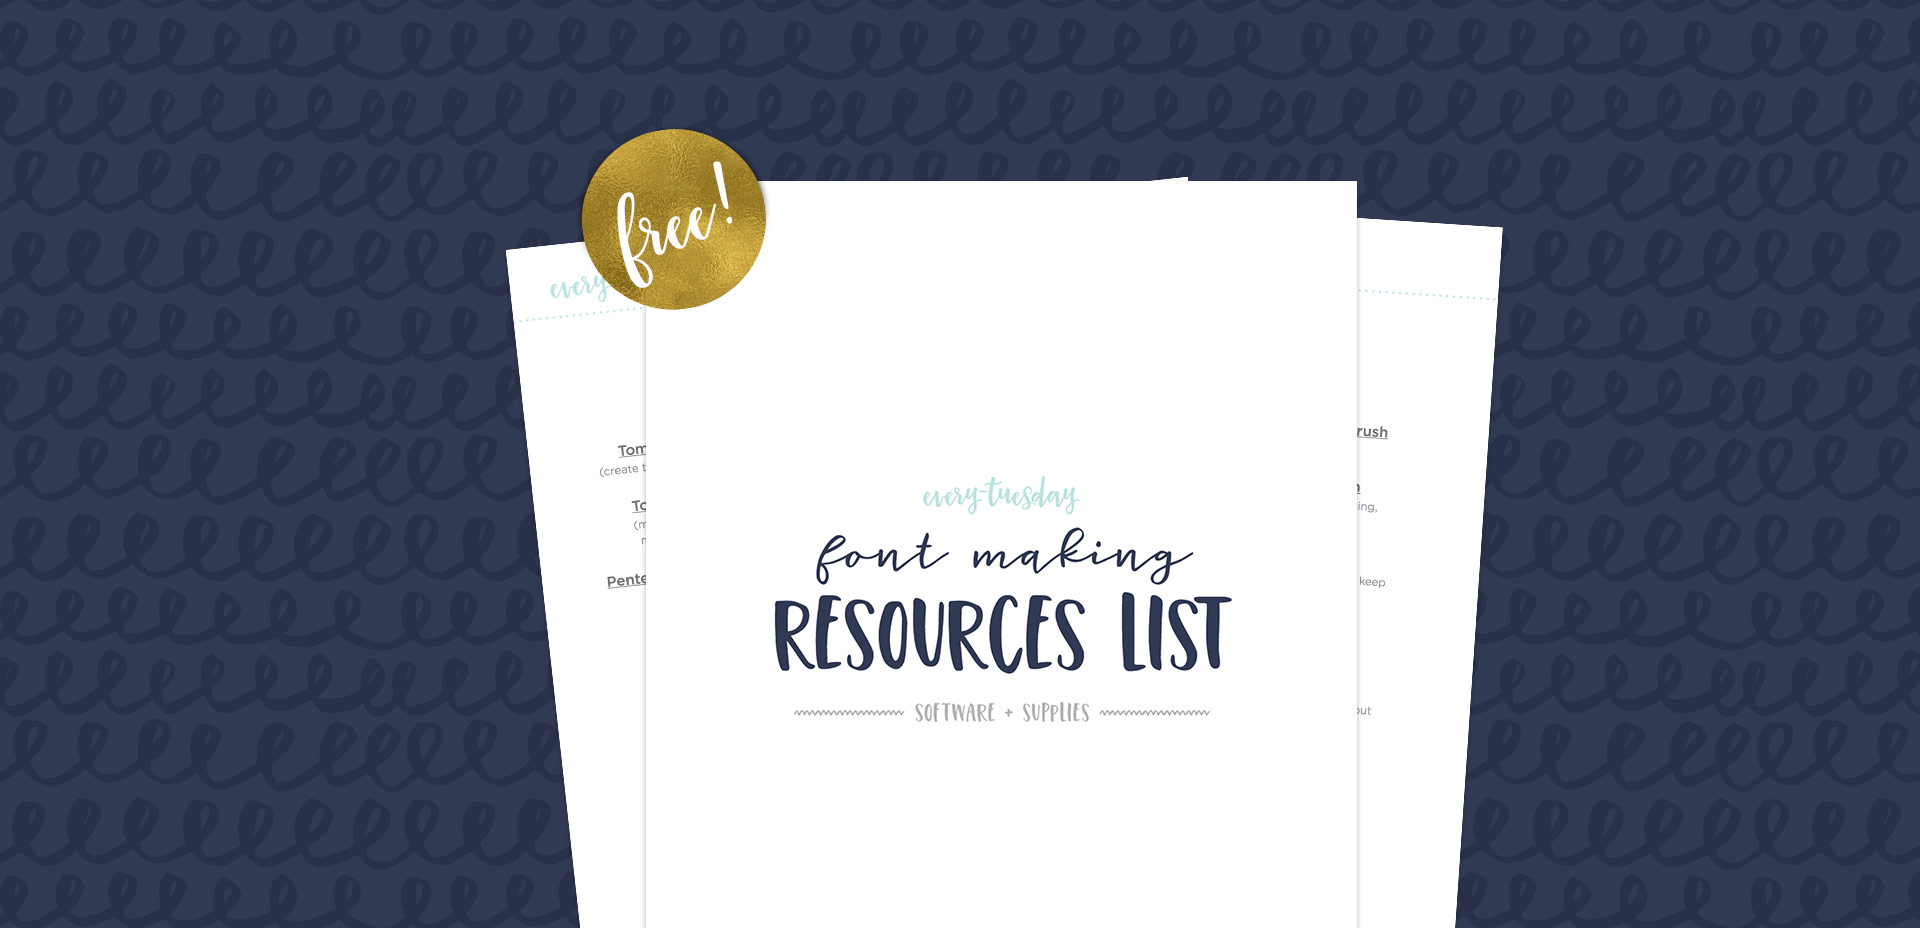
If you love lettering and are ready to take things up a notch, converting your lettering into a font is a great next step! Not only will you experience typing with YOUR letters for the first time (nothing like it!), you can also sell your font(s) for some extra side hustle cash. But where do you begin? There are different types of software, plugins, automators..the whole process can seem overwhelming. I know it was for me, which is why I put together this clickable font making resources list with the exact software and tools I use to create and sell hand lettered fonts. You can grab it below and also read more about the process. If you’re looking for a full step-by-step course on how to create *and* sell hand lettered fonts, be sure to visit my course here!

One of the questions I’m asked most often about iPad lettering is how to use vectors with Procreate. The very short answer is: you can’t. But! There *are* some workarounds you can use if you’d like to either integrate your vectors within Procreate or vectorize your Procreate artwork later on. Everything you need to know about why that is and how to adjust is below!

Happy Tuesday! I’ve had a few requests to create flat-style illustrations, so this week we’re creating a flat iMac icon in Adobe Illustrator! If you’ve ever been unsure of how to get started with vector icons, or you’d like to practice your shape-based illustration skills, this tutorial is perfect for beginners. We’ll be utilizing the rounded rectangle, rectangle and ellipse shapes the most and keep things super simple throughout. Read on for the full tutorial and all of the color builds mentioned in the video!

2016 was a really intense work year for both Spence and I. I sat in front of my computer more than I didn’t, but it led to a lot of self growth which I’m immensely thankful for. While I hope (and plan!) to pull myself away from my desk more this year, I wanted to share the ways I hit my design + lettering goals in 2016 and steps I’ll take in 2017. I hope this can be a motivator if you’re just digging into lettering or graphic design, but you aren’t quite sure where to begin.

Happy New Year! To celebrate, I thought we could create some wintery geometric snowflakes in Adobe Illustrator this week! We’re definitely starting to feel the chill of winter here in Georgia. The main reason for my move from upstate NY to Georgia in my early twenties was specifically to avoid the harsh winters. I’ll take being too warm over being too cold any day. Regardless, snowflakes *do* make being that cold worth it. If you saw this tutorial awhile back, we’re applying similar techniques, but creating something completely different with them 🙂 Read on to see it all!

GDPR Icon

Your Privacy Matters

We use cookies to customize and create content that’s most important to you. We’ll never share the info we collect.

View Privacy Policy