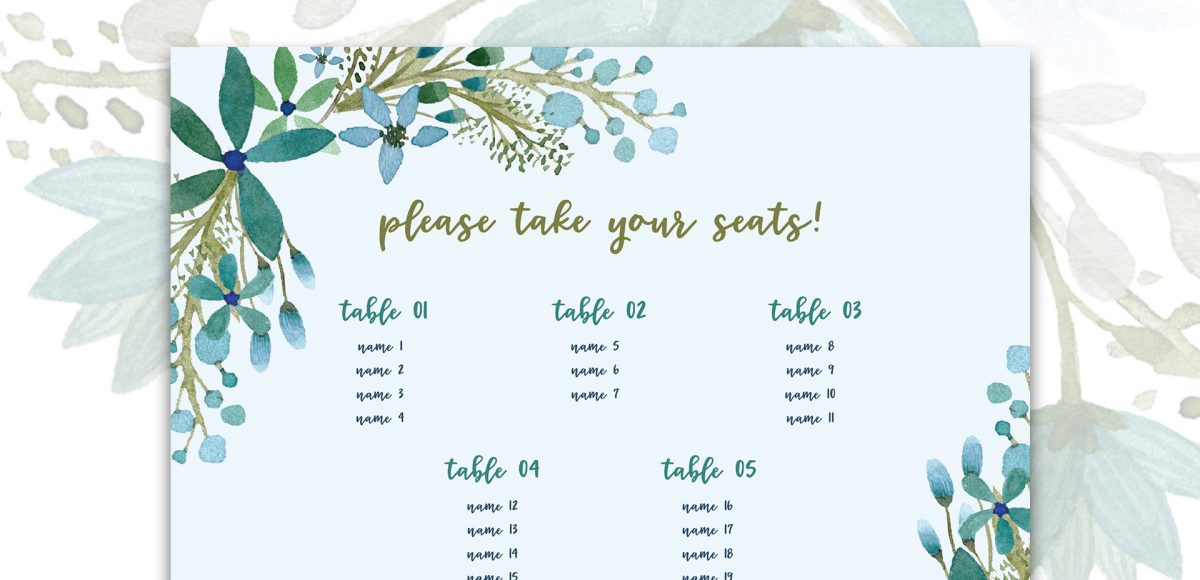
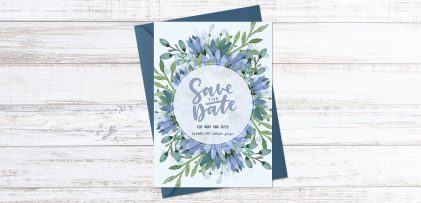
First off, I want to tell you this isn’t the sexiest tutorial you’ll ever watch, but it can be a giant time saver and really make you look like you know your stuff. So, stick with me, because this is pretty handy to know: list format data merge in InDesign (sorry if that was a little eek-worthy to read, but you were warned 😉 ) To accompany our save the date postcard from last week, this week we’ll create a wedding seating chart to go with the big day. Traditionally, data merge is used to automate large amounts of data into multiple pages, but it’s different here: we’re placing lists of data onto one page, so there are a couple small tweaks that need to be made. I promise this is super simple and you’ll be glad to have this in your designer arsenal when you see what it can do.
Pin it for later!
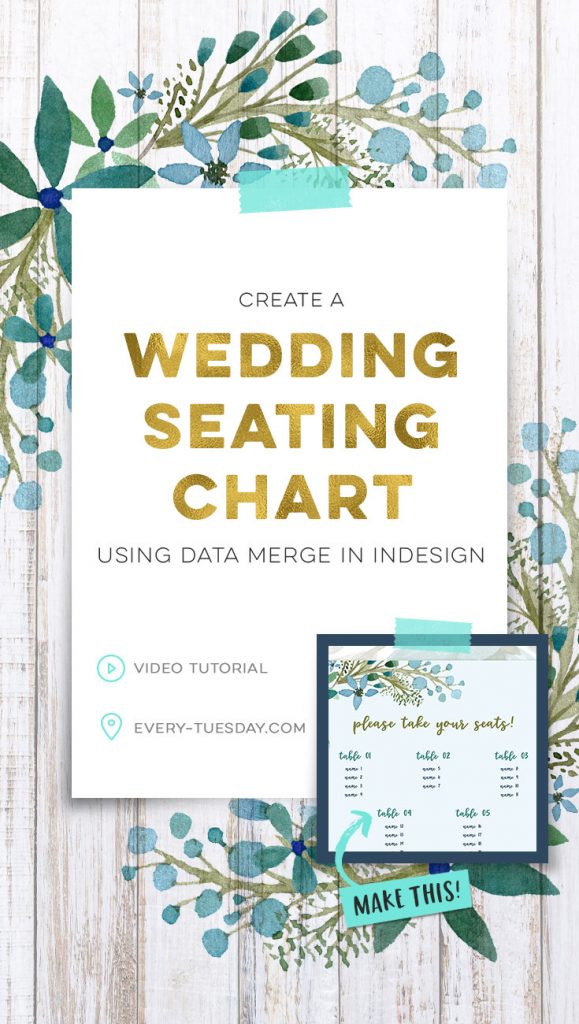
Create a Wedding Seating Chart using Data Merge in InDesign
Mentioned in this video:
- Miss Magnolia font
- Watercolor Leaves and Florals Kit
- Save the Date Postcard tutorial
- Data merge certificate tutorial (the more common way data merge is used)
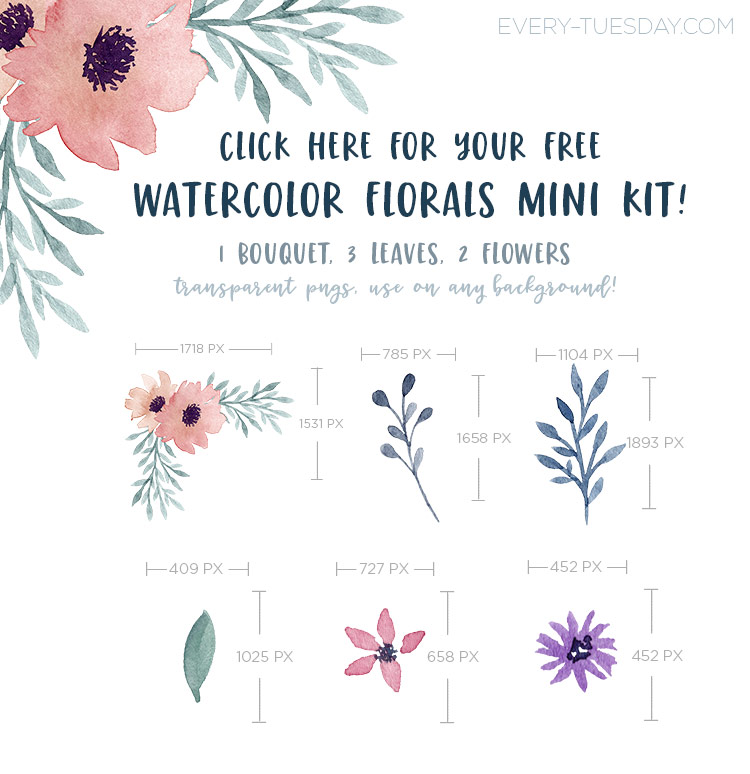
If you haven’t picked up your free watercolor florals mini kit yet, you can grab it by clicking the graphic below (If you’re an Every-Tuesday subscriber, pick it up in the resource library)
Here’s the written outline of the tutorial, in case you need to reference it in the future:
- Create your design in Illustrator or Photoshop. In Illustrator, save it as a jpg by going file > export > export as. Choose jpg as your format and check the box for ‘use artboards’. Select a quality of 10 and input a resolution of 300 if you plan to print it.
- Create a new document in InDesign the same size as your layout in Illustrator or Photoshop. File > place in the jpg you just created. Create text boxes for your different data areas and apply the attributes you’d like to your text (color, alignment, font, etc).
- In Excel, format your data so that each list of data appears within the same cell. Separate list elements by using a symbol that doesn’t appear in any of your names. Do not put any spaces around the symbol. Save your excel document as a csv file.
- In InDesign, open your data merge panel (window > utilities > data merge). Select new data source and choose the csv file you saved. Select each text box and apply the cell’s title to each location. Hit the preview checkbox to see how your data will appear. When you’re happy, hit the create merged document icon located within the data merge panel.
- Once your document has been merged, go to edit > find/change. In the panel that shows up, in the ‘find what’ field, type the symbol you used to separate your names in excel (I used ‘#’). In the ‘change to’ field, toggle down the @ symbol and choose ‘End of Paragraph’. Hit ‘Change All’ and then hit ‘done’.
- Check over your work and preview if you’d like. Save your wedding seating chart file, print and done!
Download your free watercolor florals mini-kit!

Where should we send your watercolor florals kit?
Receive special offers on courses + products, a new design file every month plus instant access to the Resource Library!

Pick up over 50 design + lettering files as our gift to you when you join the Tuesday Tribe for free!
error
Congrats!
Please check your email to confirm.




Kori | June 6, 2017
|
Teela,
Once again, you have saved the day!
Thanks so much. This is perfect. So much easier than what I was doing.
I really appreciate it!