A couple of weeks ago, I shared some tips for using a waterbrush to create watercolor lettering. It was so well received, I wanted to do a follow up using that same waterbrush, but with ink this time. Yep, I filled that blue waterchamber with super black speedball ink instead of water, squeezed + lettered to my heart’s content 🙂 Before filling the waterbrush with ink, I had been using a Tombow for my brush script lettering, but after burning through a few pretty quickly, I was in search for an alternative to save a little dough. That led me to the waterbrush and I haven’t looked back! In this week’s video, I share some basic tips for getting started with your own brush script lettering. Lettering in black vs. watercolor will quickly allow you to scan your artwork in, vectorize it and use it in a bunch of applications quickly, like masking or font making (more on that next month!). Let’s get started!
Brush Script Lettering Basics
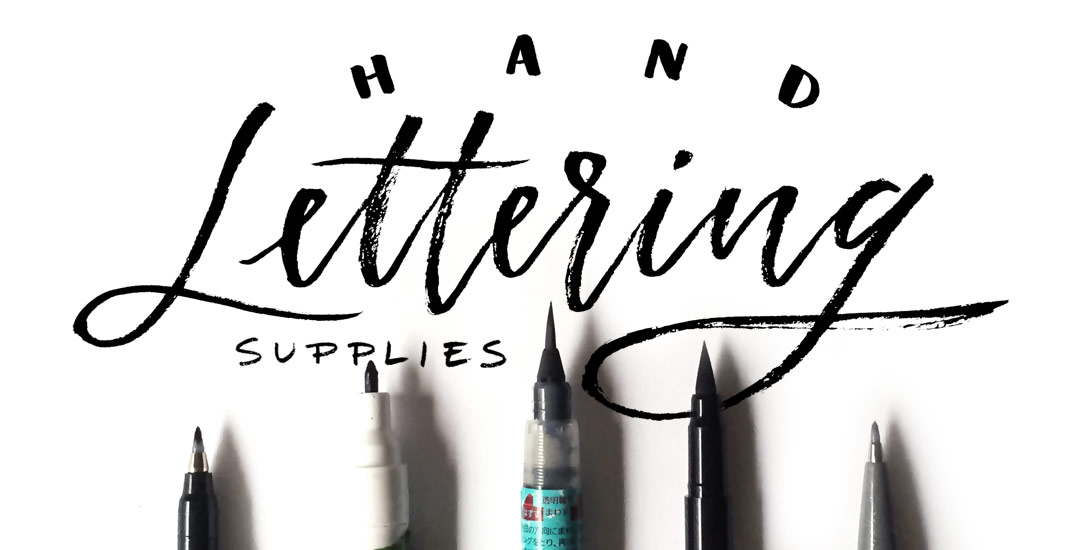
Products used:
– Waterbrush (the medium sized one was used throughout the tutorial)
– India Ink + I’d recommend getting one of these eyedroppers for easier filling 🙂
– cardstock (or in the office section of any retail/department store)
p.s. I’d love to see what you create! Use #etbrushscript + follow on Instagram!
Receive special offers on courses + products, a new design file every month plus instant access to the Resource Library!

Pick up over 50 design + lettering files as our gift to you when you join the Tuesday Tribe for free!
error
Congrats!
Please check your email to confirm.


pranaytony | September 8, 2015
|
Am really looking forward for that font making from this, Teela!
Thank You for this Fantastic Tutorial!
behance.net/pranaytony
Teela | Author | September 8, 2015
|
thanks for watching!
Sharon | September 12, 2015
|
Thank you so much Teela for this great tutorial. Looking forward to try out but wondering, do you store the ink in the brush or do I need to empty and clean it after each use?
Teela | Author | September 13, 2015
|
Hey Sharon! I’ve been keeping the ink stored in the brush without emptying/cleaning since I’ve only gone a couple days in between uses – seems to be working well without any issues. If you don’t plan to use it for awhile, I would empty it out and clean it thoroughly since the ink will get sticky after awhile.
Marie | September 13, 2015
|
I just bought a set of the watercolour brushes. I can’t wait to try this as well as the watercolour tutorial. However, I think I will purchase a separate set of these brushes for the India Ink because I’m afraid I won’t be able to clean it well enough to go between ink and watercolour paints.
I love your tutorials!!!
Teela | Author | September 13, 2015
|
Definitely a great idea and wish I had mentioned that! I think it’ll be pretty impossible to ever change an ink-drenched waterbrush back into a watercolor waterbrush – I bought myself a separate set too for that reason – much nicer to not have to worry about all that crazy cleaning! I can’t wait to hear how you like them!!
leftylimbo | October 11, 2016
|
Great toot! =) I’d actually never known about those waterbrushes until I started watching your tutorials. It’s cool that they’re inexpensive and also come in different widths. I’m gonna have to get me a couple of sets and try ’em out!
Btw—I’ve been drawing all my life, but as a lefty didn’t realize any shortcomings until I took a calligraphy class in college. Oh MAN what a disaster it was when I had to learn how to hold a nib pen at a 45-degree angle. I have a feeling that’s what kept me from pursuing any hand-brushed lettering from then on.
Anyways, you do make it look super easy, especially with that waterbrush…so I’m willing to give it a shot. I’ll letcha know how it goes! =)
Cindy | January 27, 2017
|
I am planning on using this technique on my cookies. Instead of watercolor, I’ll be using gel paste color + water in my brush. Your techniques should give me some interesting cookies!
Becky Carey | February 11, 2017
|
I am new to this medium. I mainly paint with soft pastels. However, when recently making custom wedding plaques for a friend I used acrylic paint and brushes or the calligraphy permanent ink pens to do the typography. Not very easy…as least not as easy as using these water brushes look. I want to try this technique.
My questions…can india ink be used on top of an acrylic paint background AND is it permanent. Should it be covered with some sort of sealer?
I am subscribing to your blog…thanks for helping this novice:-)
Teela | Author | February 20, 2017
|
Hey Becky!
I believe you can use india ink on top of acrylic paint and as long as the artwork doesn’t get wet, you should be ok. Never hurts to seal it up if you’re concerned though – hope that helps!
Daniel | September 13, 2017
|
Cool Cool Cool