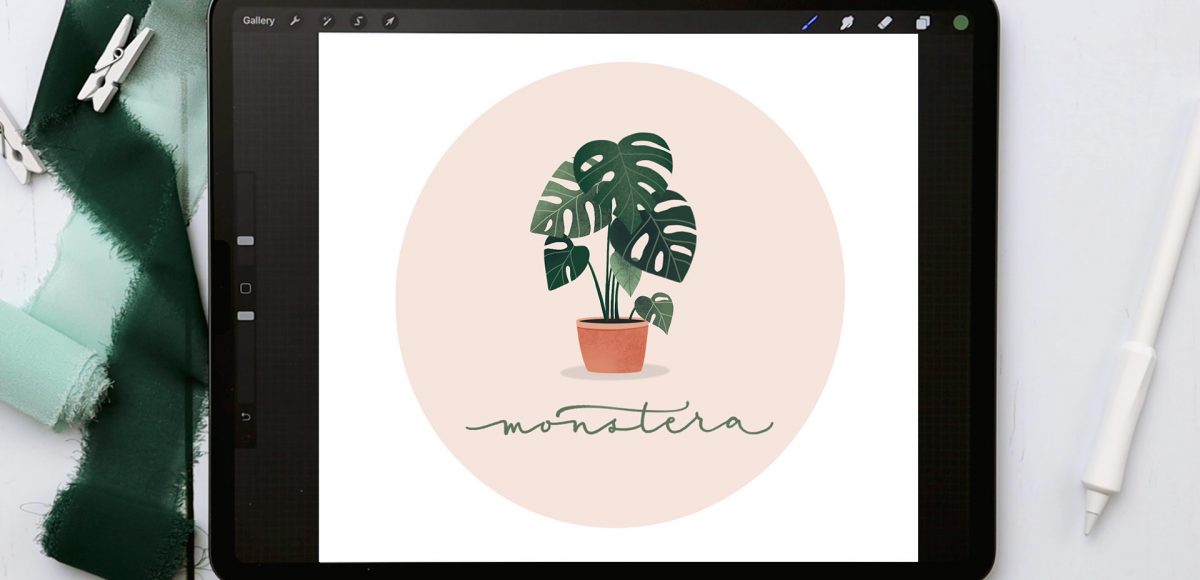
Happy Tuesday! This week (by request), I’ve got a potted monstera for you! It’s even complete with some textured shading, so if you caught last week’s tutorial, you’re perfectly prepared for this one 😉 Just like last week, we’re using 2 free brushes (my monoweight brush and a default charcoal brush), with the Jittery Ink brush from my Font Lovers Procreate Brush Set being used for some lettering at the end.
Pin it for later!
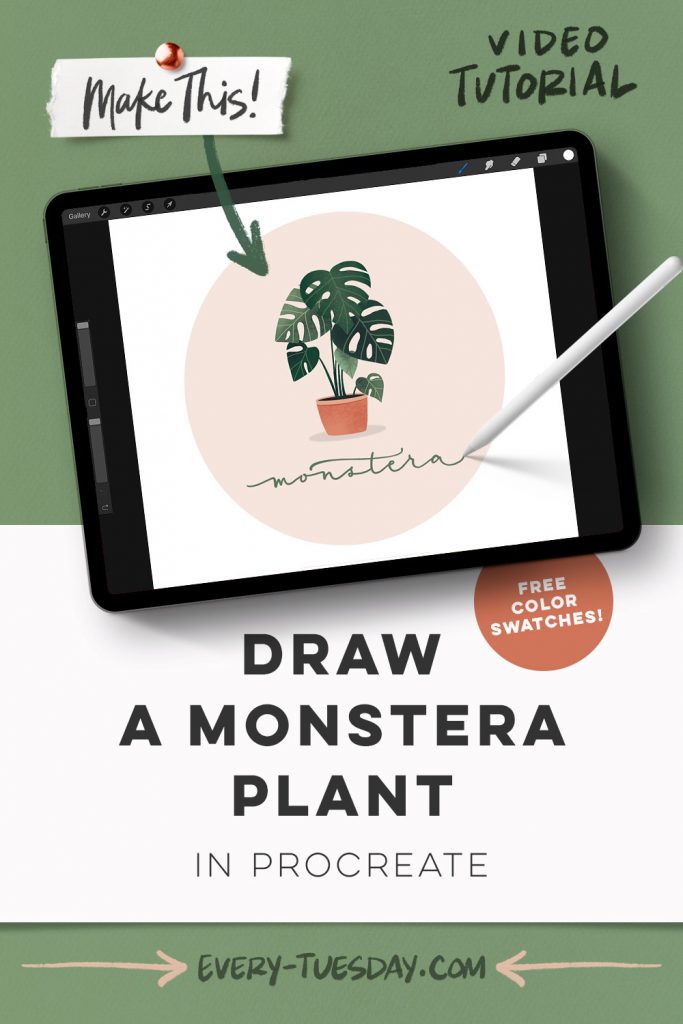
Draw a Monstera Plant in Procreate
Mentioned in this video:
- Monoweight brush (free)
- Jittery Ink brush from Font Lovers Procreate Brush Set
- Color Palette (free)

Here’s a written overview of how to draw a monstera plant in Procreate:
- Bring in your reference image and draw in your planter. Make sure the dirt is on its own layer below the planter. Draw in the rim and fill with color, then apply a clipping mask to lock in the rim. Add in a shadow below the rim. Apply some texture on the planter and add in a shadow.
- Start drawing in your first leaf by drawing a heart, fill with color and then draw in the lighter colored lines. For the negative spaces of your leaf, click on your leaf one layer and click on mask. Draw in the negative spaces on the leaf on the layer mask with true black selected.
- Repeat those steps for the remaining leaves.
- Add in the stems for all the leaves. Make all of the stems different shades of green.
- Add in a highlight to the first leaf and apply a clipping mask. Add in a shadow to leaf two where the first leaf would be covering it. Finish off the rest of the highlights and shadows.
- Draw in a ring around the background and write in your lettering.
- Done!
Receive special offers on courses + products, a new design file every month plus instant access to the Resource Library!

Pick up over 50 design + lettering files as our gift to you when you join the Tuesday Tribe for free!
error
Congrats!
Please check your email to confirm.


No comments