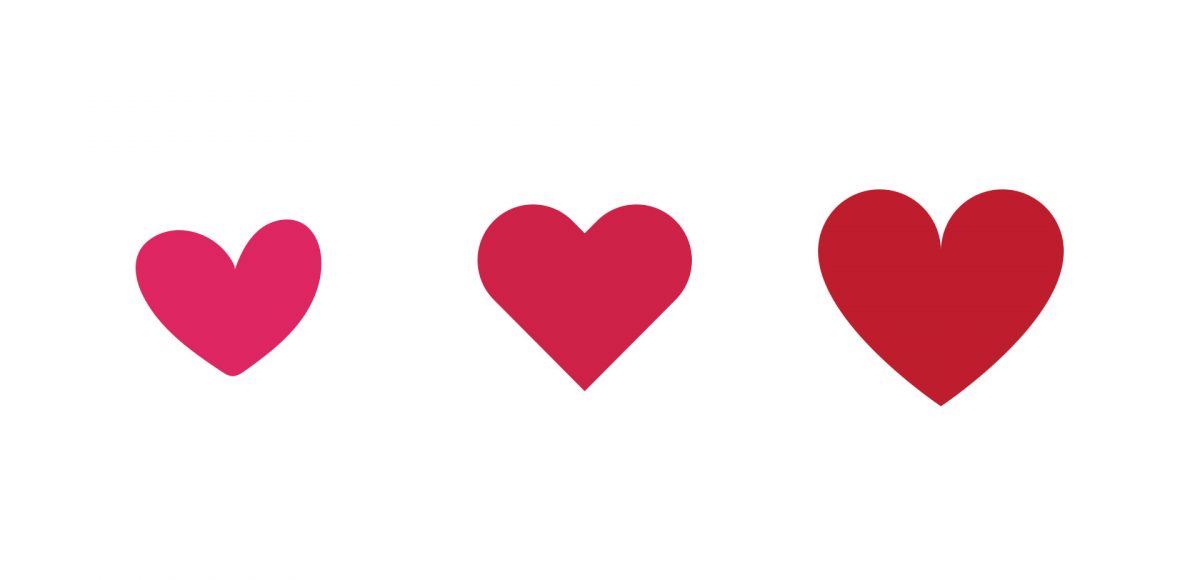
It’s almost Valentine’s Day! If you’re creating your own valentines this year or have ever needed a heart shape in the past, then you know it’s not a default shape that comes with Illustrator. It can also be a little tricky to figure out using the default shapes as ‘shape builders.’ In this week’s tutorial, I share my favorite 3 (quick) ways to create a heart shape in Illustrator. Read on to see them all!
Pin it for later!
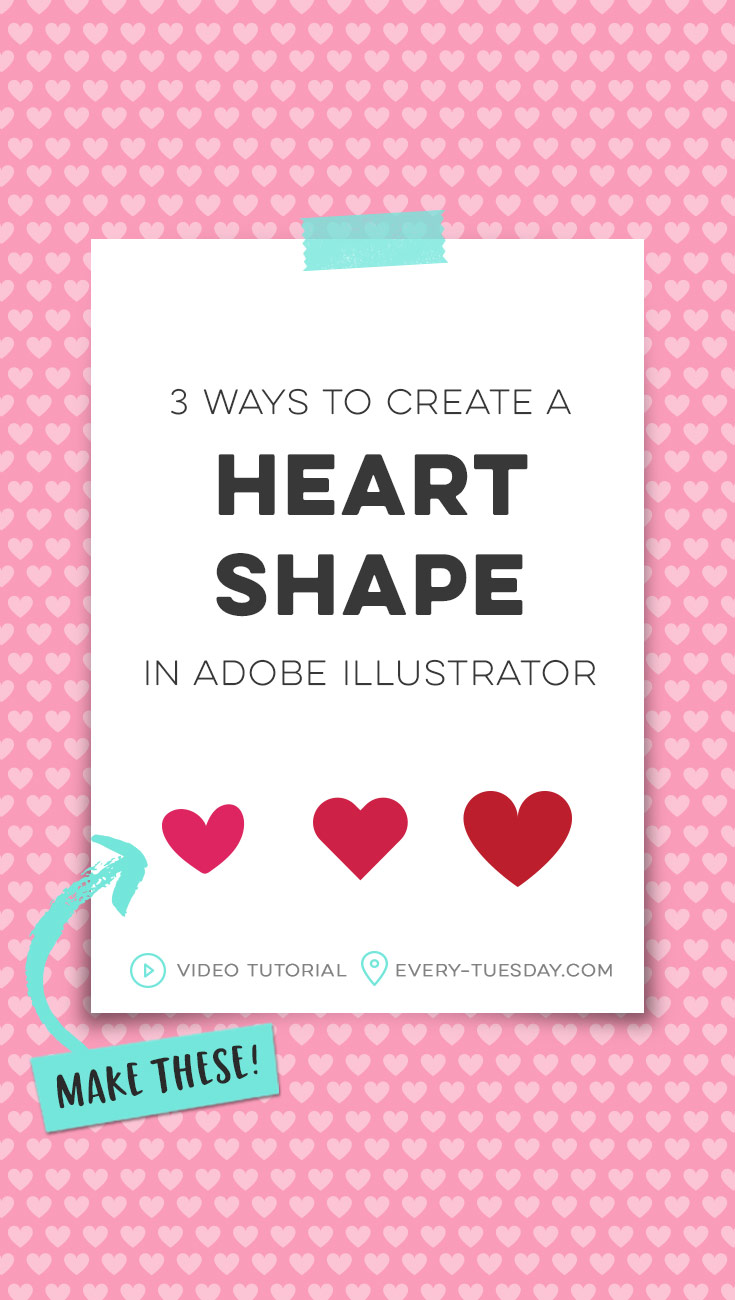
3 Ways to Create a Heart Shape in Adobe Illustrator
Mentioned in this video:
- How to Vectorize Hand Drawn Doodles [direct select tool tutorial]
- Create a Watercolor Florals Valentine’s Day Card in Adobe Illustrator [tutorial]

Here’s the written version of the 3 ways we created a heart shape in Adobe Illustrator:
- Method 1: Freehand Pencil
- Grab your pencil tool and make sure you have a fill color selected (no stroke is needed).
- Freehand with your mouse (or tablet) a heart. If you want to adjust any areas, with the heart selected, use the smooth tool or pencil tool. You can also use the direct select tool (check out this video for more tips!).
- To have a perfectly symmetrical freehanded heart, slice your heart in two using the pathfinder palette (divide). Next, copy and reflect the remaining half, then merge it with the original using the pathfinder palette (unite).
- Method 2: Pill Shape
- Create a long (vertical) rectangle. Pull in its corners so they’re fully curved/pill shaped (if on an older version of illustrator, go effect > stylize > round corners).
- Rotate it 45º, duplicate and reflect over the y axis. Align until you get the desired heart shape.
- Use the pathfinder to cut away excess pieces, then unite remaining ones.
- Method 3: Wide + Plump
- Create 3 identical circles and arrange them in a triangle.
- Go into outline mode (cmnd or ctrl + y) and draw a triangle connecting their centers using the pen tool.
- Go out of outline mode and delete the bottom, third circle.
- Widen the triangle shape as desired using cmnd/ctrl + shift and dragging.
- Use the pathfinder palette to merge/unite all pieces together. Use the delete anchor point tool to delete extra points to reveal a heart.
- To smooth side edges, use your direct select tool (keyboard shortcut ‘a’), hold shift and drag the handle vertically.
- Draw a guide and match the other edge’s handle length.
Receive special offers on courses + products, a new design file every month plus instant access to the Resource Library!

Pick up over 50 design + lettering files as our gift to you when you join the Tuesday Tribe for free!
error
Congrats!
Please check your email to confirm.
You May Also Enjoy
 Create a Watercolor Florals Valentine’s Day Card in Adobe Illustrator Posted in Tutorials, Holiday, Illustrator, Beginner, Watercolor
 Create Watercolor Texture Brushes in Adobe Illustrator Posted in Tutorials, Illustrator, Textures, Beginner
 Create a Simple Ribbon Brush in Adobe Illustrator Posted in Tutorials, Illustrator, vector, Beginner
 Create Geometric Snowflakes in Adobe Illustrator Posted in Tutorials, Holiday, Illustrator, vector
Jeanne | February 17, 2019
|
Thank you, Teela, with all my “heart” for another wonderful tutorial! Watching you create 3 different versions of hearts makes this tricky shape easy to love, even for beginners. Your crystal clear explanations and demos, especially for the latest features in Creative Cloud, are a bonus.
Yolanda | August 28, 2019
|
Thanks Teela. This was super helpful!