Happy Tuesday! First of all, I have to tell you that I’ve been completely overwhelmed by all of the kind comments from last Friday’s post. My heart is bursting with gratitude. Thank you so very much for making this past weekend one I’ll never forget!
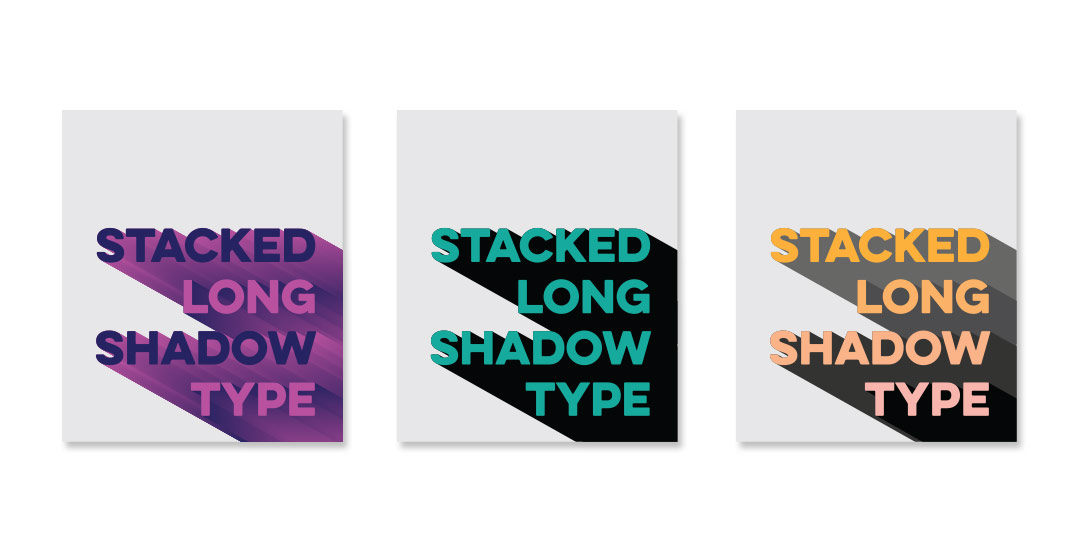
My co-workers gifted Spencer and I this amazing typography book as a going away gift last week and I have a serious problem with putting it down! There’s something that completely pulls you in when you lay eyes on the shadow type in the book – each layer so carefully planned, highlights and shadows in perfect contrast with one another along each angle and curve. Handmade type back in the day was so killer. I’m jealous of those craftsmen and craftswomen type masterminds. Of course, I couldn’t help myself with creating my own, digital form, inspired by pages from the book. In this week’s tutorial, we’ll create our own multi-layered 3D typography from scratch in Illustrator. In part 2 next week, we’ll bring that typography into Photoshop to add texture and enhance highlights + shadows to complete our type. Let’s gets started!
How to Create 3D Typography from Scratch, Part 1
Receive special offers on courses + products, a new design file every month plus instant access to the Resource Library!

Pick up over 50 design + lettering files as our gift to you when you join the Tuesday Tribe for free!
error
Congrats!
Please check your email to confirm.






sean | September 15, 2015
|
Your videos have been super helpful, looking forward to next weeks!
Teela | Author | September 16, 2015
|
Awesome to hear! Thanks so much for watching! 🙂
Sam | September 17, 2015
|
Hey Teela,
Great tutorial! All of this, I did not know… even that command 2 locks layers! That’s going to be a huge time saver! Looking forward to next weeks video!
Also, since we’ve emailed last, I did start on my website/business ( http://www.samletters.com )! It doesn’t have any of my work up yet (just a landing page & an about me) lol but I’m on the internet now! It’s a start! I also made a new instagram. yay! I have a grand total of like 80 followers haha its @samletters
Anyways, hope all is going well with being a boss lady from home!!! & isn’t your wedding coming up? I took your letterpress skillshare class where you designed your invite! Hope that turned out gorgeous! I just ordered my letterpress business cards!!! Should get them back soon! EK!
MK, see ya next Tuesday!
-sam
Teela | Author | September 18, 2015
|
Hey Sam!
Big congrats on the launch of your site! That’s a HUGE first step, can’t wait to see it all filled up!
Thanks so much for checking out the letterpress skillshare class! And thanks for asking about the wedding – so nice of you to remember! Plans changed a little there (decided to use the wedding $ as our emergency fund so we could pursue our passions sooner), will have a blog post about all that soon 🙂
I hope you’ll post a pic of your new business cards on IG or your site – would love to see!
mARIE | February 27, 2017
|
hI tEELA,
iS THERE A WAY TO MAKE THIS EFFECT SO THAT THE TEXT IS EDITABLE? lIKE, IF i HAVE A LOGO OR A HEADLINE THAT i WANT TO HAVE THE STYLE APPLIED TO? i KNOW THIS IS AN OLDER TUTORIAL, BUT i HOPE YOU DON’T MIND THE QUESTION.
Teela | Author | February 28, 2017
|
Hey Marie! You could create a graphic style in Illustrator which would make things automated (here’s a tutorial on how to use/apply graphic styles). You would have to build everything directly from your appearance palette, so it would be a different route to get there and might not look exactly the same, but you could get close.