
Happy Tuesday! It’s been a little while since we made some iPad lettering, so this week we’re creating floating shadows in Procreate. I’ve seen this effect referred to as ‘off shade’ before, but I’ve always thought of them as floating shadows. Essentially, it’s a drop shadow that’s disconnected, or there’s a space between your lettering and the shadow itself. I love how simple this effect is, but also how it adds that cool factor/semi 3D look right away. See how to apply this exact effect to your lettering below!
Pin it for later!
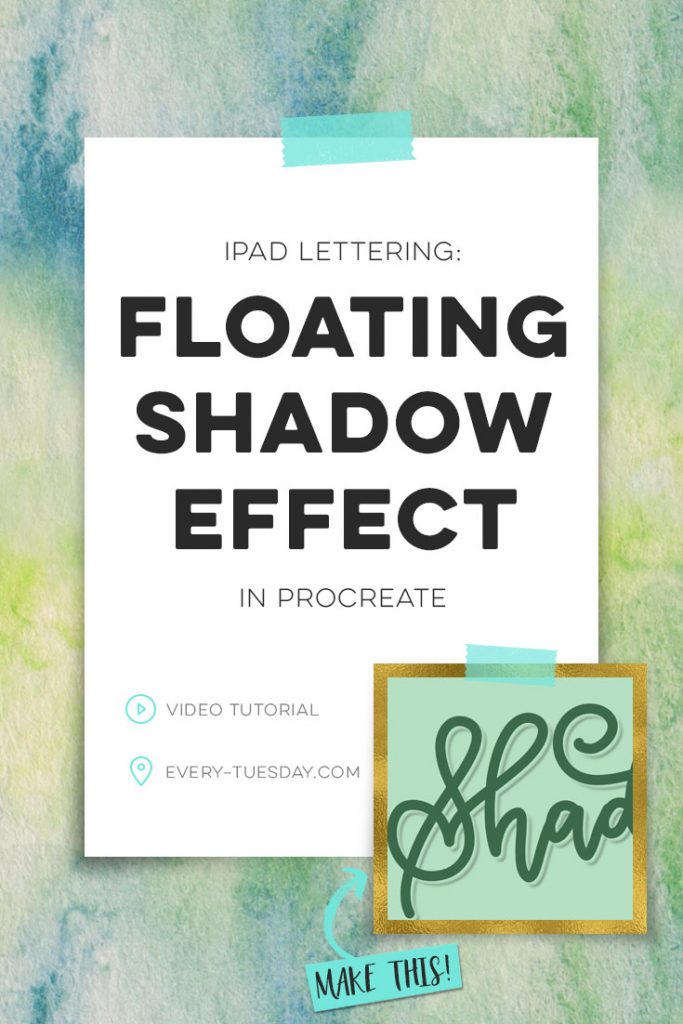
iPad Lettering: Create Floating Shadows in Procreate
What was used in this video:
- iPad Pro, 12.9″, 256GB
- Apple Pencil
- Procreate App
Looking for Procreate Textures?

Here’s the tutorial in written form, just in case it’s easier 😉
- Create a new document (I used ‘screen size’).
- Create your lettering using a larger/chunkier brush for the best results in whatever color you’d like.
- Label your lettering layer ’01’ in your layers area. Duplicate that layer. On the bottom, duplicated layer, rename it ’02’ and make sure it’s highlighted.
- Hit the cursor icon in the top to select the contents of layer 02. You should see a bounding box appear. Tap just outside of the bottom right corner repeatedly until your layer 02 is distanced away from the original lettering, but doesn’t show any space in between. When finished, hit the cursor icon again to deselect.
- Return to your layers palette and duplicate layer 01 again. On the duplicated middle layer, change it from 01 to be named ’03’. Make sure your new ’03’ layer is highlighted, then hit the cursor so its contents are selected.
- Tap just outside of the bottom right corner again, but only move it half as much as you moved layer ’02’. Hit the cursor icon to deselect.
- Return to your layers palette, tap on layer ’03’ and choose ‘select’ then turn off the visibility (uncheck the checkbox) for layer ’03’. Highlight layer ’02’ then choose your eraser tool. I use a hard brush with my brush size and opacity all the way to max.
- Begin erasing over all of your lettering to reveal the space between your lettering and the floating shadow. When you’re finished, deselect the selection icon (looks like an ‘s’) in the top bar.
- With your layer ’02’ still selected, hit the magic wand icon in the top bar and choose opacity. Reduce as desired to a lighter shade. Hit the magic wand again and choose ‘gaussian blur’ and slide until you add a blur fitting your preference. Done!
Receive special offers on courses + products, a new design file every month plus instant access to the Resource Library!

Pick up over 50 design + lettering files as our gift to you when you join the Tuesday Tribe for free!
error
Congrats!
Please check your email to confirm.
You May Also Enjoy
 iPad Lettering: Create Shadow Depth Typography in Procreate Posted in Tutorials, Typography, Hand Lettering, iPad Lettering
 Create Typographic Floating Shadows in Adobe Illustrator Posted in Tutorials, Typography, Illustrator, vector, Beginner
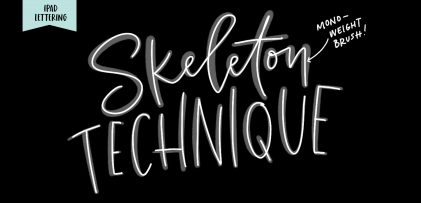 Improve your iPad Lettering with the Skeleton Technique Posted in Tutorials, Typography, Hand Lettering, iPad Lettering, Beginner, Watercolor
 How to Recolor Textures in Procreate Posted in Tutorials, Hand Lettering, Color, Textures, iPad Lettering
Marie | April 19, 2017
|
I love the look! But I don’t have an iPad pro or Procreate. Is there a way to translate this to Illustrator?
Thanks again for the inspiration 🙂
Michelle | April 26, 2017
|
I love this! Thank you for sharing this, I learned so much.