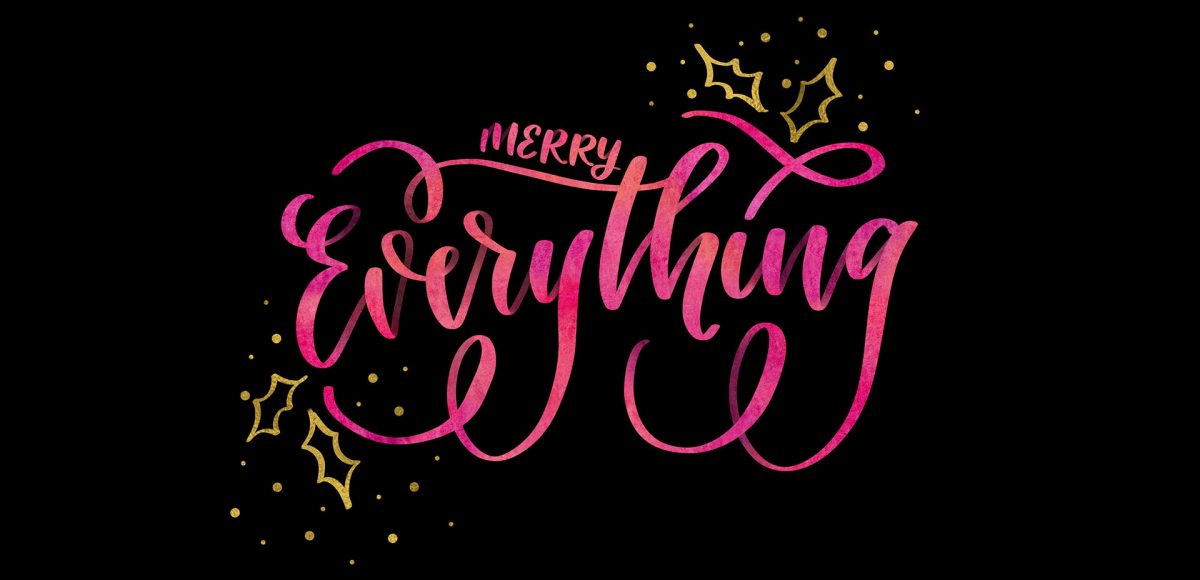
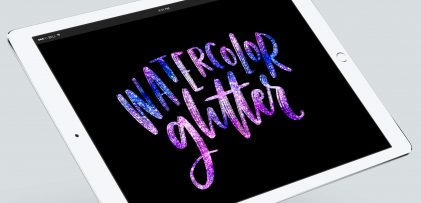
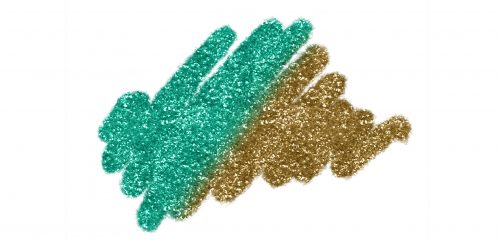
Since Procreate’s latest update is less than a month old, it’s time for a new iPad lettering tutorial! If you checked out my iPad Lettering class from a couple versions earlier, you saw how fun it is to work with Procreate textures. One texture works wonderfully, but things can get a little trickier when you want to get other textures involved. In this week’s tutorial, I’m sharing one quick trick that makes introducing other textures super simple. In this tutorial, we’ll use a foil and watercolor texture, plus add a little holiday flair for good measure 🙂 Read on to see how!
Pin it for later!
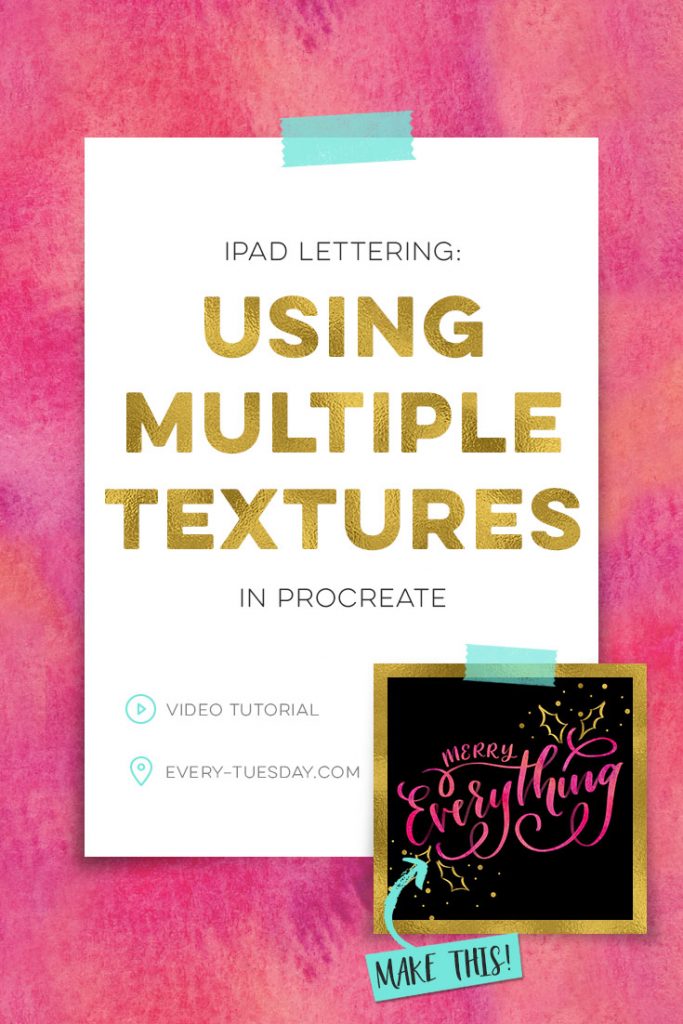
iPad Lettering: Using Multiple Procreate Textures
Please note: this tutorial was created with an iPad Pro (no screen protector) + Apple Pencil + the Procreate App (v. 3.2). If you’re using a different stylus, iPad or app, your results will differ. The iPad shown is the 12.9″ with 256GB (which I would recommend – no complaints here!).
Mentioned in the tutorial:
- Foil Textures for Procreate kit (full Photoshop kit available here; creative market link here)
- Watercolor Textures for Procreate kit (Full watercolor kit available here; creative market link here)
- The brush I’m using is a very slightly altered default brush pen (in the ‘inking’ category)

If you plan to refer to this in the future and would like some written instructions, here they are!
- Place your first texture on its own layer (this will always be the bottom layer)
- Create a new layer above your texture layer. Fill it with black (or any other color you prefer).
- Create a new layer above the black layer. Create your lettering in the color of your choosing on this layer.
- Return to the black layer. Draw decorative elements using the eraser. While you erase away the black, you’ll reveal the texture beneath it.
- Create a layer at the very top of your document. Place your next texture there.
- Tap on your lettering layer and choose ‘select’. Tap on your new (top) texture layer to select that layer.
- Hold the blue ‘selection’ icon at the top of Procreate’s interface until a bottom menu appears.
- Tap on the two parallel lines icon.
- Return to your layers palette. Turn your top texture layer and lettering layer off to reveal your lettering in the new texture.
- Done! Export as needed 🙂
Receive special offers on courses + products, a new design file every month plus instant access to the Resource Library!
Pick up over 50 design + lettering files as our gift to you when you join the Tuesday Tribe for free!
error
Congrats!
Please check your email to confirm.


Kristen | December 20, 2016
|
That was awesome!!! Thank you so much for this tutorial !!!!
Myda | December 20, 2016
|
This is awesome! Thank you!
Sarah-Jane | December 27, 2016
|
I love this! Just got and iPad Pro and Apple Pencil for Christmas so I’ll definitely be trying this out, thanks!
Bhavna | December 28, 2016
|
Thank you so much! This was really easy to follow and very impressive!!
Dana | December 28, 2016
|
Thank you so much for this tutorial. I’m so new to this, but I’m enjoying so much watching these videos. I got my new iPad Pro and pencil and I’m learning so much from you. Than|<s again!
Stephanie | December 29, 2016
|
I LOVE It❤️❤️❤️
Mary | November 12, 2017
|
I’VE LOOKED ALL OVER FOR THIS!!! THIS IS AMAZING! THANK YOUNSO MUCH ❤️❤️❤️❤️❤️❤️❤️❤️❤️❤️❤️❤️