This week is really fun. I was brainstorming some iPad lettering tutorials where I could share quick tips without being overwhelming, and recreating the Stranger Things logo came to mind. Spence and I finished binging on Stranger Things a couple months ago, but even now, I still can’t wait for the next season! It’s also extra cool that it was filmed in Georgia (gotta find that lake!) *and* I’m a child of the 80’s. Perfect match you could say.. But! I digress 😉
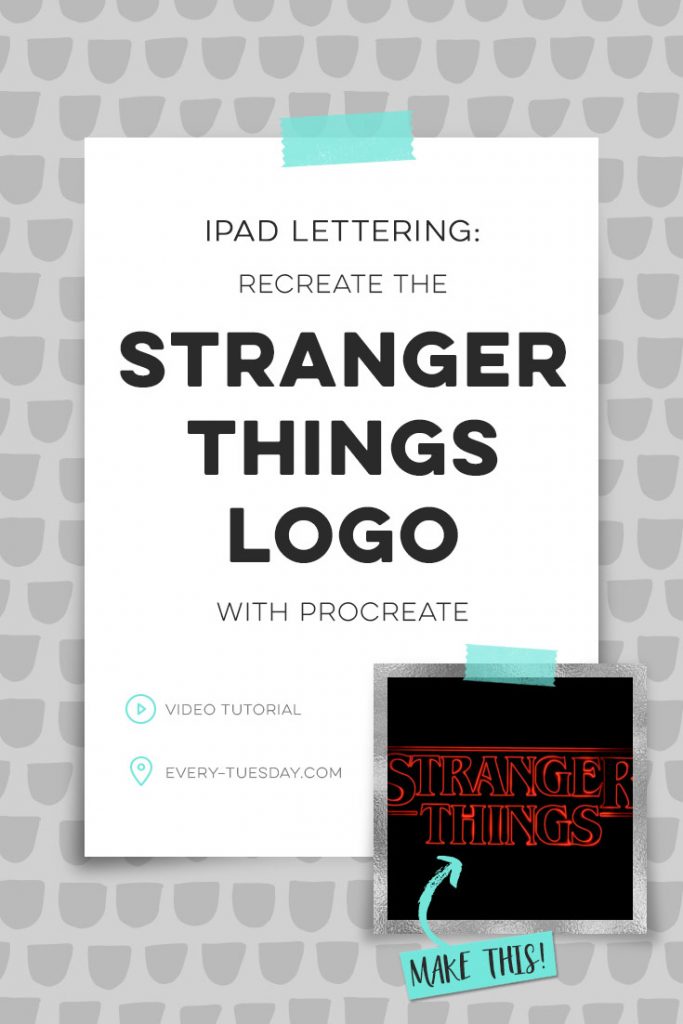
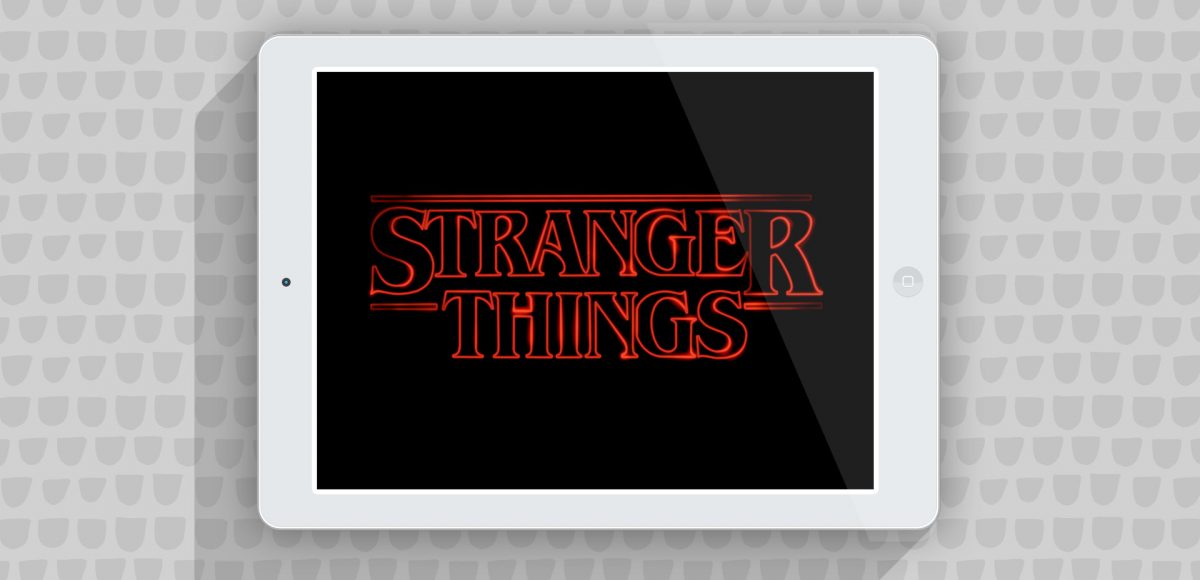
While I wouldn’t recommend making a logo for any brand in Procreate, there are a few Procreate-specific things we can learn by replicating the Stranger Things logo.
In this week’s video, you’ll learn how to:
- customize a pre-existing brush
- import and use a base image for your artwork
- draw perfectly straight lines in Procreate
- duplicate layers
- apply a gaussian blur and specify blurriness
- use blend modes in Procreate
Why you shouldn’t use Procreate for regular logos:
- the max output resolution is limited to 132ppi
- vector output isn’t possible (which is, honestly, extremely important for logos)
That isn’t to say you can’t sketch ideas out and then create your own vector artwork later! I’ve found Procreate to be extremely helpful with getting a lot of ideas down quickly. All that said, let’s do this!
iPad Lettering: Recreate the Stranger Things Logo
Seen in the video:
- iPad Pro, 12.9″, 256GB (love the size + storage, would recommend!)
- Apple Pencil
- Procreate App

When you start a brand new iPad lettering project, here are a few things to consider:
- What do you need the artwork for? Be sure you’re sizing it appropriately and keep in mind, you’ll need to double the size of the original doc in procreate, then export it to Photoshop, where you’ll need to halve the size (to the size it’ll print at) and double the resolution to be closer to a 300ppi print resolution. I know that sounds confusing. I’ll have every step shown in the class I mentioned!
- Defining a color palette from the beginning is soooo helpful with keeping color super consistent throughout
- Procreate automatically saves your artwork in the ‘gallery’, but I like keeping another copy of my favorites on my computer. To export, hit the wrench icon in the upper left, then hit share > share artwork and choose your format (I use psd so I can keep all of my layers and tweak further in Photoshop). Next, either airdrop the file (which I do), icloud it, email it, or hook your ipad up to your computer.
Receive special offers on courses + products, a new design file every month plus instant access to the Resource Library!
Pick up over 50 design + lettering files as our gift to you when you join the Tuesday Tribe for free!
error
Congrats!
Please check your email to confirm.


kelly | January 20, 2017
|
Amazing, so……from what I understand, you can export things from procreate as a psd, but not as a vector file? If you export it as a psd, then you can only work on it in Photoshop. Correct? Don’t you hate that it’s not a vector file?
Thanks for all of your info. You are amazing!!
Teela | Author | January 20, 2017
|
Hey Kelly! Check out this week’s tutorial, I think that’ll clear up everything you might be wondering about 🙂