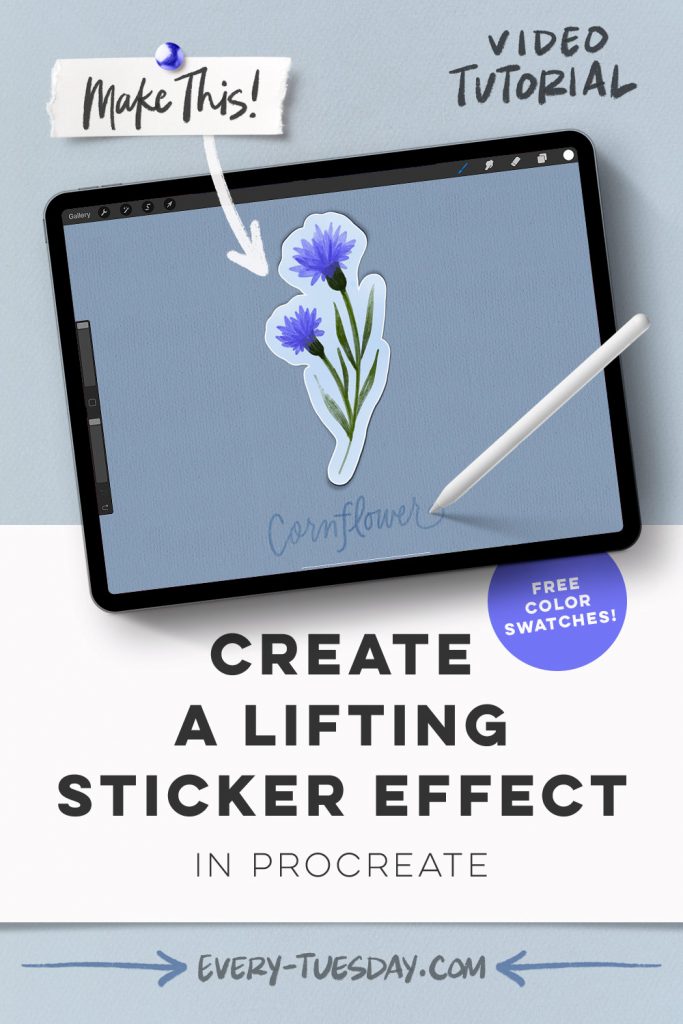
Happy Tuesday! Today we’re creating something I love, love to make – digital stickers! This is such a fun effect to apply to your work because it looks like they’re actually lifting up off the screen!
I’m labeling this tutorial as advanced because there are several steps utilizing different methods to achieve our look. If you’re an intermediate Procreate user, this will be a fun challenge project to do! Once you have the steps down, you can apply the effect to any graphic you’d like.
Pin it for later!
Create a Lifting Sticker Effect in Procreate
Mentioned in this video:
- Monoweight brush (free)
- Color Palette (free)
- Several brushes from the Watercolor Illustration brush set
- Watercolor Florals in Procreate course

Here’s a written overview of how to create a lifting sticker effect in Procreate:
- Grab a reference image from Pinterest Flower Reference Board. Add it to your canvas.
- Start by drawing the stem with the round liner brush. Use your heavy paint round brush to paint in the bell of the flower. Create a new layer to draw in your petals using various shades of purple to add in depth. Repeat this process to add in leaves. Group all of your flower elements together.
- Duplicate your group and flatten it. Select your duplication, create a new layer above it, and fill the layer. Select the fill layer again, hit select and fill the layer again. Repeat one more time. Apply a gaussian blur to your layer to increase the size. Now repeat the fill layer process three times again.
- Grab your monoweight brush and follow along the edge to soften and clean it up.
- Add in a white border around to create a sticker effect following the same steps as we made the border.
- To add in the shadow, create a new dark layer below the white border layer. Warp the shadow layer and then apply a gaussian blur, change the blend mode to multiply and reduce the opacity.
- Add some highlights and shadows by applying a clipping mask to your flower group. Change the blend mode to overlay.
- Apply the medium deep tooth paper texture across the background.
- Write in your lettering using the round liner brush (or editable text).
- Done!
Receive special offers on courses + products, a new design file every month plus instant access to the Resource Library!

Pick up over 50 design + lettering files as our gift to you when you join the Tuesday Tribe for free!
error
Congrats!
Please check your email to confirm.


No comments