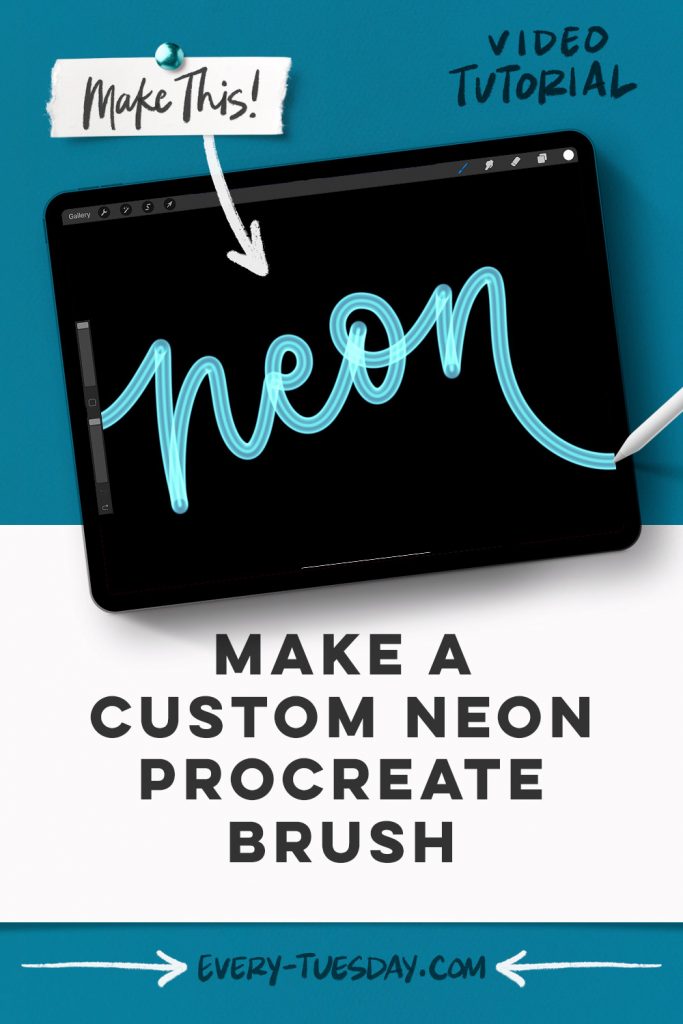
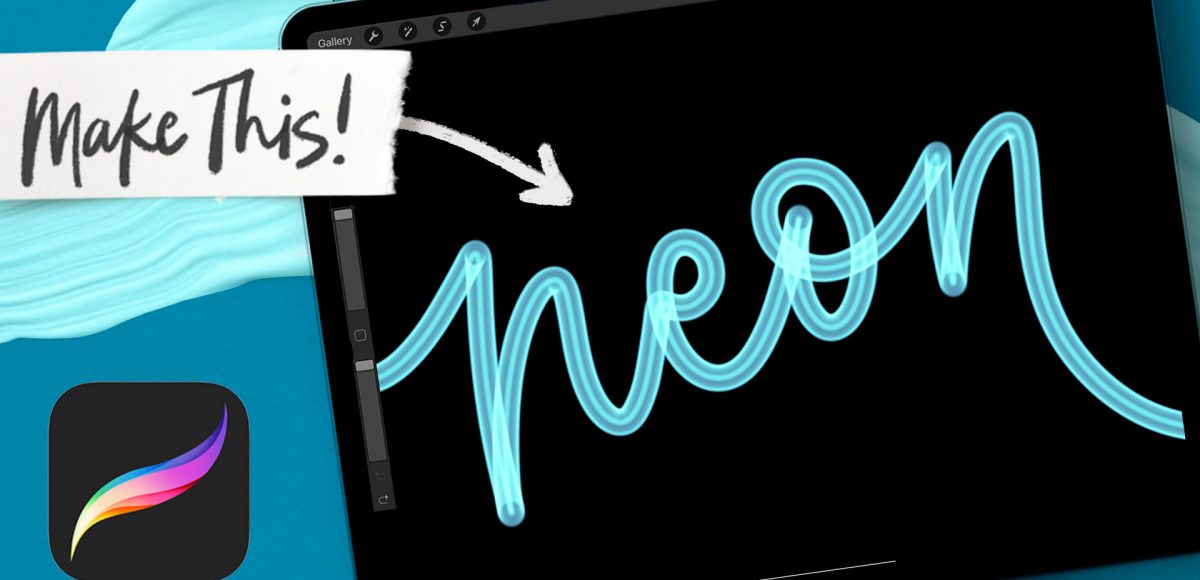
This week, we’re making a custom neon Procreate brush! Becoming familiar with the basics when it comes to custom brushes can be so powerful in personalizing any brush to fit your needs. And what could be more fun than a brush that glows when you use it?! If you’d like to change up this one’s shape, I’m also sharing how to make any brush appear to be glowing 😉
Pin it for later!
Make a Custom Neon Procreate Brush
Mentioned in this video:

Here’s a written overview of how to make a custom neon Procreate brush:
- Change the background color to black on the very first layer. Create a brand new layer above it and select white.
- Grab the monoweight brush and draw a circle. Fill that circle in with white. Scale the circle down to about 220 pixels.
- Create a brand new layer right above it. Increase the size of your brush and draw a circle right around your original circle.
- Group all of your layers together and label the group unblurred. Make a duplicate of this group to have in your backup files. Label the new group, blurred.
- Toggle it down and choose the circle layer. Click on the magic wand, select gaussian blur and come up to about 12.5% for the inner circle. For the outer circle, do the same thing but bring it up to 9%.
- Toggle this layer up, duplicate the layer and turn off the original blurred layer. Tap on the group thumbnail and choose flatten. Tap on the thumbnail again and choose copy.
- Head into your brush library and hit the plus icon. Under shape, hit edit, and under import choose paste. Follow all of the steps in the video to make the specific changes to your brush. Under about this brush, you can name it whatever you would like.
- To test it out, choose a darker color since it will naturally become lighter.
- Done!
Receive special offers on courses + products, a new design file every month plus instant access to the Resource Library!

Pick up over 50 design + lettering files as our gift to you when you join the Tuesday Tribe for free!
error
Congrats!
Please check your email to confirm.



No comments