
After the seamless pattern tutorial the other week and the free seamless pattern brushes last week, I wasn’t quite ready to stop this pattern train 🚂 So this week, I’m sharing how I make a seamless pattern brush in Procreate. But this is soooo much more than just a standard pattern brush tutorial. I’m also sharing how I add transparency and texture to those brushes, alllll of my pattern brush settings *and* how I use color dynamics to create soft gradients 🤩 There’s a TON of info packed into this one and the possibilities really are endless!
Pin it for later!
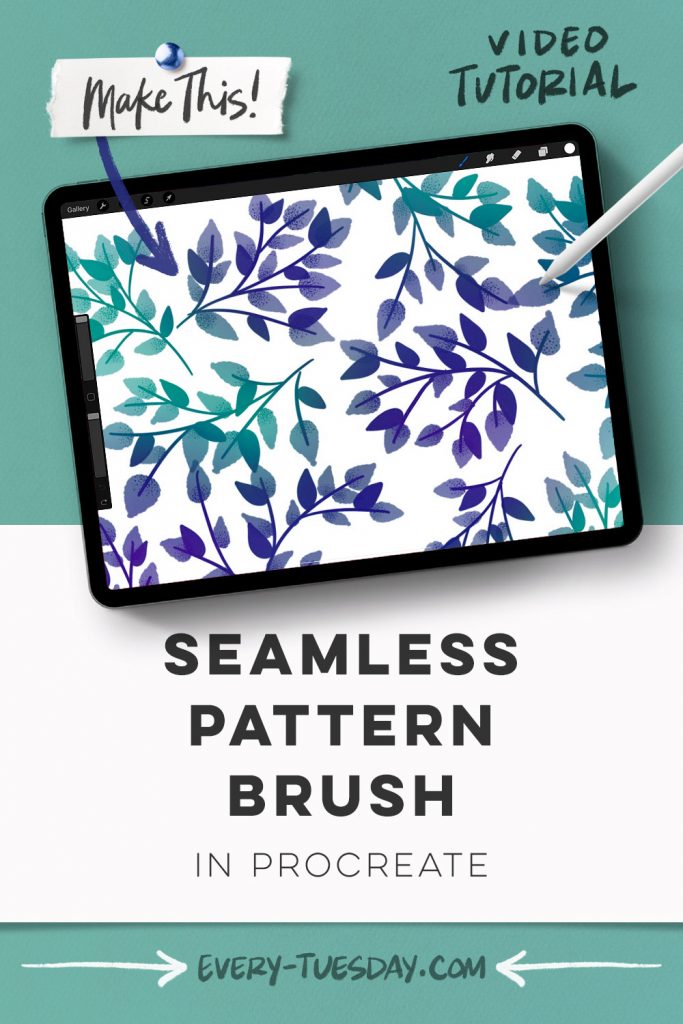
How to Make a Seamless Pattern Brush in Procreate
Mentioned in this video:
- Tattoo Art Brushes (or any favorite sketchy brushes)
The brushes we use this week are from Envato Elements. If you’d like to try them out, you can grab 70% off your first month using this link! (limited time)

Here’s a written overview of how to make a seamless pattern brush in Procreate:
- Grab the tattoo art brushes from Envato Elements. Start with the standard ink liner brush. Begin with a black background that is separate from the background layer. Switch to white and draw out the branches, or whatever you would like.
- Create a new layer underneath and drag the transparency down to 50% and draw in the leaves. Make sure you do not have any elements touching or cropping off of the edge of the canvas. Add in some texture to the leaves on a new layer.
- Group everything together and set up your pattern selections (reference previous tutorial).
- Flatten what you have already done and apply the selections. Label the layers 1-4. Move the layers around to make it a seamless pattern referencing the previous tutorial again.
- Fill in any gaps in the middle to make it seamless with the same design you used for the rest of the canvas. Group everything together, duplicate that group, and flatten it. Now make a copy and turn off that layer.
- Create a brand new brush and name it whatever you would like. For pattern brushes, follow the video for the specific settings used.
- Test out your brush! Switch the scale to see it in a larger size.
- To add in color dynamics, tap on the color pressure and come up to about 35% under hue in the brush settings. Play around with the brush settings until you find what you like!
- Done!
Receive special offers on courses + products, a new design file every month plus instant access to the Resource Library!

Pick up over 50 design + lettering files as our gift to you when you join the Tuesday Tribe for free!
error
Congrats!
Please check your email to confirm.
You May Also Enjoy
 Paint a *Reusable* Sketchy Fall Bouquet in Procreate Posted in Freebies, Tutorials, Hand Lettering, Color, Hand Drawn, Patterns, Illustration, Procreate, Intermediate
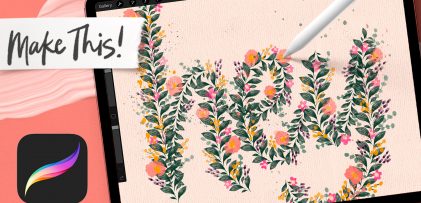 Make a Pattern Lettering Brush in Procreate Posted in Freebies, Tutorials, Hand Lettering, Color, Hand Drawn, Patterns, Illustration, Procreate, Intermediate
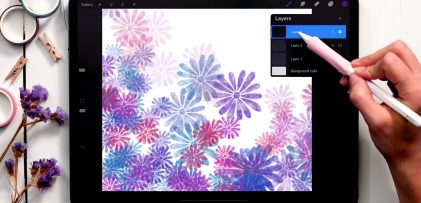 Create a Custom Scatter Brush in Procreate Posted in Freebies, Tutorials, Hand Drawn, Patterns, Illustration, Beginner, Watercolor, Procreate
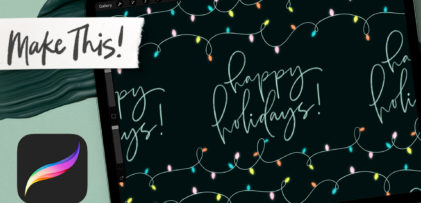 Seamless Holiday Lights Pattern in Procreate Posted in Freebies, Tutorials, Hand Lettering, Holiday, Color, Hand Drawn, Patterns, Illustration, Procreate, Intermediate
No comments