Happy Tuesday! With it being January (and the coldest month for us in the US state of Georgia), I wanted to make something this week with blues and purples, but something that still reminded me of springtime. After a bunch of couch doodling, this messy watercolor foliage layout was born 🙂 There’s so much opportunity to customize this one – choose simple or complex foliage, alter the quantity, change up the colors, style, the sizes, etc. it can be really versatile for anything you want to create. Use the little card on top to add quotes, names, birthday messages or well wishes. If you keep it in the same watercolor style, I’m also sharing an easy way to control and customize how ‘messy’ it appears! It’s something I just started playing around with, so this is the first video that I’m sharing it in!
Pin it for later!
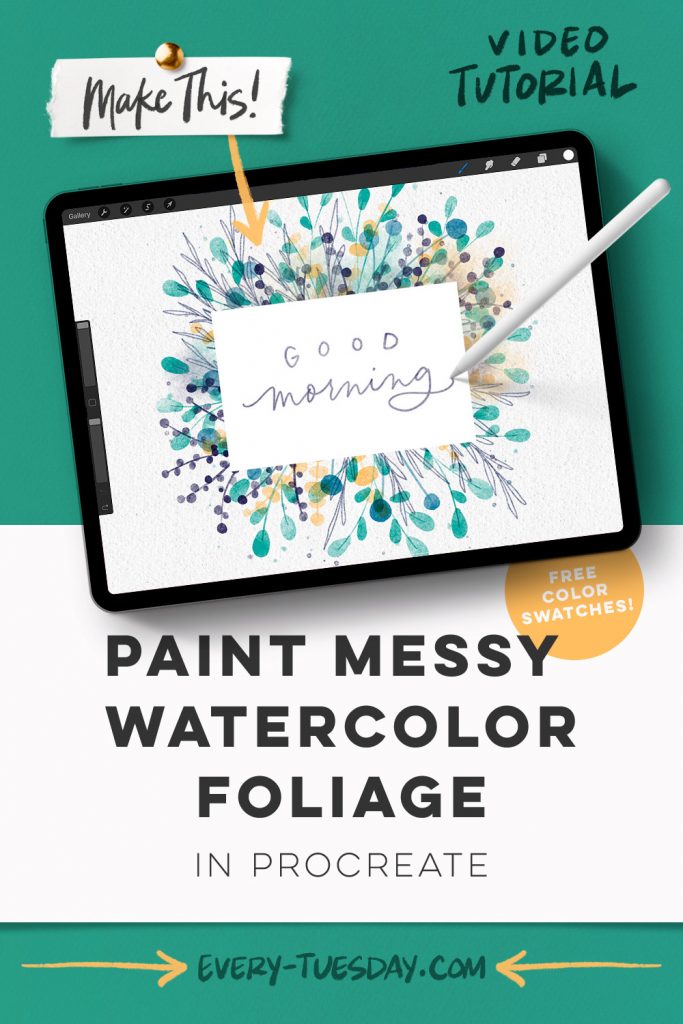
Paint Messy Watercolor Foliage in Procreate
Mentioned in this video:

Here’s a written overview of how to paint messy watercolor foliage in Procreate:
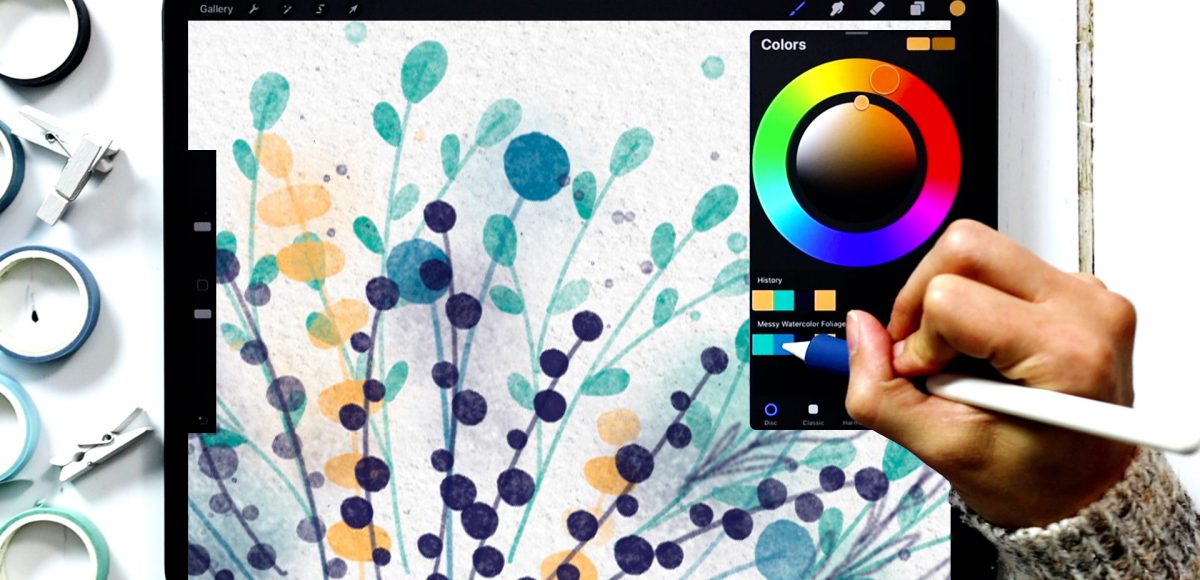
- Create your elements that will appear the densest first around your circle sketch template – start with stems and then the leaves with your round liner brush in upside down teardrop shapes.
- Add in filler stems changing up the length and scale. Teardrop shape for the teal, circles for the flower buds, oval shapes for the eucalyptus buds and round buds for your purple. Continue changing your brush between round liner brush and your watercolor illustration brushes for dimension. You can use rotational symmetry in this project to save time!
- Add in a new layer to create a rectangle to the middle of your foliage for your card.
- Break up the texture by creating a new layer below your card. Using your sketching pencil brush, draw in leaves in any white spaces to fill the area.
- To make your foliage look messy but with control, create a new layer on top of everything and grab your dense wash brush. Use this brush for each colored layer and change your blend mode to multiply to add extra depth.
- Repeat that process using the same colors but with the splatter brush to add another layer of depth.
- Create a new layer beneath the card layer but above all the rest. Grab your medium tooth paper texture and paint your texture in. To have it blend into everything seamlessly, change your blend mode to multiply.
- Add whatever message, phrase, or greeting you would like on your card using the round liner brush (or editable text).
- Done!
Receive special offers on courses + products, a new design file every month plus instant access to the Resource Library!

Pick up over 50 design + lettering files as our gift to you when you join the Tuesday Tribe for free!
error
Congrats!
Please check your email to confirm.
You May Also Enjoy
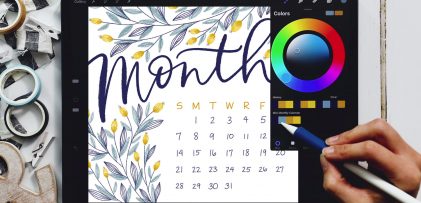 Design a Monthly Calendar in Procreate Posted in Tutorials, Hand Lettering, Hand Drawn, Illustration, iPad Lettering, Beginner, Procreate
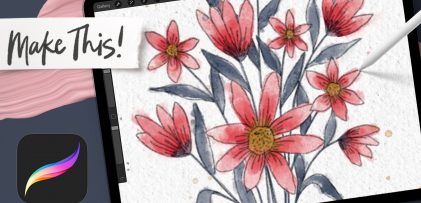 Watercolor Line Art Bouquet in Procreate Posted in Freebies, Tutorials, Hand Lettering, Color, Hand Drawn, iPad Lettering, Beginner, Watercolor, Procreate
 Paint a Floral Love Letter in Procreate Posted in Tutorials, Hand Lettering, Holiday, Hand Drawn, Illustration, iPad Lettering, Advanced, Procreate
 Draw a Wrapped Flower Bouquet in Procreate Posted in Freebies, Tutorials, Hand Lettering, Hand Drawn, Illustration, iPad Lettering, Procreate
No comments