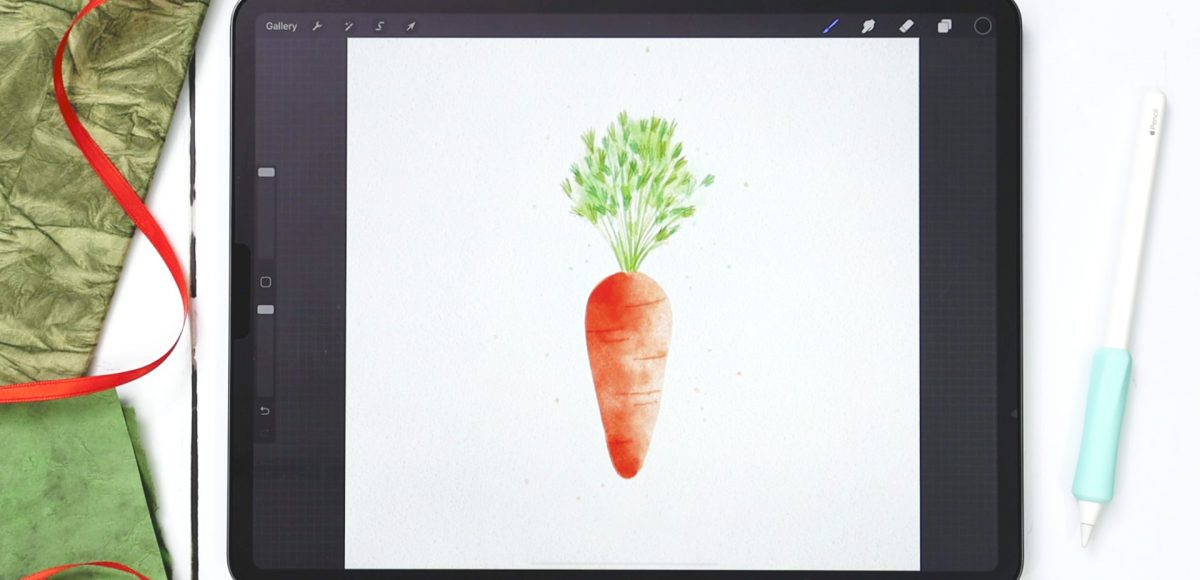
It’s Tuesday! This week, I walk you through my (beginner friendly!) process of creating a cute style watercolor carrot doodle entirely in Procreate. We start by establishing our sketch layer, then layer on color by adjusting blend modes and smudging our color for the desired look. We finish everything off with some paint splatter and a watercolor paper texture to complete the look.
Pin it for later!
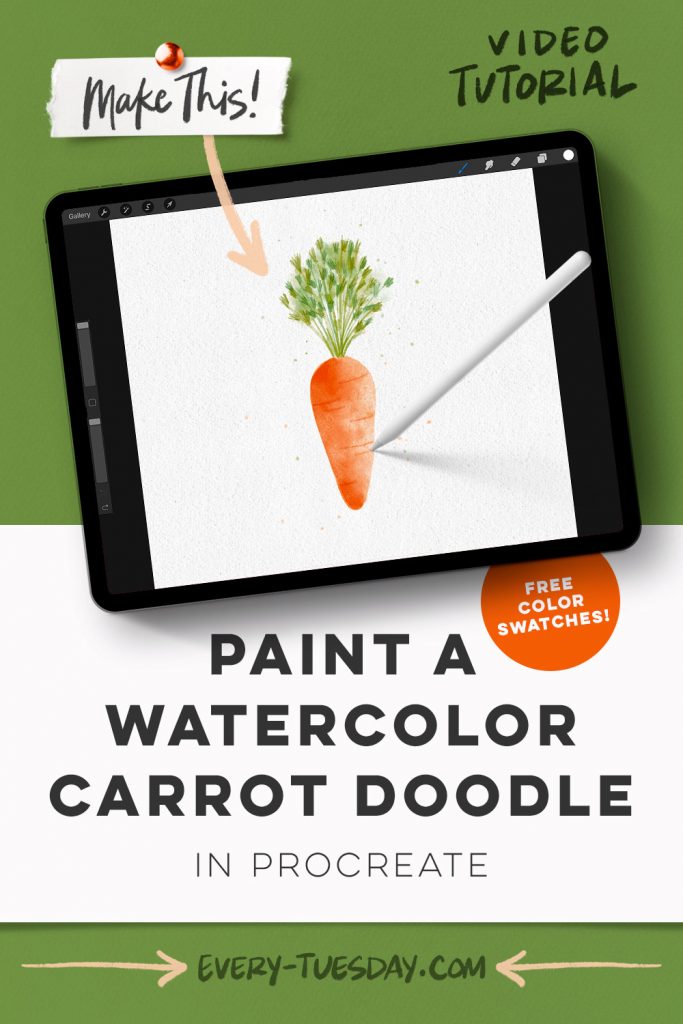
Paint a Watercolor Carrot Doodle in Procreate
Mentioned in this video:

Here’s a written overview of how to paint a watercolor carrot doodle in Procreate:
- Create a sketch of the carrot by starting with your sketching pencil. Draw the basics of the carrot with your vertical symmetry settings turned on for the base of the carrot. Draw in the leafy stems and make sure all the proportions look right.
- Paint in the base layer to the carrot with your medium paint round brush. Create a new layer above it, change the blend mode to multiply and paint in a new layer just on the left side of the carrot. Smudge the edge to get rid of the hard line. Repeat those steps one more time to make the left side even darker.
- Using the round liner brush, draw in the little lines on the carrot. You can soften the lines with your spot bleed brush.
- Draw in the stems with the medium paint round brush. Paint in some leaves to the tops of the stems switching between shades of green.
- Use your bleeding splatter brush and add in some green and orange splatters to the canvas.
- Add in the medium tooth watercolor paper texture in one stroke across the canvas. Make sure you have black selected as your color.
- Done!
Receive special offers on courses + products, a new design file every month plus instant access to the Resource Library!

Pick up over 50 design + lettering files as our gift to you when you join the Tuesday Tribe for free!
error
Congrats!
Please check your email to confirm.


No comments