I discovered this trick a couple weeks ago and I couldn’t wait to make a quick tip video (less than 3 minutes!) to share it! If you use reference images (or any temporary image to influence your work) in Procreate, you’ve probably noticed it’s always a part of the timelapse replay. Well, not anymore!
This week, I’m sharing how to guarantee no image you use in any of your Procreate artwork will ever appear in the timelapse replays – it’s a realllllly simple step that you’ll want to use for everything going forward!
Pin it for later!
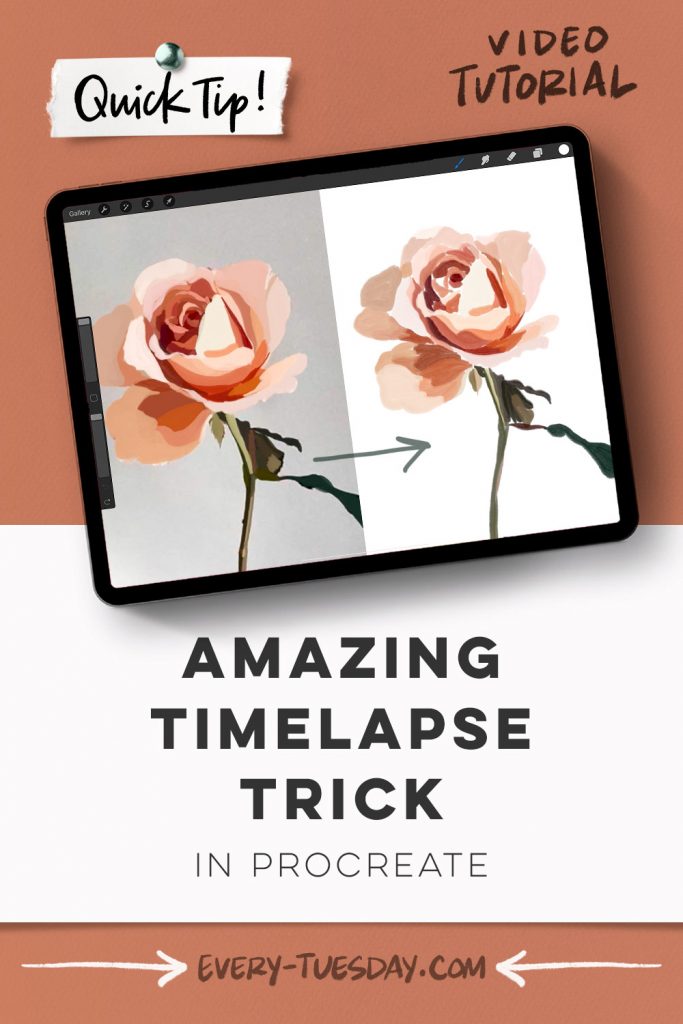
[Quick Tip] AMAZING Timelapse Trick in Procreate!
Mentioned in this video:

Here’s a written overview of an amazing timelapse trick in Procreate:
- Grab the source photo from the gouache source photos Pinterest board
- Create a new canvas that is 1080px x 1920px @300 dpi, Display P3
- Hit the wrench, click on add and then head to add a photo and drag it over to the left. This will show insert a private photo, choose that and then add in the gouache picture that we just downloaded.
- Now you can enlarge it, position it, and use it however you would with a normal reference photo.
- Using the gouache lovers brush set, use the thick round textured brush to create the underpainting. Then grab the streaky semi-transparent brush for all of the details on the rose.
- Export the timelapse video to see it without the reference photo. This is a great tool, especially with line art and illustrations.
- Done!
Receive special offers on courses + products, a new design file every month plus instant access to the Resource Library!
Pick up over 50 design + lettering files as our gift to you when you join the Tuesday Tribe for free!
error
Congrats!
Please check your email to confirm.


![[Quick Tip] AMAZING Timelapse Trick in Procreate!](https://every-tuesday.com/wp-content/uploads/2022/07/amazing-timelapse-trick-in-procreate-hero-1200x580.jpg)
No comments