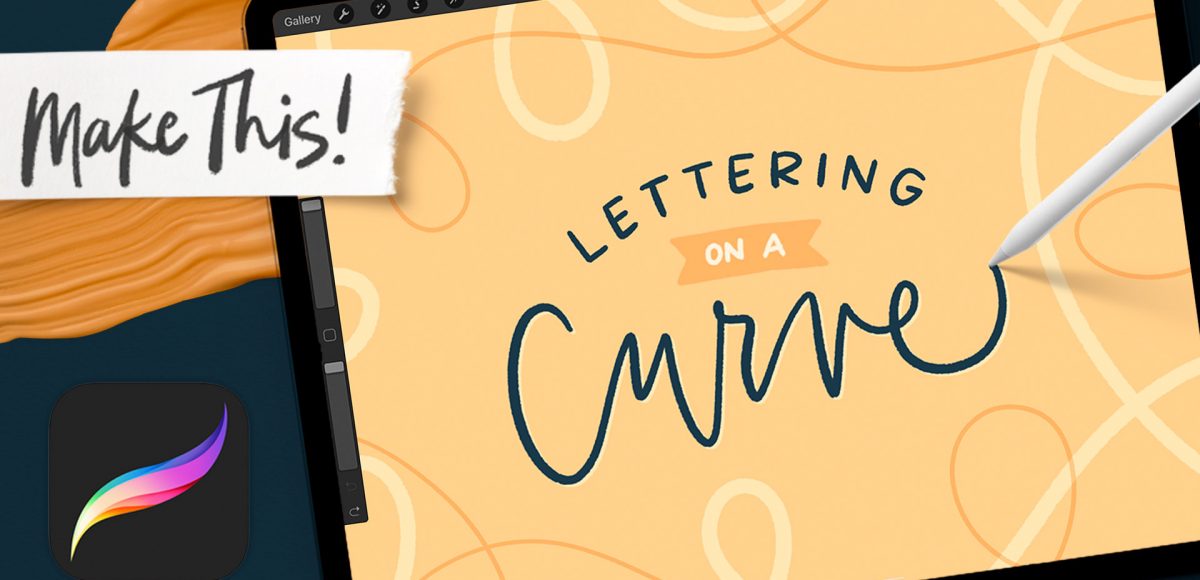
When it comes to lettering in Procreate, I’m often asked how to create lettering on a curve. Unfortunately, Procreate doesn’t currently have a way to type along a path (which would be the perfect template), so we have to get a little creative, but it *can* be done! This week, I’m sharing two ways you can do it.
Pin it for later!
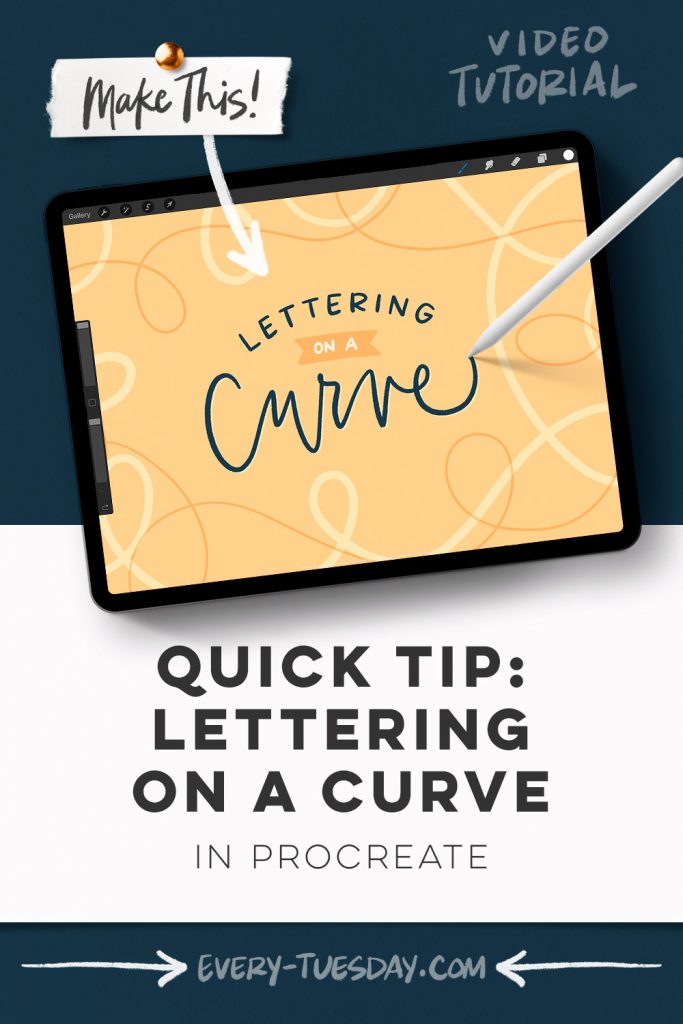
Quick Tip: Lettering on a Curve in Procreate
Mentioned in this video:
- Any brush you’d like! I used the Inky Edge Pro brush from my new Beautiful Lettering Brush Set
- I also used the vertical pattern guide brush from my Tuesday Lettering Guides set (optional)

Here’s a written overview of how to letter on a curve in Procreate:
- Option 1: grab your favorite lettering brush and draw a curve, hold it until it snaps. Reduce the opacity of that arc and duplicate that layer. Drag that layer above.
- Grab the vertical pattern brush and on a new layer, paint in the vertical guides. Write out the word you plan to write out on the side so you know how many letters you are working with.
- Find the center of the arc and draw a little dot to indicate where your middle letter should go.
- Use the vertical guide widths as a way to keep your spacing consistent.
- Option 2: Click on drawing guide, edit drawing guide and hit perspective. Tap on the middle of your canvas to create a vanishing point. Repeat the steps from option one to draw in the arc.
- Select both of your arcs and drag them until you hit the center line of your vanishing point.
- Deselect and create a brand new layer with your lettering. Turn off your drawing guide and other lines.
- Scale up your lettering to the size you want and reduce the opacity. Then create a new layer above and letter it out again with a more crisp, perfect edge.
- Done!
Receive special offers on courses + products, a new design file every month plus instant access to the Resource Library!

Pick up over 50 design + lettering files as our gift to you when you join the Tuesday Tribe for free!
error
Congrats!
Please check your email to confirm.



No comments