Happy Tuesday! This week is project no. 5 in my Procreate holiday greeting series!
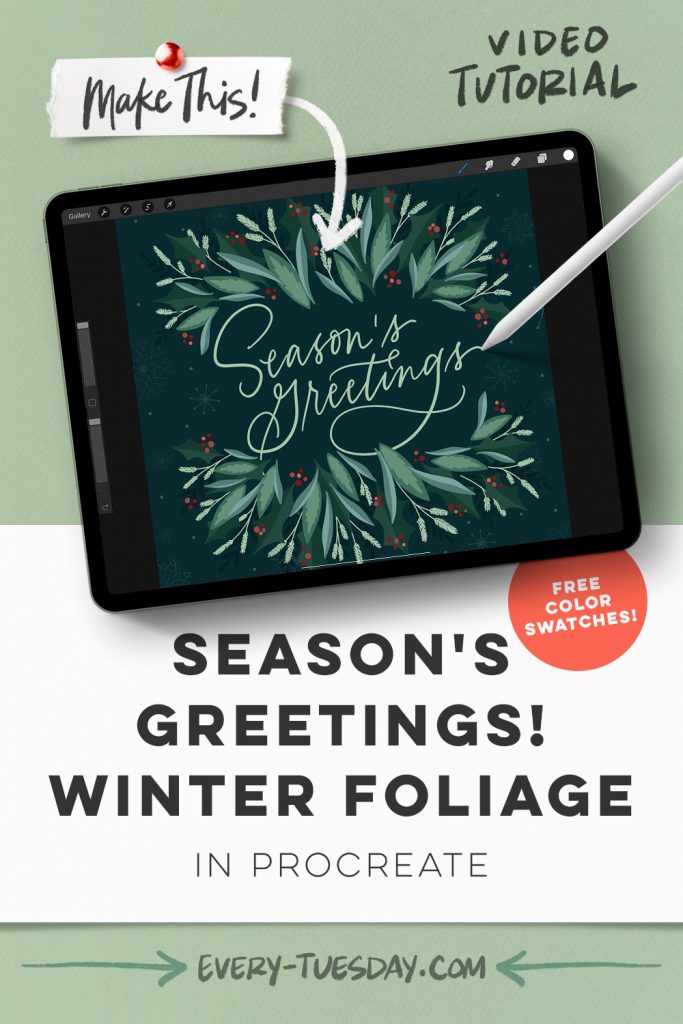
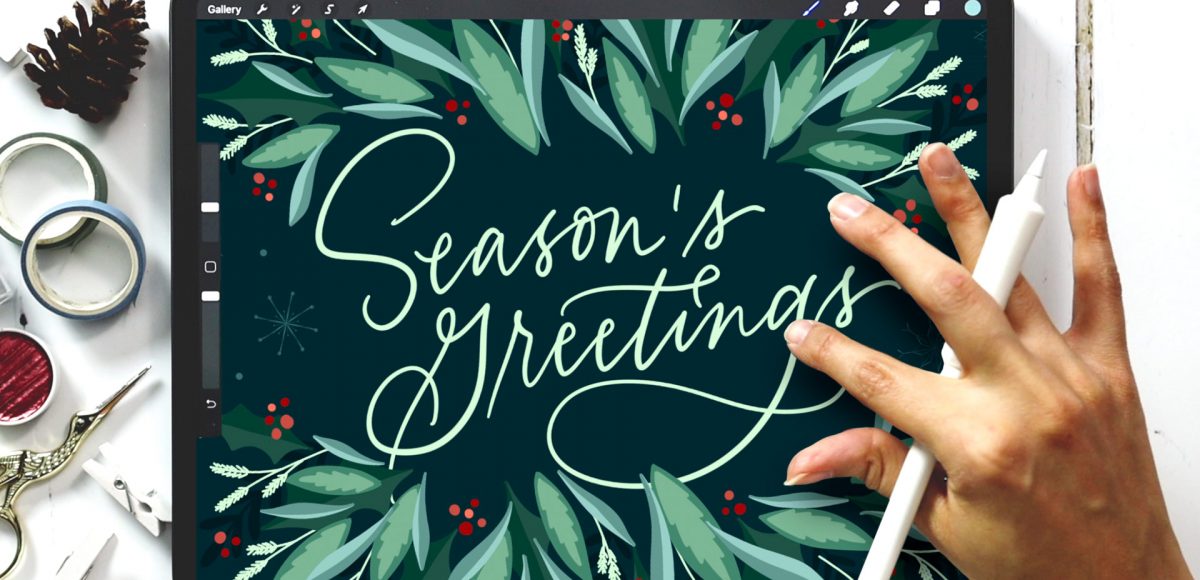
Today’s tutorial is composed of two things: holiday lettering and an explosion of flat style winter foliage. The things holiday dreams are made of, right? 😉
In the tutorial, we’ll first create and then visually center our lettering (feel free to use a font instead if you’d like!). Next, we’ll create a variety of different winter foliage elements and we’ll embellish many of them with simple details to add complexity. We’ll work with multiple layer groups and surround our lettering on the top and bottom to add extra focus to our message. Finally, we’ll finish things off with some subtle falling snow in our background. This is a very beginner friendly tutorial and is a nice skills reinforcement/follow up to project #1 in my new (free) Procreate 5X for Beginners course.
Pin it for later!
Season’s Greetings! Winter Foliage in Procreate
Mentioned in this video:
- Color palette (always free!)
- Free Signature brush for lettering
- Free monoweight brush
- Snow Stamps brush set
- Procreate 5x for Beginners course

Here’s a written overview of how to draw a season’s greeting winter foliage in Procreate:
- Start out by drawing out your holiday phrase in the center of your canvas.
- Then create your largest, most dominate elements first. Begin with the medium sized leaves creating a frame around your lettering. Use the clipping mask to add in details to each layer of your leaves.
- Next, add in holly leaves for background supporting elements by filling in half the leave to make a shadow.
- Create a new layer behind the holly leaves and make it a darker color than your background.
- Add in some punches of color with some berries. Try to vary the shades of red that you use and fill them in wherever you see some empty space that could use a filler.
- Then, group everything together except for the lettering and label it foliage. You can duplicate the entire piece, grab your cursor, slide it down and then rotate it vertically and then horizontally. Rotate it as you see fit to align with your lettering and your top foliage.
- Finally, create a new layer under your lettering. Mix and match using the snowflake stamp brush set changing up the size.
- Done!
Receive special offers on courses + products, a new design file every month plus instant access to the Resource Library!

Pick up over 50 design + lettering files as our gift to you when you join the Tuesday Tribe for free!
error
Congrats!
Please check your email to confirm.


No comments