HomePosts Tagged "advanced" (Page 2)

advanced Tag

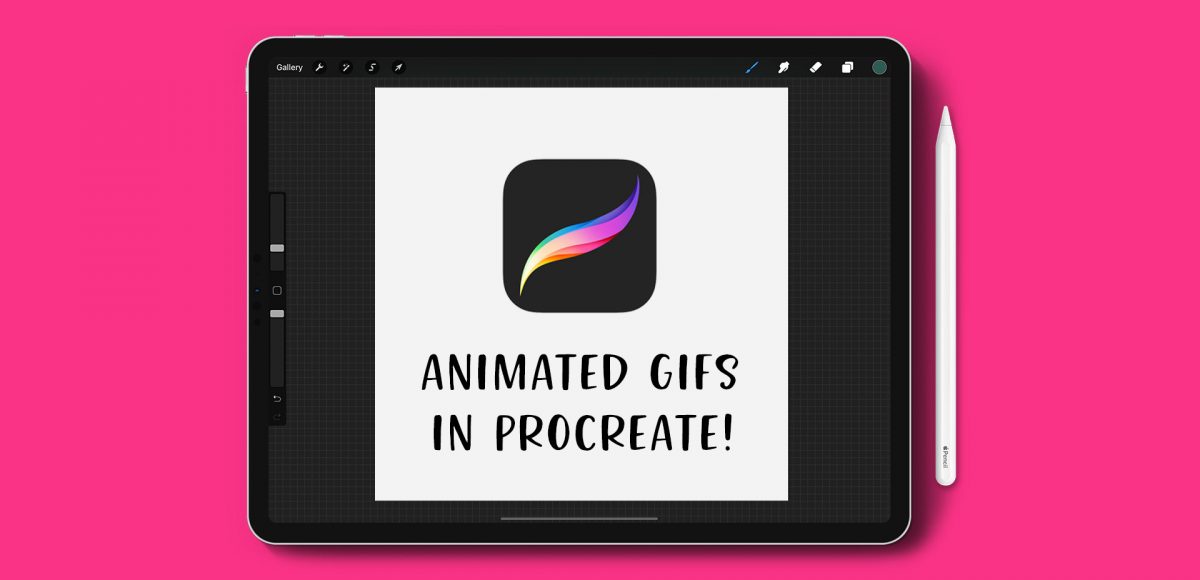
A few weeks ago, I asked on my Instagram if anyone wanted to learn how to make animated gifs in Procreate. After reading through the responses, I knew I couldn’t stop with just one! So I created 2 tutorials 😉 The first one is meant for beginners: getting the basics down + understanding how the file needs to be built. The second tutorial is a bit more advanced, since we utilize masking to make ‘drawn in’ lettering. Now that Procreate offers an export option for animated mp4s, it’s even easier to post your animations straight to instagram. Read on to see both tutorials!

One major change that came with Procreate’s last update was masking. It might not have seemed major if you aren’t familiar with masking, but it was actually a bigger deal than it probably got credit for. Masking essentially allows for a non-destructive workflow. What that means, is instead of erasing something you don’t need, then having to draw it back in if you change your mind, masking ‘hides’ the part you don’t want and you can bring back the original easily at any time. Pretty nice. You can check out how awesome masking is in Photoshop here and it actually works pretty similarly in Procreate. In this week’s tutorial, I’ll take you through the two most common lettering scenarios where I use masking in Procreate. Once you begin masking, you’ll see the immediate advantages and how much faster (and efficient) it makes creating and editing.

You may have seen this style of lettering floating around instagram and created in Procreate on an iPad. In this week’s tutorial, I share how to create the same effect, but in Illustrator. By using Illustrator, everything can be infinitely rescaleable since it’s vector-based. We’ll utilize some features you may not be aware of that you can use for future work, too. This is a slightly advanced tutorial, so the pace is a bit quicker. If you’re new to Illustrator, allow some extra time (or check out some beginner tutorials first). Read on to create colorful gradient lettering in Adobe Illustrator!

Happy Tuesday! I thought I’d add a more advanced tutorial to the mix since we’ve really laid all the foundation in earlier tutorials. Plus, this one’s really fun and with just a few quick steps, you end up with a pretty cool outcome. In this week’s video, we’ll add vector dimension to typography by taking some hand lettering created with the Wacom tablet (like in this or this tutorial), and we’ll add vector gradients to simulate shadows to bring in that vector dimension. The end result is a 3d looking piece of your own typography, plus you can use the same technique for any kind of artwork, not just typography – think logos, patterns, icons and illustrations! Let’s get started!

GDPR Icon

Your Privacy Matters

We use cookies to customize and create content that’s most important to you. We’ll never share the info we collect.

View Privacy Policy