HomePosts Tagged "shiny"

shiny Tag

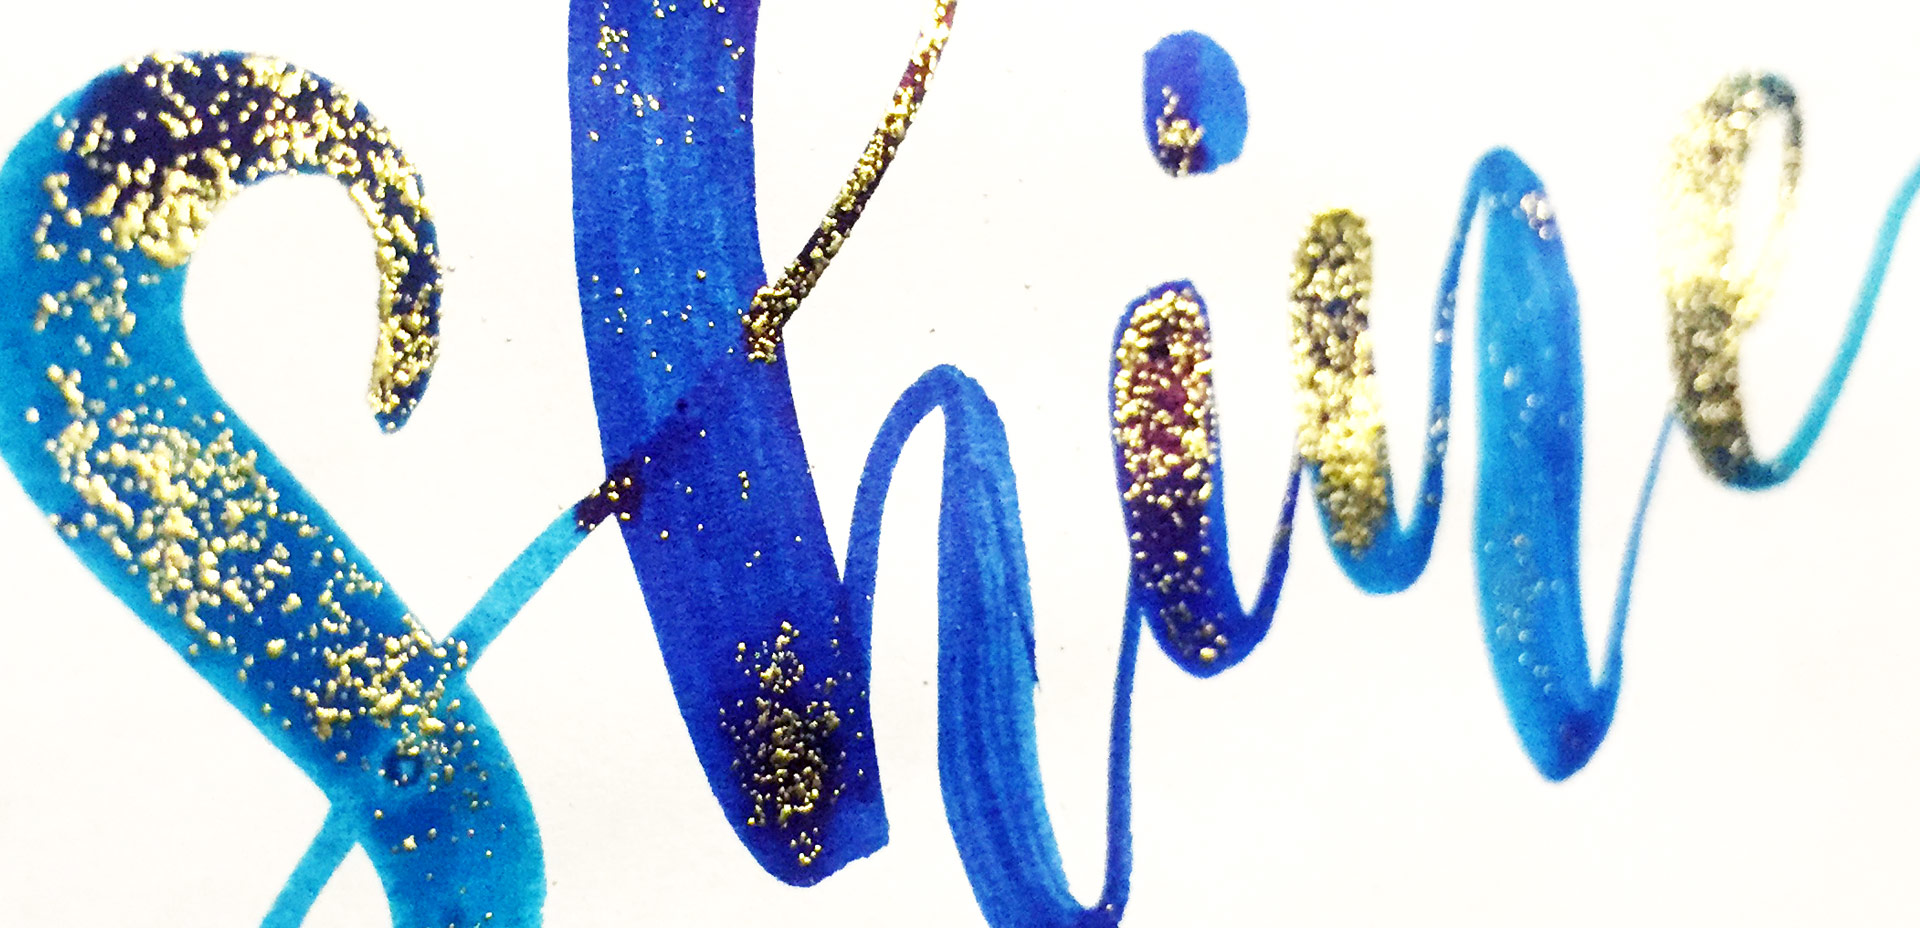
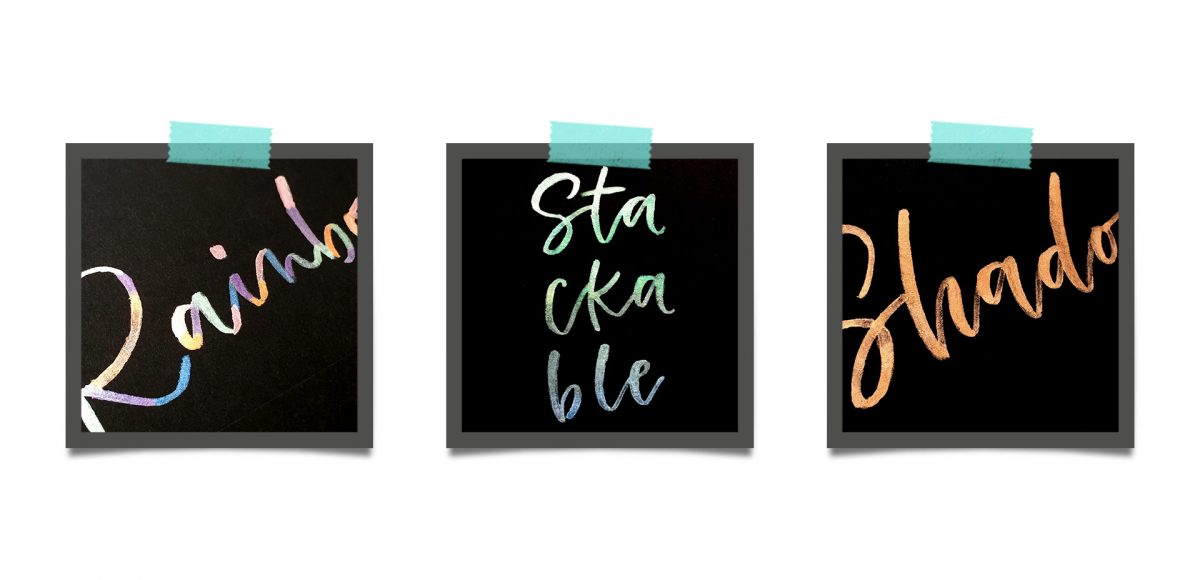
Last year, I bought myself a big pack of Coliro Colors FineTec metallic watercolors for my birthday. I had experimented with their gold collection earlier and couldn’t wait to have more colors to play with. The rest of the year, I obsessed with using them on new lettering pieces, custom greeting cards for friends and family – anything I could think of. The way they glimmer in the sunlight is so beautiful, I was constantly looking for ways to create other shiny outcomes 🙂 I broke them out again the other day and realized I never shared my blending methods in a tutorial, so it was time for that to change! These watercolors get thick + dry pretty fast, so blending can be a little more complicated than traditional watercolors. In this week’s tutorial, I walk you through 3 blending effects using metallic watercolors with all of my favorite, long-tested tricks 😉 Read below for them all!

This past January, we created a foil stamp effect in Photoshop, and I’ve recently had a few requests on how to accomplish the same look in Illustrator. With the holidays fast approaching, now you’ll have plenty of time to use it in Illustrator, too! Not only can this look be applied to typography like in the example, but you can also export it as a graphic style. Exporting graphic styles allows the foil stamp effect in Illustrator to be applied to any vector element, as well. Pretty powerful stuff. At the end of the video, I share how to export those graphic styles to use them in new documents or share them with others. Read on to see it all!

On Tuesday, we got crafty with mixing watercolors with diy embossing. In my opinion, this is one the most self-satisfying diy design/craft activities out there. There’s something about watching that embossing powder come to life with heat, and it’s literally eye candy every time. Today I’m sharing 5 simple, (but impressive!) DIY embossing ideas that will give your greeting cards, gift tags, stationery and artwork an extra level of cool. 😉 Read on for step by steps, exact supplies used and photos for each!

My brand new Skillshare class, Metallic Magic, just launched! I’m so excited to share the Photoshop tricks I learned when creating the Glitz + Glam Kit. In the class, I take you step by step, providing all of the color builds and settings you need to create your own digital foil from scratch in Photoshop. The class finishes up with us applying the foil textures we create to social media posts for quick sharing in any network you choose. By enrolling in the class, you’ll receive a free social media sizes cheat sheet, resources pdf and special glitter file ✨ If you’ve never tried Skillshare before, you can enroll in the class for free by using this link! In celebration of the class launch, I wanted to share the class trailer today so you can see everything you’ll be able to make after you take the class!

I pulled some pretty long hours getting the Glitz + Glam Kit ready for the holidays because I knew it was exactly what I needed this year to push my designs further…plus, who doesn’t like a little extra sparkle + shine in their work ? 🙂 This week – whether you’ve picked up the kit yet or not (here’s the freebie texture from last week you can use!), we’ll create a holiday wreath in Photoshop with foil accents. We’ll go over creating and applying a custom brush to a path, adding a foil texture to it and even changing the color of the foil! I also share how I set up my Instagram files in Photoshop 🙂 Read on to see it all!

GDPR Icon

Your Privacy Matters

We use cookies to customize and create content that’s most important to you. We’ll never share the info we collect.

View Privacy Policy