Home2016September

September 2016

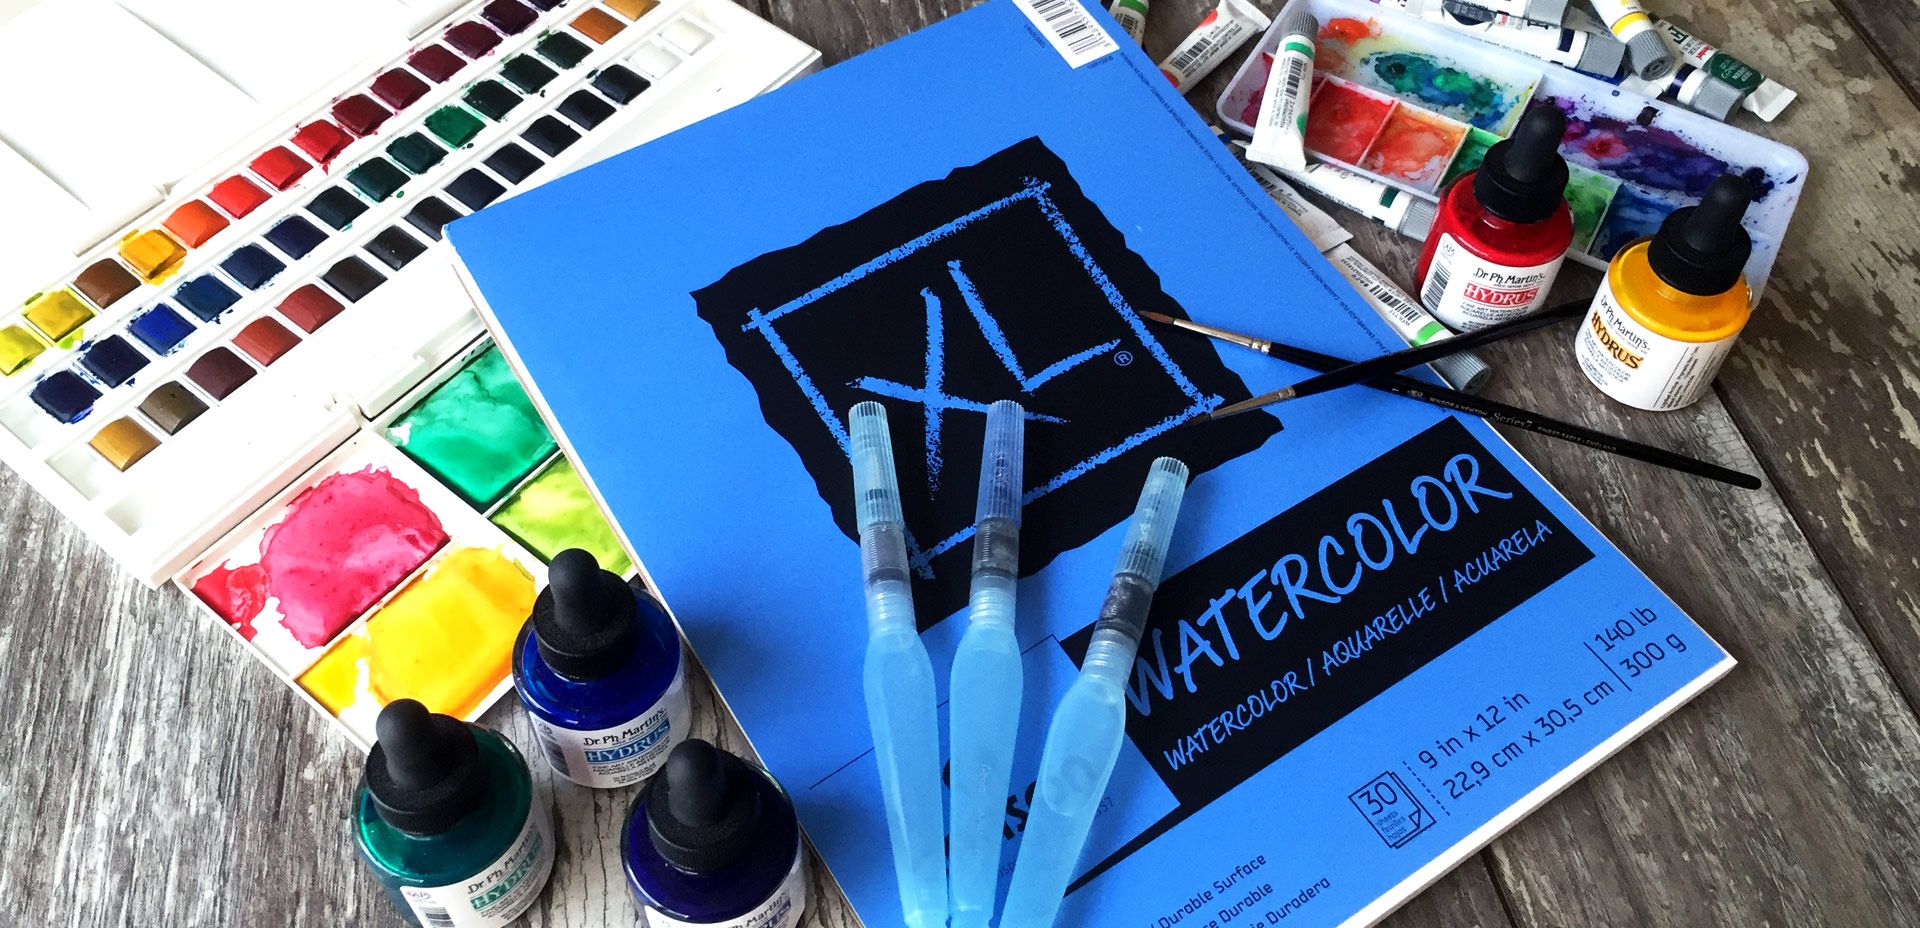
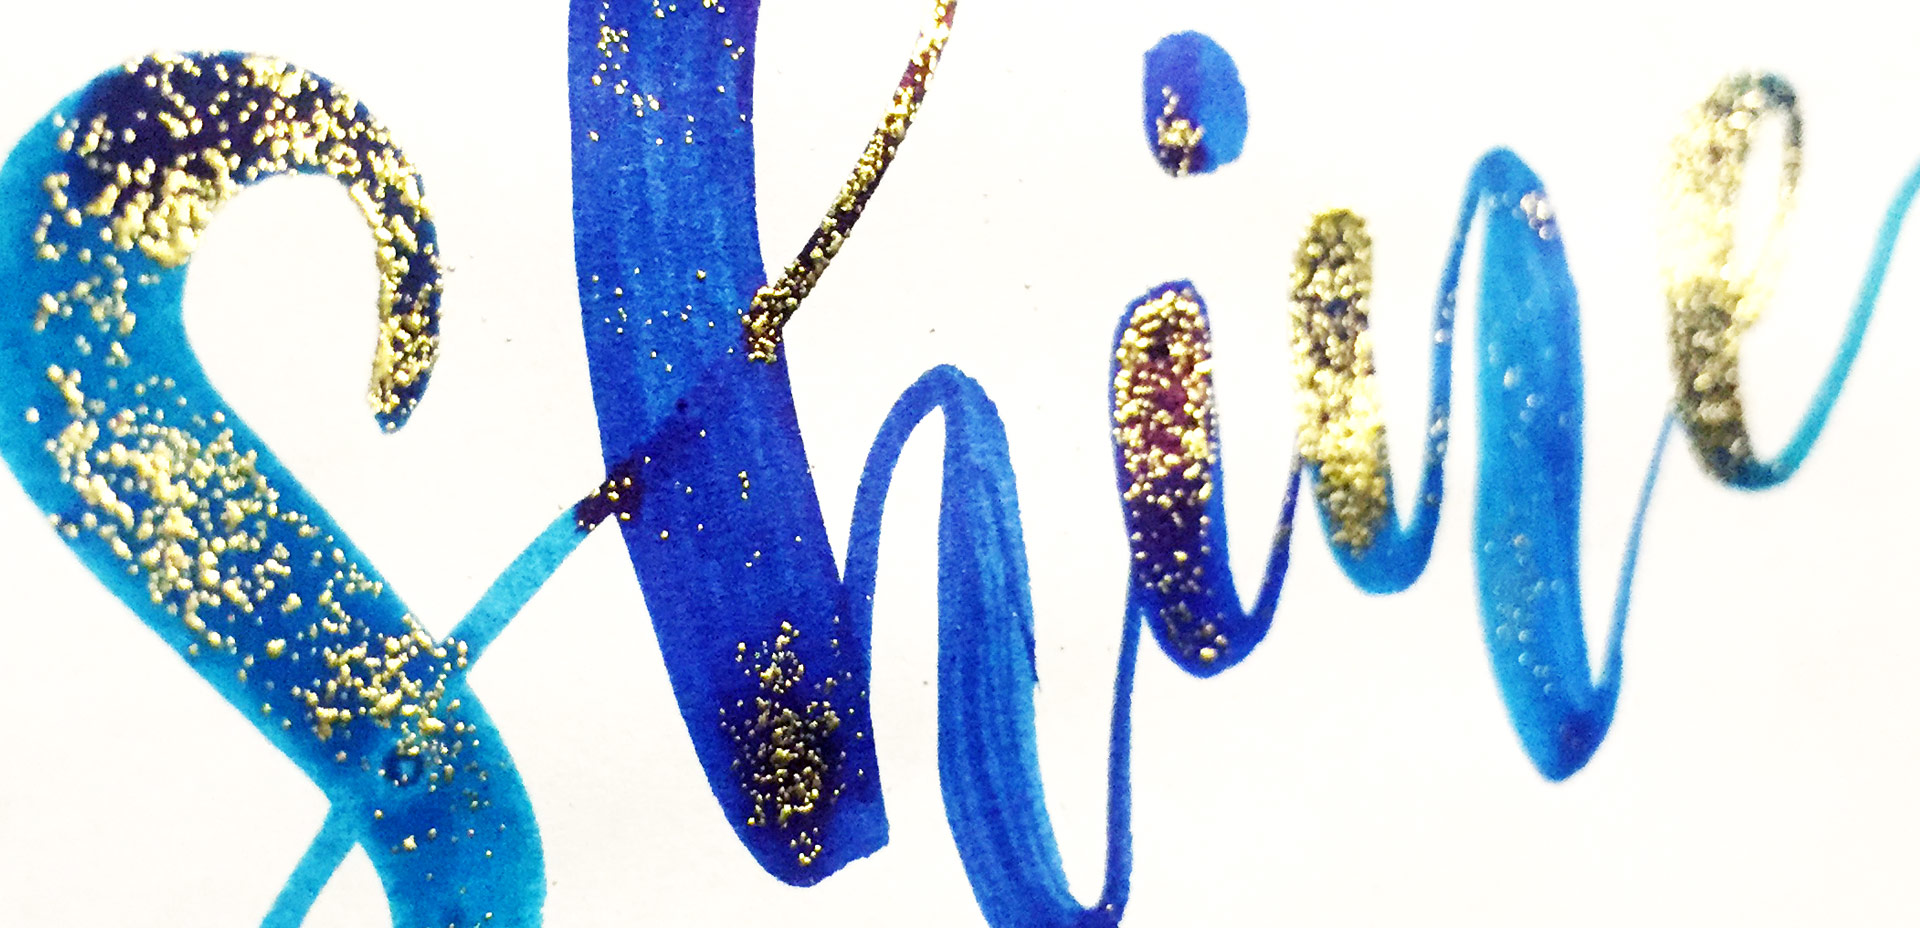
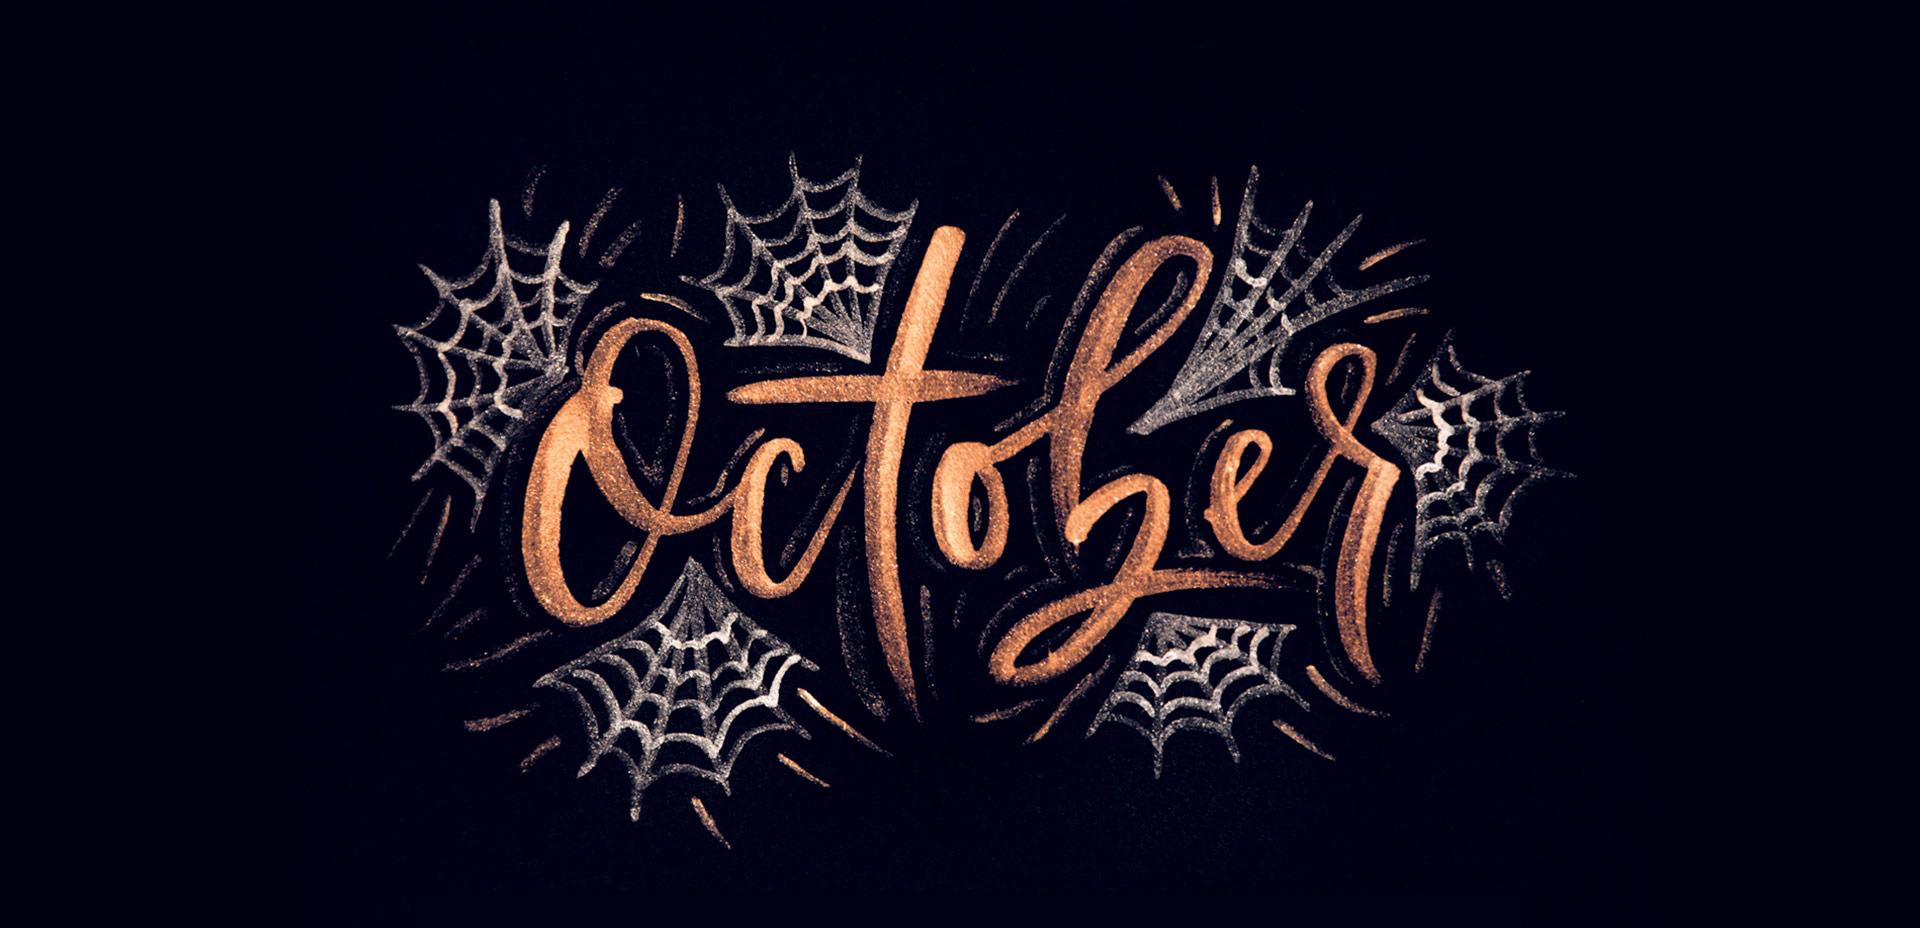
Today’s the last Thursday in September, so it’s time for your free October 2016 desktop wallpapers! This month’s wallpaper was hand lettered with the super-fun-to-play-with FineTec metallic watercolors. The paper is Neenah Astrobrights Eclipse Black, which actually holds up perfectly with the metallics. FineTecs are naturally on the thicker side, so they sit right on top of cardstock like they were meant to be together 🙂 . This download includes the wallpapers in two common resolutions: 1280x1024px and 1920x1080px, with and without dates. I’ve left ‘2016’ off of the ‘no-dates’ jpgs, so you can use this for any October in the future, too!

One of my favorite uses for the hand lettering I create is vectorizing it and using it digitally. When it’s digital, you don’t just have one copy anymore; you have unlimited copies. Unlimited copies leaves the door to digital and physical prints massively wide open. By taking a few simple steps, you can quickly digitize your lettering, clean it up in Illustrator and create a print ready file in a matter of minutes. Like I said, one of my favorite things 🙂 This week, I share my full process on how I do it by creating a hand lettered birthday card in Illustrator!

If you’re an Every-Tuesday subscriber, then you already received this brush lettering with watercolor supply list in your inboxes yesterday 🙂 It’s too useful of a resource not to share, so I wanted to also bring it into the blog this week. Having the right supplies can be a serious road block when you’re just getting started, and a costly one at that. After going through my fair share of supply testing (and cash), I’ve compiled a list of my absolute favorites. For those on a budget, or if you’re not sure if this is for you, I’ve also included a separate list of comparable, lower priced items 😉 My newest master course, Brush Lettering with Watercolor is now open if you’d like to put these supplies to use!

I’ve only recently started incorporating Illustrator texture brushes into my work, and I regret not doing it sooner! Illustrator texture brushes offer so much hand made feel with such little effort, you almost feel like a magician 😉 To get started, all you need is any kind of vector texture like this set of inky brush strokes or these mini grit textures (both free!). From there, we convert them into Illustrator art brushes with specific settings and we’re done! This will be such a great addition to your regular workflow if you love including extra texture into your work. For the tutorial, we’ll create some inky and gritty typographic drop shadows in just a few quick minutes. Read on to see it all!

On Tuesday, we got crafty with mixing watercolors with diy embossing. In my opinion, this is one the most self-satisfying diy design/craft activities out there. There’s something about watching that embossing powder come to life with heat, and it’s literally eye candy every time. Today I’m sharing 5 simple, (but impressive!) DIY embossing ideas that will give your greeting cards, gift tags, stationery and artwork an extra level of cool. 😉 Read on for step by steps, exact supplies used and photos for each!

I think it’s pretty fair to say that diy embossing is reallllly popular right now. It’s easy to see why; First, there’s watching colorful powder stick magically to invisible ink. Next, there’s witnessing it look completely different (especially metallics) once heat is applied. The results look like they came from a pro print shop! I haven’t come across many videos of a watercolor/embossing combo, so it was time for that to change 🙂 I recently started applying embossing designs to my watercolor lettering and it makes for some really tactile + impressive outcomes.  This week I wanted to have some fun by sharing watercolor lettering with DIY embossing 3 ways. Everything used in the video listed with links below!

On Tuesday, we walked step by step, creating our own hipster-style clothing tag vector shapes and designs from scratch in Illustrator. Knowing which shape you’d like your tag to be when you begin informs all of the design decisions you make afterwards. The cool thing about tags is that there are soooo many options when it comes to shapes! I’ve found having a few ideas in mind of which shape I’d like helps me to sketch out a bunch of ideas quickly, which makes my final shape decision a confident one.

I’ve somehow always been drawn to really beautiful design on smaller items. It might just be the cuteness factor, but serious planning goes into hierarchy and layout in such a small space, and that has always been really impressive to me. Do you ever check what the clothing tags look like when you’re shopping? I remember the first time I ever obsessed over a clothing tag. It was when I was in high school and at the mall with friends (I probably should have known a career in design was imminent at that moment). Anyway, I wasn’t in love with whatever article of clothing it was (see? I can’t even remember that part!) but I loved that tag, so I bought it anyway (in my defense, I’ll also note this was before cell phones with cameras). Roll your eyes if you must. 😉

If you love thoughtful graphic design on smaller things too, this tutorial’s for you! In this week’s video, we’ll create a hipster style clothing tag from scratch using just Adobe Illustrator. Get started below!

In many of the ventures I’ve taken into the depths of Instagram eye candy-land, adding some splatter to finished artwork is totally a thing. Here’s another thing though – splattering those babies is messy. Those little splatter dots actually go everywhere – I still have some on my keyboard from when I made this freebie 😁. If you’re taking your artwork digital, or editing things a little further, there’s a way to avoid those little keyboard/desk/everywhere ink freckles: pre-made splatters! This week’s freebie is a set of 3 varied mini ink splatter textures you can use at will. Grab them below, plus check out a few ideas + inspiration for using em!

GDPR Icon

Your Privacy Matters

We use cookies to customize and create content that’s most important to you. We’ll never share the info we collect.

View Privacy Policy