Grit textures are one of the quickest ways to add a handmade feel to digital art. By adding a little texture to edges, borders, blocks of color or even shadows, simulated depth and an organic feel are created. What’s even better is that it only takes a little effort to create and apply them. In this week’s tutorial, I’m sharing 3 of my favorite simple tricks for creating unique grit textures. In the coming weeks, I’ll also be sharing how to digitize and apply them to artwork. Let’s kick this off by breaking out some ink and experimenting!
Pin it for later!
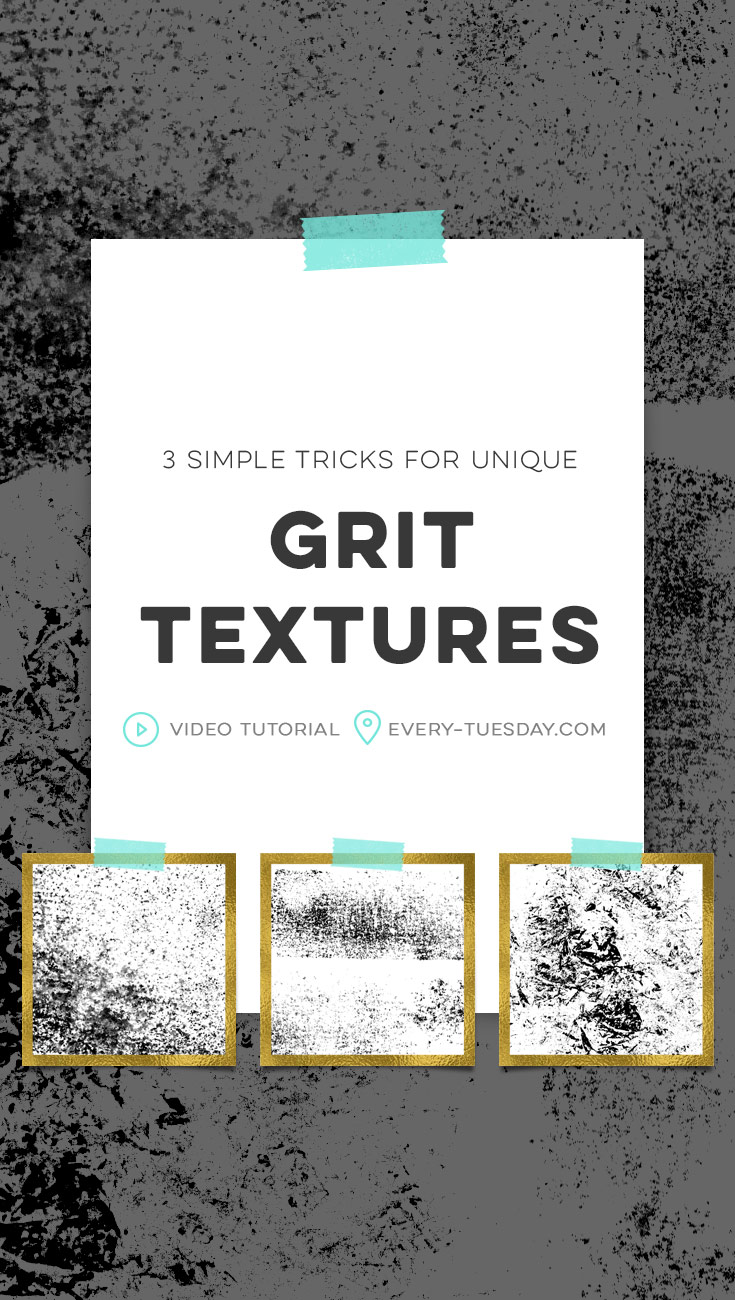
3 Simple Tricks for Unique Grit Textures
Mentioned in this tutorial:
- ColorBox ink pad
- Black masking tape
- Small spray bottle
- Sandwich bag
- Ink roller/brayer
- Speedball black printmaking ink
- Saran wrap
- Grit Textures Kit
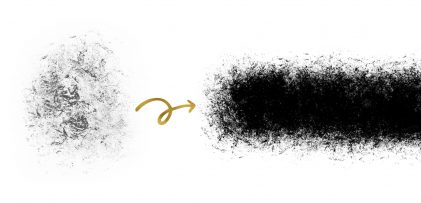
- Free rolled ink textures
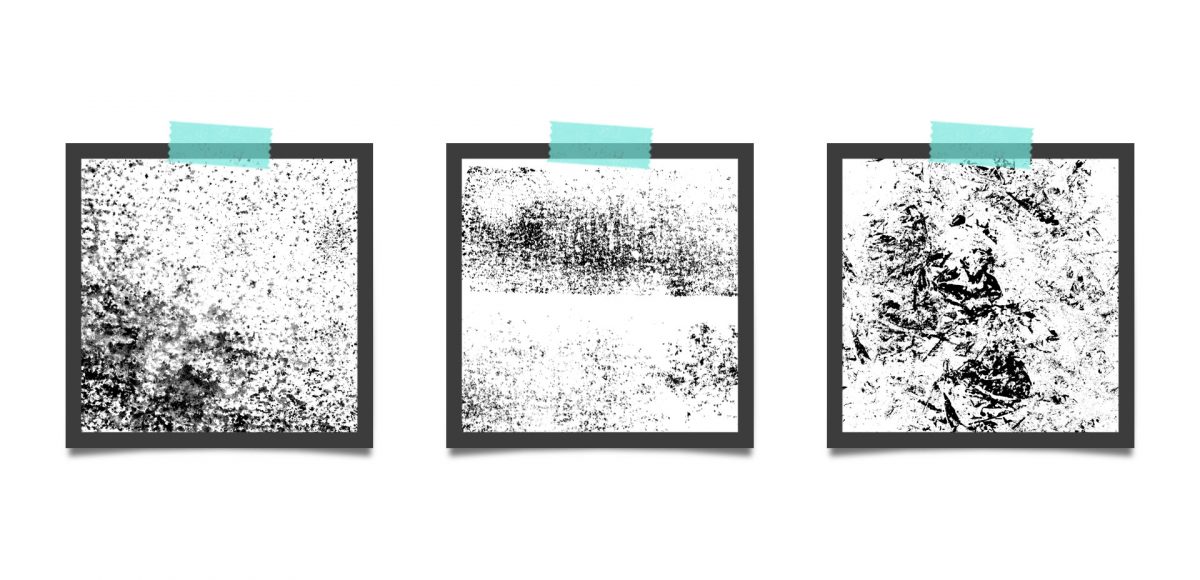
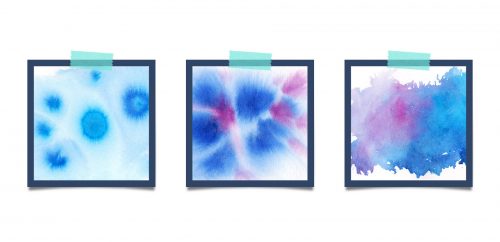
Here are the outcomes from what we did together:
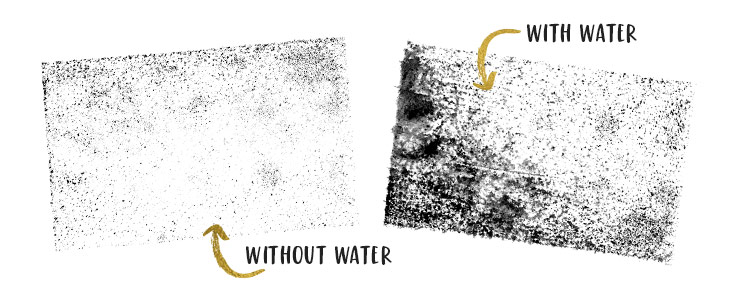
ink pad + spray bottle + sandwich bag
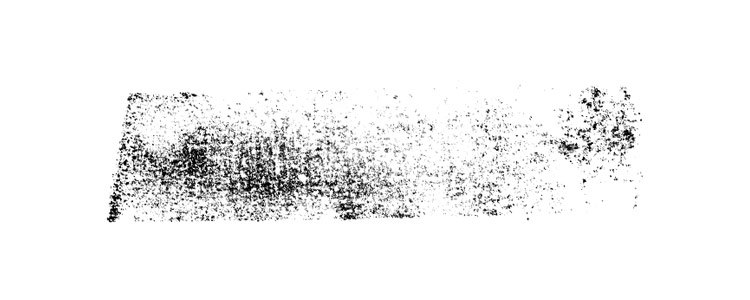
ink pad + masking tape
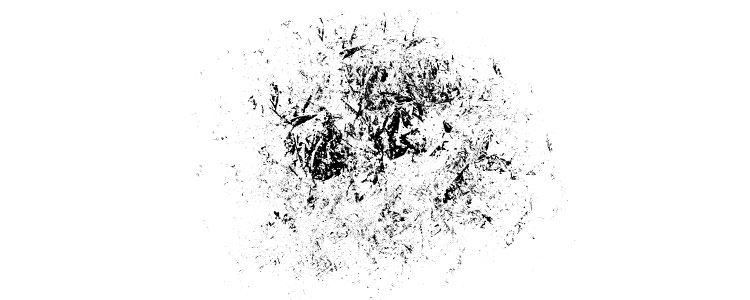
printmaking ink + saran wrap

Here are those tricks in written format:
- Trick 1: Place your full ink pad down on your paper and press, then lift up to reveal the texture. Take it further: press it onto a sandwich baggie. Spray once with water at a distance, then press onto paper. The small dots will have expanded from the water to reveal a higher contrast, darker texture.
- Trick 2: Cut a piece of masking tape. Place the masking tape sticky side down onto the ink pad. Press to transfer ink from the pad onto the tape. Stick the tape down on your paper, then lift up. For a more distressed texture, stick multiple times before reapplying ink. Perfect for edge textures and borders.
- Trick 3: Use your ink roller and printmaking ink to roll out textures. To take it further, use the masking tape trick to create some darker, grittier textures than with the ink pad. Finally, grab a sheet of saran wrap and form it into a ball. Dip the ball into the leftover ink and blot your paper. For a more distressed look, blot continually before reapplying ink. Other variations of the same method could be used with a crumpled sheet of paper or even tin foil. Enjoy!
Receive special offers on courses + products, a new design file every month plus instant access to the Resource Library!

Pick up over 50 design + lettering files as our gift to you when you join the Tuesday Tribe for free!
error
Congrats!
Please check your email to confirm.


Marie | October 12, 2017
|
I need to get me an ink pad ASAP. Thanks Teela!
Wendy | October 25, 2017
|
Great ideas. Is there a link for how you digitize the textures?
Thank you!
jessica | December 6, 2017
|
whats the style or brand for printer/scanner that you recommend?
Teela | Author | December 12, 2017
|
Hey Jessica! Check out this post for my recommendations 🙂