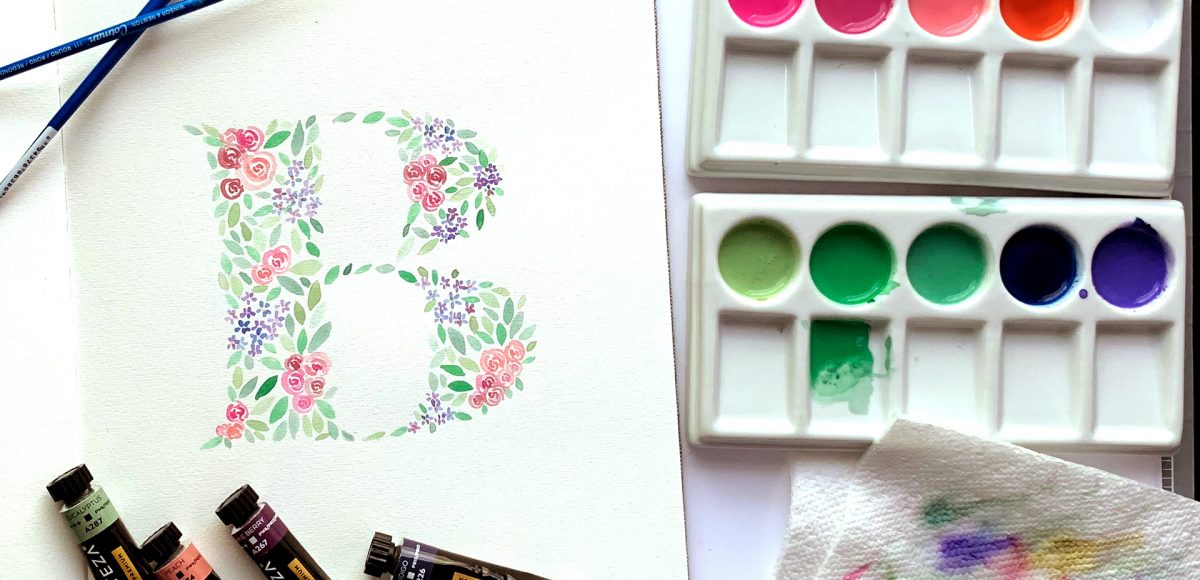
In the US, Mother’s Day falls on May 12th this year. After giving birth to our daughter on December 28th, this will be my first Mother’s Day as a mom! I wanted to celebrate by creating artwork that can be used as a greeting card as well as wall art! In this week’s tutorial, I share my process on how to paint a watercolor floral initial. All you need is your favorite font, watercolors and some watercolor paper. No prior watercolor floral skills necessary! Read on to see how!
Pin it for later!
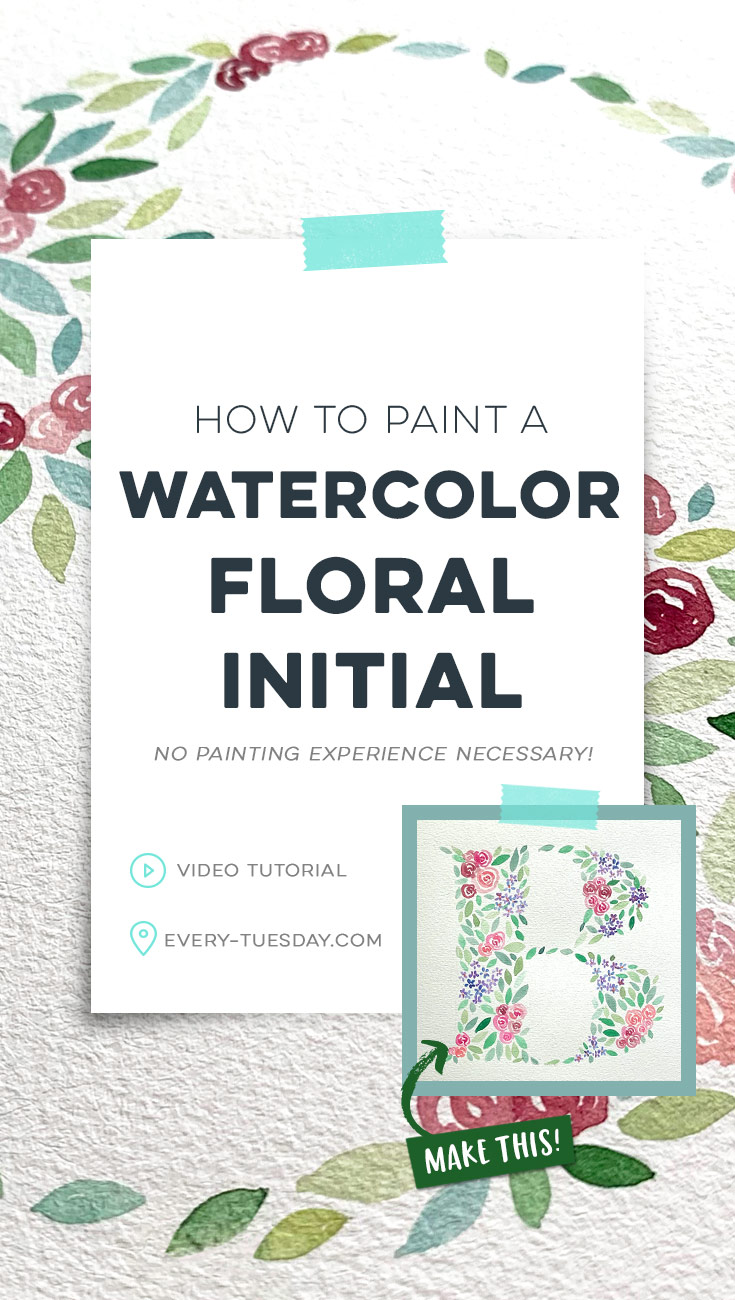
How to Paint a Watercolor Floral Initial
Arteza has generously offered Every Tuesday readers 10% off all of their products! Use the code TeelaCunningham2 from now until June 10, 2019 for the discount!
Supplies mentioned in this tutorial:
- Arteza Watercolors˙ (you could also use watercolor brush pens if you have them!)
- Watercolor Paper˙
- Size 0 and Size 4 Winsor & Newton Cotman round watercolor brushes˙
- Your favorite font (I’m using Tenez˙)
- One soft lead pencil and one hard lead pencil (I’m using a 4B + a 4H)˙
- Pentel Clic Eraser˙
- Porcelain paint palettes˙
Optional for greeting cards:
- Blank foldable card
- Envelopes (be sure to match folded card size)
- Tombow adhesive applicator˙
Other watercolor floral related tutorials you might be interested in:
- Paint 4 loose style small watercolor florals
- Paint a watercolor branch
- Watercolor Florals for Graphic Design (online course)

Here are the written instructions for how to paint a watercolor floral initial!
- Begin by printing your initial in black on a sheet of copy paper. Trace the back side using a soft pencil. Place the initial on top of your watercolor paper and trace (or scribble) on the front side using a hard pencil to transfer the initial’s outline.
- Mix your watercolors. Be sure they aren’t too opaque and practice painting leaves, roses and forget me nots. When comfortable, move to your initial.
- Paint clusters of roses and forget me nots randomly throughout the initial. Allow to fully dry. Fill in all the white space with leaves that are different colors, sizes, and transparencies.
- Once dry, paint the centers of your forget me nots and add extra detail if desired to your roses by painting the centers a bit darker.
- Erase away your pencil marks. Done!
˙If you choose to purchase using this link, it means I may make a commission at no additional cost to you. I only promote products I’ve personally used, trust and believe in. Thank you in advance for supporting the free content on Every Tuesday!
Receive special offers on courses + products, a new design file every month plus instant access to the Resource Library!

Pick up over 50 design + lettering files as our gift to you when you join the Tuesday Tribe for free!
error
Congrats!
Please check your email to confirm.



No comments