I actually stumbled upon this effect while playing around in Photoshop with this Instagram post awhile back. It felt like it needed a little something extra, and after playing around with some settings, I was able to get a watercolor glitter effect I really loved. I had completely forgotten about it, then that instagram post randomly appeared in my pinterest feed the other day. That’s when I knew I had to create a tutorial 🙂 If you’re not ready to use your own watercolor lettering yet, I’ve included another option for achieving the same effect using your favorite fonts. Read on to see it all!
Pin it for later!
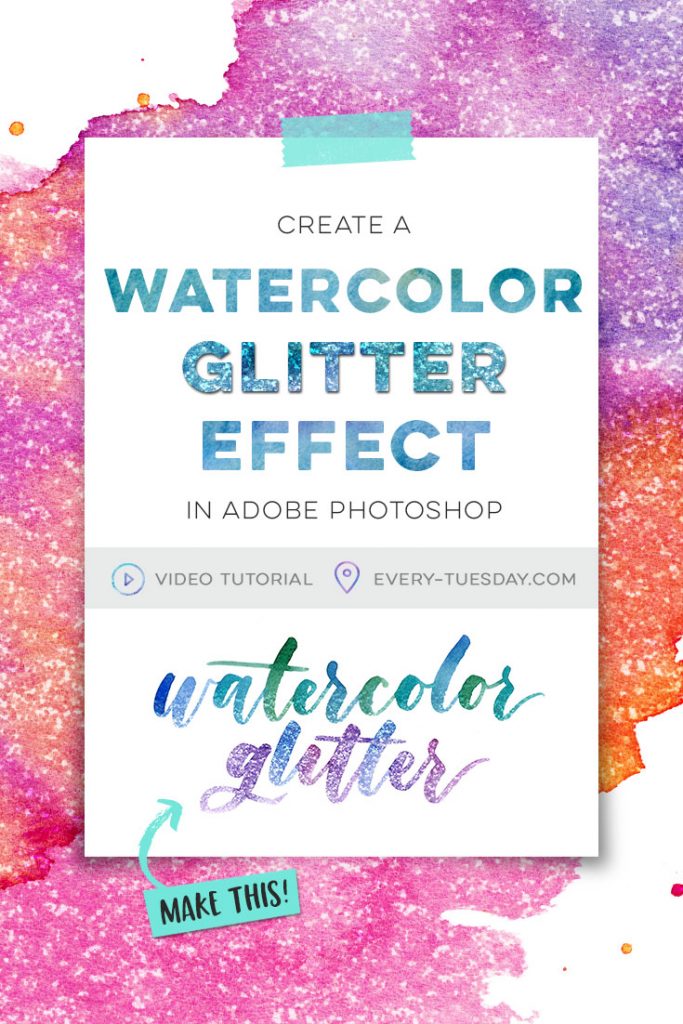
Create a Watercolor Glitter Effect in Photoshop
Mentioned in this tutorial:
- Glitz + Glam Kit for Photoshop
- Watercolor Texture Kit vol. 3
- Miss Magnolia font
- Photoshop Masking tutorial
For more on brush lettering with watercolor, check out my online course!

Here are the written steps for the watercolor glitter effect if needed 😉
For your original watercolor lettering:

- Double click on your lettering’s layer. Navigate to ‘pattern overlay’ and apply a silver glitter pattern from the glitz and glam kit. Set the blend mode to ‘overlay’ and adjust the scale as needed.
- If you’re using your own glitter texture, file > place the texture in, then adjust the blend mode within the layer palette.
- To apply the texture to certain areas, duplicate the lettering layer. Turn the effects off of the bottom layer, then apply a layer mask to the top layer.
- Using a soft brush with black as your foreground color, brush away the areas you don’t want the glitter to appear. Switch the brush color to white to bring back any glitter you may have hidden.
To create the same effect with fonts:

- Typeset your font to say what you’d like and apply the watercolor pattern style from the watercolor texture kit vol. 3 (make sure you choose a blend mode of ‘normal’). If you’re using your own watercolor texture, file > place it in, then right click on its layer and choose ‘create clipping mask’. Next, group both layers together, right click > convert to smart object.
- If you used a watercolor pattern, duplicate the text layer and turn off the original text layer. Right click on the top layer > convert to smart object. Double click to apply a glitter pattern, and make sure the blend mode is set to ‘overlay’.
- To apply the glitter to certain areas, duplicate the smart object layer and turn off the effects on the bottom layer. Apply a layer mask to the top layer.
- Using a soft brush with black as your foreground color, brush away the areas you don’t want glitter to appear. Switch the brush color to white to bring back any glitter you may have hidden
- Done!
Receive special offers on courses + products, a new design file every month plus instant access to the Resource Library!

Pick up over 50 design + lettering files as our gift to you when you join the Tuesday Tribe for free!
error
Congrats!
Please check your email to confirm.







Jeanne Sullivan | May 16, 2017
|
Dazzling! …Literally! Thanks for sharing your glitter effects, Teela!
Teela | Author | May 26, 2017
|
❤️
Vivian | May 19, 2017
|
Hi
So what are the steps to create glitter effects if i’m using illustrator instead?
Thanks!
Teela | Author | May 26, 2017
|
Photoshop would be the best program for this kind of technique since you’re using two images vs. vector artwork. You could apply clipping masks and blend modes, but the file would get large quickly and it wouldn’t be the best practice for something like this