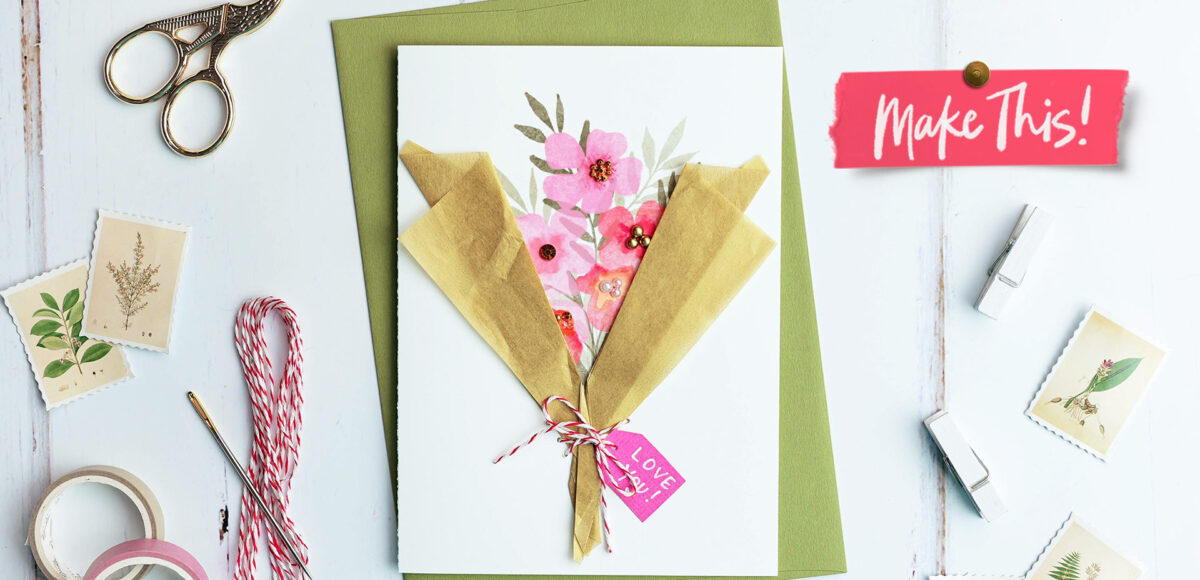
This week, we’re turning our digital artwork into a mixed media wrapped bouquet card we can hold in our hands! My daughter and I have been making a lot of craft projects together lately, so my brain’s been in craft mode more than usual. When I started thinking about new tutorials, I became obsessed with mixing Procreate/digital art with crafting supplies for giftable or sellable physical pieces. Today’s project is the first digital/craft combo project of hopefully many (if this resonates with you, too!). First, we’ll create some artwork using Procreate, then print it using a home printer. Next, we’ll add several craft enhancements for a finished, mixed media greeting card you can gift or sell!
Pin it for later!
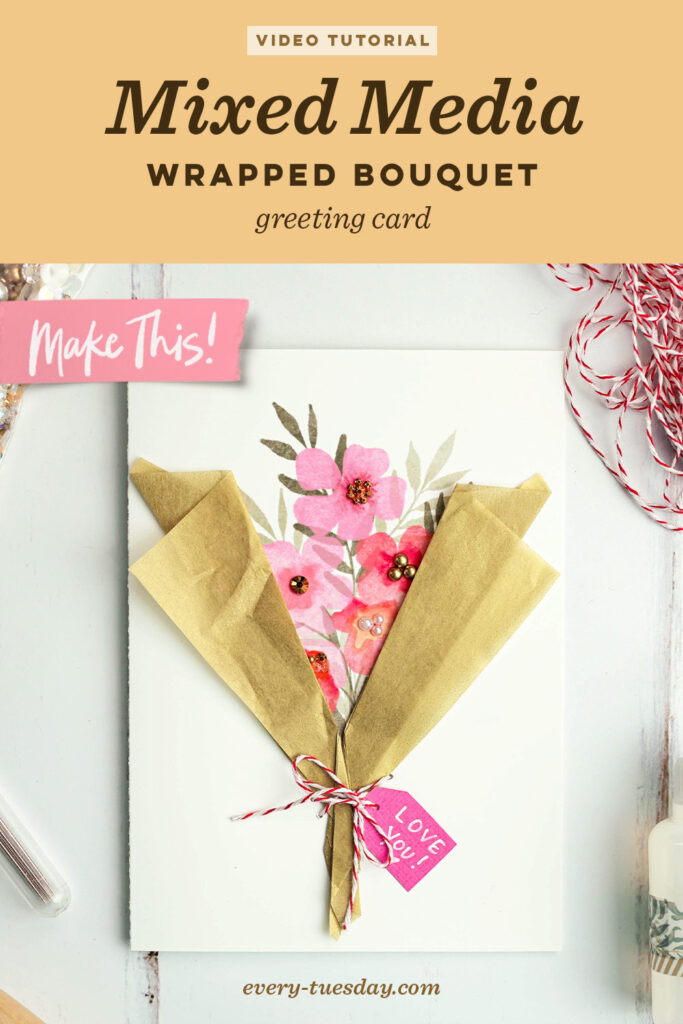
Craft a Mixed Media Wrapped Bouquet Card
Materials + products used in this tutorial:
- Free Wrapped Bouquet Card Swatch File
- Bouquet Maker Brush Set
- Messy Watercolor Brush Set
- Printable Canvas Templates (A6 folded card)
- -or- use this free 4″x6″ folded card canvas template
- Canon (basic) home printer/scanner
- Utility knife
- Cork backed ruler
- Self healing cutting mat
- Scoring Tool
- Double sided matte photo paper
- Rhinestones (champagne colored)
- Rhinestone picker
- Rhinestone glue
- Glue applicator bottle
- Bookbinding kit (includes needles, awl + bone folder)
- Baker’s twine (red + white)
- Tissue paper
- Glue Tape
- White posca marker

Here’s a quick recap of how we crafted this card!
Digital Section:
- Begin in Procreate, painting your florals on the A6 folded card template. You’ll want to keep the tiny bouquet above center with more foliage on top and bottom than on the sides. Make your arrangement more vertical, so you’ll have extra room on the sides for the wrap.
- Once your digital artwork is complete, turn off the visibility of your outline and bleed layers. Insert double sided matte photo paper into your home printer (my recs are linked above!). In Procreate, hit share > TIFF (or jpg) > print. Select letter and change your paper type to photo and quality to best, then print! Not an iPad user? You can paint your florals traditionally on watercolor paper, then pick up at the crafting steps!
Craft Section:
- Once printed, score then cut your card out following the guides.
- Next, add rhinestones to the stamens of your flowers.
- Once the rhinestones are added, it’s time to make the wrap! Using tissue paper or any lightweight colored paper you have on hand, cut a rectangle roughly half the width of the folded card and as tall as the tallest bouquet flower.
- Fold a long triangle, then flip over and fold in half. Repeat a zig zag back and forth fold pattern until no extra paper remains.
- Position the half wrap on the side where the original triangle fold faces outward, then fold the bottom as needed, so it follows the bottom stems straight down.
- Repeat the other side of the wrap similarly.
- Once both sides are complete, use glue tape to secure them into place.
- Thread a book binding needle with bakers twine (or embroidery floss!). Using an awl or needle, push 3 holes vertically on each side of the bouquet. Give them enough room between each other so one doesn’t break through the other.
- Thread as desired, then create a small tag and write a message. Thread the twine through the tag and secure in place with glue tape. Create a bow with the twine and trim the ends.
- Done!
Some of the links shared in this post are affiliate links, which means if you choose to purchase, I may make a commission at no cost to you. I will only ever recommend products I genuinely use and love. Thank you in advance for your support!
Receive special offers on courses + products, a new design file every month plus instant access to the Resource Library!

Pick up over 50 design + lettering files as our gift to you when you join the Tuesday Tribe for free!
error
Congrats!
Please check your email to confirm.
You May Also Enjoy
 Freebie: April 2019 Desktop Wallpapers Posted in Freebies, Desktop Wallpapers, iPad Lettering
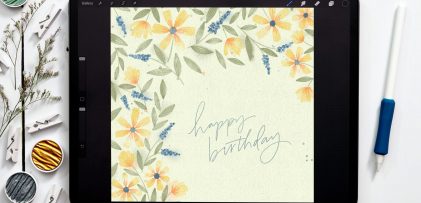 Paint Spring Birthday Florals in Procreate Posted in Tutorials, Hand Lettering, Hand Drawn, Illustration, Beginner, Watercolor, Procreate
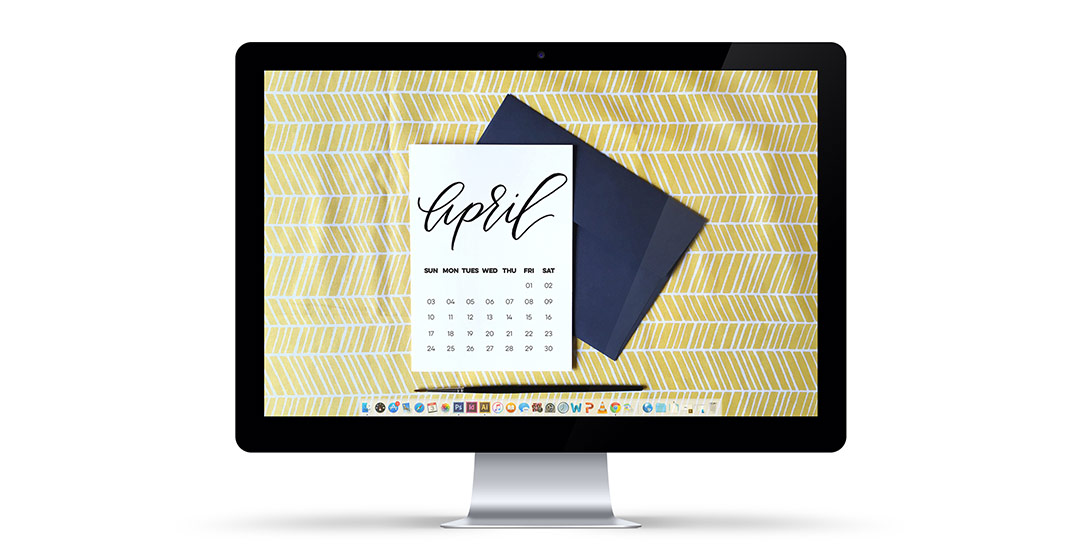 Freebie: April 2016 Desktop Wallpaper Posted in Freebies, Typography, Hand Lettering
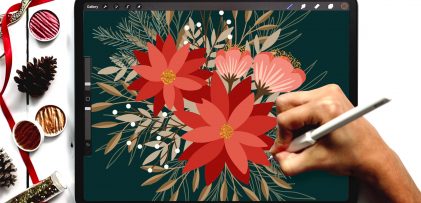 Flat Winter Florals in Procreate Posted in Freebies, Tutorials, Holiday, Hand Drawn, Illustration, Beginner, Procreate
No comments