June 2016

Happy July tomorrow! June was a solid month over here with the Into to iPad Lettering course and the release of my latest hand lettered font, Hawthorne Script 🎉 The extended license of Tuesday Script just got the webfont added in (with unlimited pageviews allowed), too!

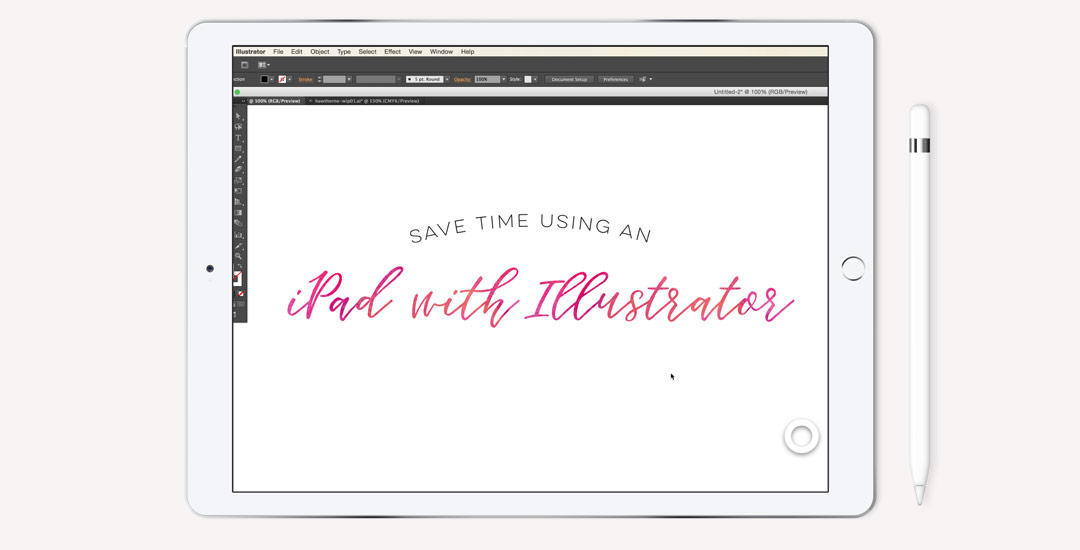
July is looking just as productive as I’m preparing my next Skillshare class, Mastering Mockups. This next class will go over how I create my instagram lettering posts (like this one) as well as how to create professional mockups in Photoshop to help sell work to clients and give your portfolio an extra edge. The class will be officially available July 11th 🙂

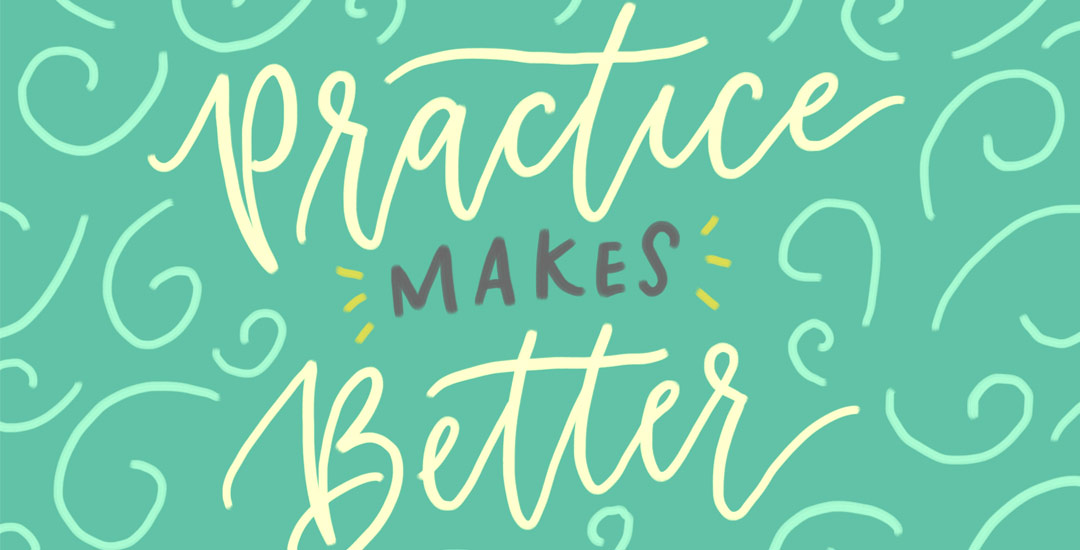
Speaking of dates, it’s time to freshen up your desktop for July ☀️ This week’s freebie is a set of two hand lettered July desktop wallpapers, with and without dates in two common sizes, 1920 x 1080 + 1280 x 1024. Previews and download link below!

I wanted to change things up a little this week and go super down to basics. The truth is, when it comes to learning, a lot of the times, I’m most inspired by just *watching* the thing happen. Seeing it take place, someone else’s process without all the nitty gritty little details along the way – just the ‘have-to-knows’ first. Maybe you’re like that too. On the chance you are when it comes to lettering, this week I want to go super simple and just share how I would do a basic lettered quote/phrase on the iPad – what I think about as I’m writing, what I’m paying attention to, and what I do to change course when maybe things aren’t going exactly how I like them. If this is something you’d like to see more of, let me know! I want to provide all I can on clearing up anything that might be holding you back 🙂 Full process below – and if you want to go further after this, my Intro to iPad Lettering course is located here. Let’s go!

In my Intro to iPad Lettering class, we went through the entire library of brushes Procreate offers (which is amazing) and we also went over how to alter those same default brushes. If you’re looking for something less standard and more custom, Procreate allows you to create your own brushes from scratch, too! I love thinking up a doodle or a texture I haven’t seen in their library and being able to start using my own right away. In this week’s tutorial, I’ll share my full process on how to create custom Procreate brushes from scratch using Photoshop to perfect the design or texture and Procreate to apply brush settings. All the details below!

I experiment with new materials and supplies constantly for my (traditional) hand lettering. I would actually be scared to know how much time I’ve spent eyeing different hand lettering supplies (and reading their reviews) over on Amazon. I’ve invested in a lot of new ones this year and currently I have 5 favorites that I find myself always returning to and reordering. If you’re just starting out with lettering, or if you’re on the hunt for some new supplies but would like to read a real (almost every day) user review, here are my current top 5 favorite hand lettering supplies (totally unbiased, with no affiliation to any of em) 🙂

Ok, you guys. This one’s a game changer for real. No kidding, my workflow for editing vectors in Illustrator has been at least cut in half by now using my iPad with the app AstroPad. If you’ve seen this tutorial, or this one using the standard method of Wacom/mouse for edits/revisions, you’re going to love this one. You can also find a list of my top 5 affordable Wacom tablets here if you are interested in using that type of device. If you’ve checked our my Intro to iPad Lettering class, this will take things even further if you’re familiar with Illustrator – you can use this same method with Photoshop, but I find myself using it wayyyy more with Illustrator, so I’m focusing this video there. I spent some serious edit time on this so you could get the full effect of what’s happening on my computer vs. how I’m using the iPad – I walk you through basic edits of a design element and then show you how I used the iPad when I worked on my most recent font, Hawthorne Script. I’m not affiliated with AstroPad in any way, just really excited about how much time I’m about to get back in the future 🙂 See it all below!

I am beyond thrilled to introduce my newest font today, Hawthorne Script! A lot of love and many, manyyyy hours went into this baby and I couldn’t be happier with how it came out. I packed more into this font than any other before it so you can take it much further than a typical, standard font.

Along with the regular style, a second style is included that contains a full alternate lowercase – just highlight any regular letter and switch it to the ‘alternates’ style to create words that look even more original and handmade! 10 bonus swashes are included (5 left side, 5 right side) as well as 9 standard ligatures. I enjoyed creating this font so much that the language compatibility is a little off the charts: English, German, Dutch, Italian, French, Portuguese, Spanish, Turkish, Polish, Hungarian, Croatian, Czech, Slovak, Slovenian, Bosnian, Albanian, Estonian, Catalan, Danish, Faroese, Finnish, Icelandic and Norwegian. Phew.

Font previewer below so you can take it for a spin, as well as some additional preview images!

In my newest Skillshare class, Intro to iPad Lettering, we start lettering on the iPad using some guide sheets to get comfortable writing on a tablet vs. paper. If you’re on your way to iPad lettering, guide sheets are wonderful tools. Practicing on paper before making the leap allows a more seamless transition when you’re ready. To help the transition along, this week’s freebie is a set of printable hand lettering guide sheets to improve consistency with uniform letters.

I’m excited to announce my newest Skillshare class, Intro to iPad Lettering! This week I wanted to share the trailer to the class and a bonus video that you would only be able to see if you were enrolled 🙂 This class is perfect for anyone new to lettering using an iPad or anyone on the fence about investing in one. With your enrollment, you’ll learn everything needed to get started and you’ll also receive 3 practice digital lettering guides and a metallic glitter texture to use on any of your future digital lettering. See all the details below!

Father’s Day is just a little over 2 weeks away! If you’d like to go DIY this year or get yours in the snail mail early, this week’s freebie is a Father’s Day card printable. The download includes a pdf with print instructions, trim + score marks all included. The final, trimmed size is 4″x6″ (vertical) which can fit perfectly in any A4 sized envelope. Extra preview image and download link below!

GDPR Icon

Your Privacy Matters

We use cookies to customize and create content that’s most important to you. We’ll never share the info we collect.

View Privacy Policy