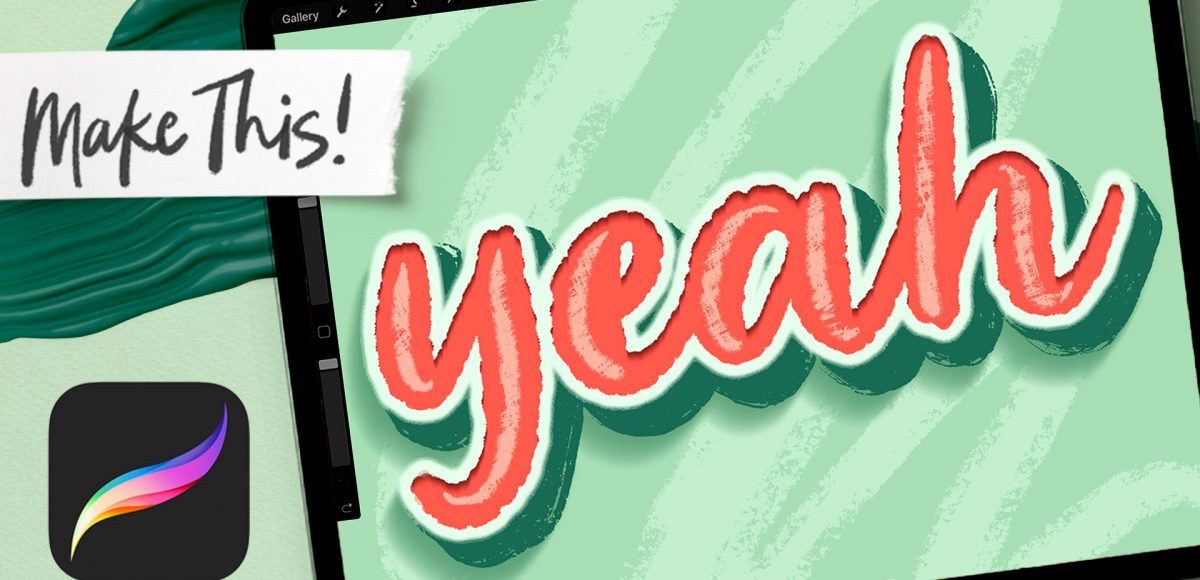
3D lettering is definitely up there with my favorite things to make in Procreate. I tried out a new dry media brush set this week from Envato Elements, and once I tried some 3D lettering experiments with the brushes, I was hooked. The texture is so beautifully varied that the ideas just started to flow once I started to play. For this week’s tutorial, I’m sharing one of my favorite results!
We’ll be adding more complex details to the lettering like an outer stroke, inner shadow, and cast shadow, so if you need to slow me down at all, hit the gear icon in the bottom right of YouTube’s player + adjust the playback speed 😉
Pin it for later!
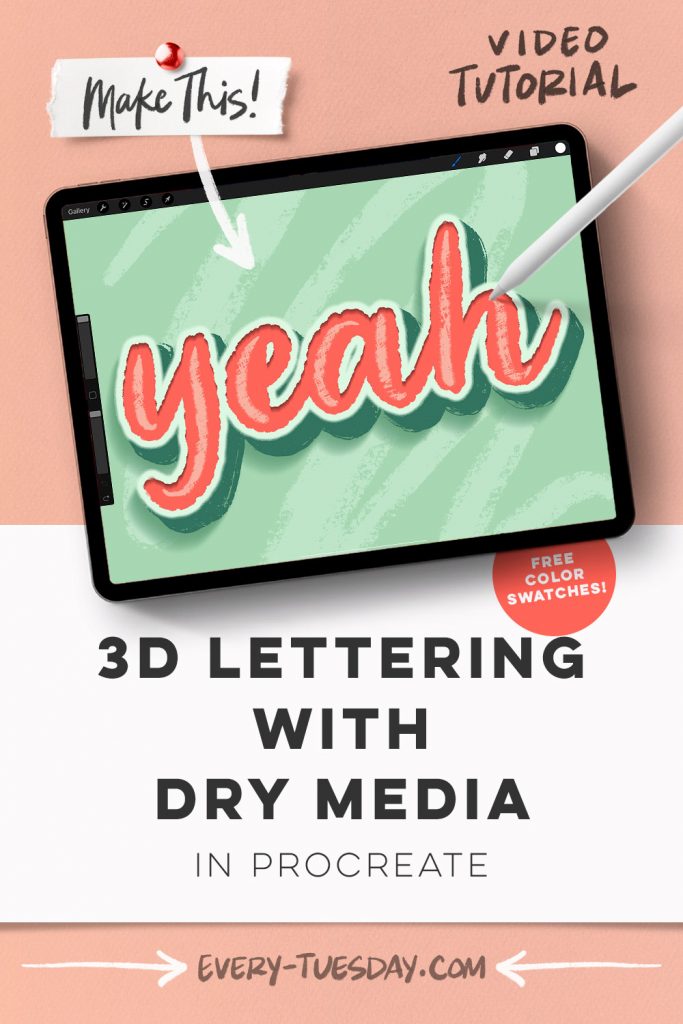
3D Lettering with Dry Media in Procreate
Mentioned in this video:
- Procreate Dry Media Brushes (or any favorite textured brushes)
- Color Palette (free)

Here’s a written overview of how to make 3D lettering with dry media in Procreate:
- Head into Envato Elements and download the dry media brushes.
- Set your background color and add in your lettering with the inkling brush at 30%. Center it on your canvas and up from the center just a little bit.
- Add in an outer stroke by selecting your lettering layer, and then create a new layer and fill it with your lightest color. Now apply a gaussian blur and slide it up to 5% and then tap and fill the layer, repeat this 3 times.
- Then, come to your original lettering layer, choose select, click on invert, come back to your layers, tap on the layer thumbnail for your lighter lettering and choose mask. Merge the mask with the layer and then choose select, and paint over it to create a harder outline look.
- Next, add an inner shadow to the lettering layer by selecting the outer stroke layer, create a new layer and change the color, tap on the new layer, and choose fill layer. Drag this new layer under the stroke and then select it and tap it down a little bit. You can soften the edge with a motion or gaussian blur.
- Create an extrusion layer by grouping everything you have together. Then duplicate the group and then flatten the group. Select the layer thumbnail, create a new layer, choose fill layer with a new color. Now remove the flattened layer and drag it underneath everything. Apply a motion blur, by tapping and dragging to the right. Select the layer and then move it down a bit.
- Create a new layer, grab the dry brush, and trace where the edges are to add some texture. Turn off the template layer so you can see how it looks.
- Create a cast shadow by coming to your template layer and choosing select. Create a new layer and fill it with a new color. Choose motion blur and drag it in the opposite direction, to about 22%.
- Add in an inline to the lettering by grabbing the sketch brush at 50%. Only paint in where the thickest strokes are.
- In the background, create a new layer at the very bottom. Grab the chalk dry brush and add a little scribble to the back.
- Done!
Receive special offers on courses + products, a new design file every month plus instant access to the Resource Library!

Pick up over 50 design + lettering files as our gift to you when you join the Tuesday Tribe for free!
error
Congrats!
Please check your email to confirm.
You May Also Enjoy
 Easy 3D Hatched Shadow Effect in Procreate Posted in Freebies, Tutorials, Hand Lettering, Hand Drawn, Illustration, Courses, Beginner, Procreate
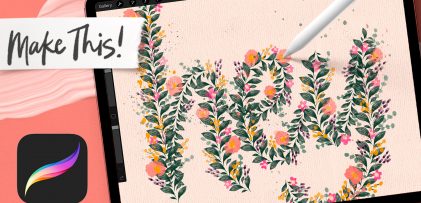 Make a Pattern Lettering Brush in Procreate Posted in Freebies, Tutorials, Hand Lettering, Color, Hand Drawn, Patterns, Illustration, Procreate, Intermediate
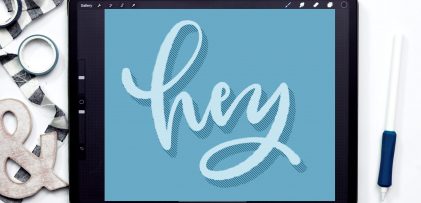
 Paint Messy Watercolor Lettering in Procreate Posted in Freebies, Tutorials, Hand Lettering, Color, Hand Drawn, Illustration, iPad Lettering, Watercolor, Procreate, Intermediate
 Wildflower Heart in Procreate Posted in Freebies, Tutorials, Hand Lettering, Color, Hand Drawn, Illustration, Procreate, Intermediate
No comments