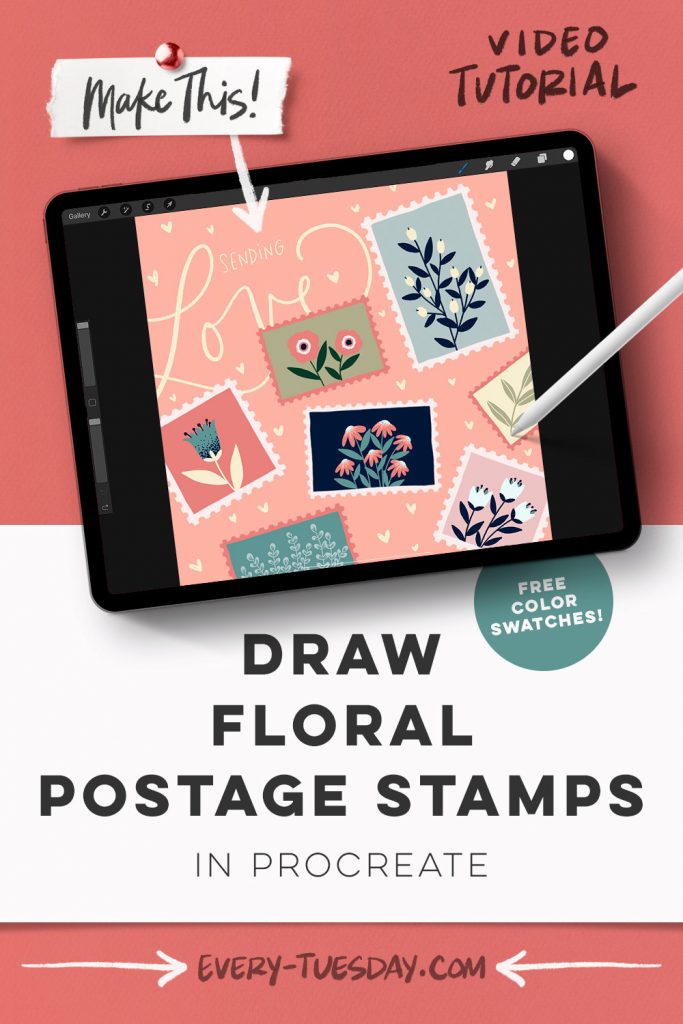
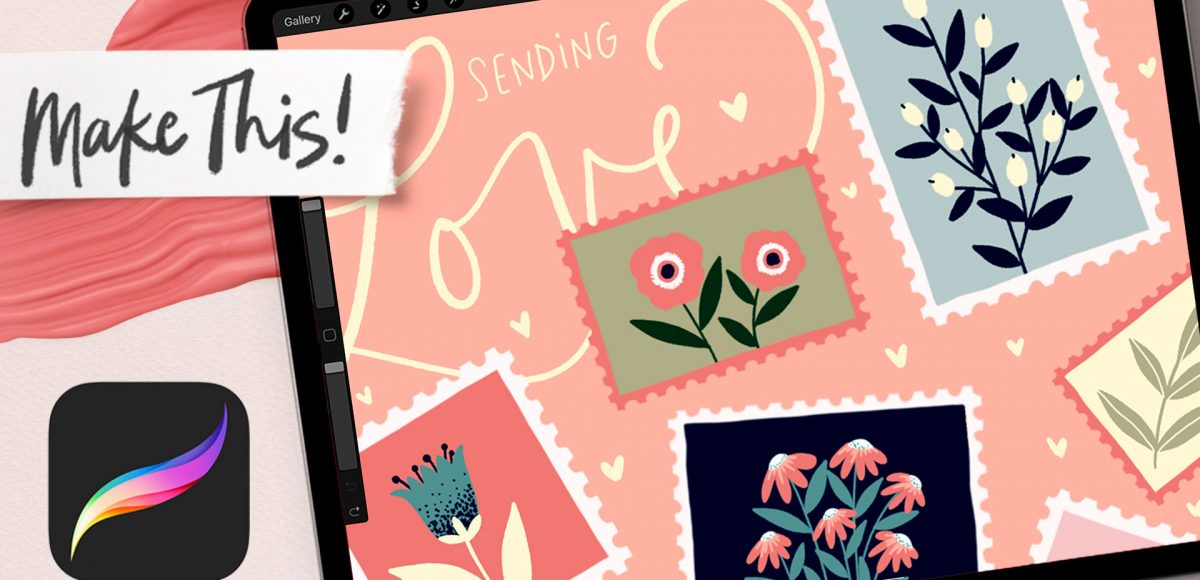
We’re finishing up this year’s Valentine’s Day love series with some floral postage stamps! I released my new set of brush stamps a couple of weeks ago, so I wanted to share a really fun way you can use em 😉 I could draw these little floral stamps all day long 😍Here are a few of my favorites! 💕
Pin it for later!
Draw Floral Postage Stamps in Procreate
Mentioned in this video:
- Tuesday Postage Brushes (a free sampler set can be found in my resource library)
- Inky Edge Pro Brush (or any favorite full opacity brush)
- Color Palette (free)

Here’s a written overview of how to draw floral postage stamps in Procreate:
- Begin by setting your background color and start putting in the postage stamps. Put each stamp on a different layer and position them around the canvas. Start sizing and positioning each stamp to fill the canvas as you like. Group all of the stamp layers together.
- Add in background colors for each stamp by drawing a rectangle and filling in with color.
- Work through the florals and foliage for each stamp.
- Stamp 1: Draw in berries and paint in the leaves. Fill in each leaf with color. Add in a detail line to the top of each berry.
- Stamp 2: Draw in simplified poppies. Add in the stems and large pointed leaves.
- Stamp 3: Draw in one large tulip shape, apply a clipping mask and stipple densely at the bottom. Then reduce the size and start scattering them as you go upward. Draw in the tulip details, stem and leaves.
- Stamp 4: Draw in three simplified tulip shapes. Give it a sense of depth by adding in more petals to the back. Add in the line details, stem and leaves.
- Stamp 5: Draw a simple leaf that is bleeding off the edge. Reduce the brush size and draw a line in the middle of each leaf.
- Stamp 6: Draw in a few stems in different directions and heights. Draw in little rounded leaves as well and fill with color.
- Stamp 7: Start with the petals and fill with color. Then, add some detail to the petals by applying a clipping mask. Add in the stems and leaves.
- Add in your lettering behind all of the layers.
- Finally, draw in little hearts to fill in any remaining gaps around the canvas.
- Done!
Receive special offers on courses + products, a new design file every month plus instant access to the Resource Library!

Pick up over 50 design + lettering files as our gift to you when you join the Tuesday Tribe for free!
error
Congrats!
Please check your email to confirm.




No comments