How to build on the basics and delight with detail
My 4 year old daughter and I have been making pancakes lately. A LOT of pancakes (starting to think it’s mostly a ploy for all-you-can-dip syrup at this point). Because she’s 4, we started out by simply following the recipe: pour the mix in, stir in the water until the batter is just right, then head to the stove. Once making pancakes each day became a thing, keeping it basic got a little…yawn after awhile.
So we started adding cinnamon into the mix. And then we added some apples in with the cinnamon. Before we knew it, we were making blueberry, chocolate chip and rainbow sprinkle pancakes, too.
Each day, we looked forward to the next new tastebud adventure with new excitement and new feelings.
There’s something to be said (and a literal fullness to be felt!) for dressing up the basics to delight the audience consuming the goods.
That’s what this post is all about.
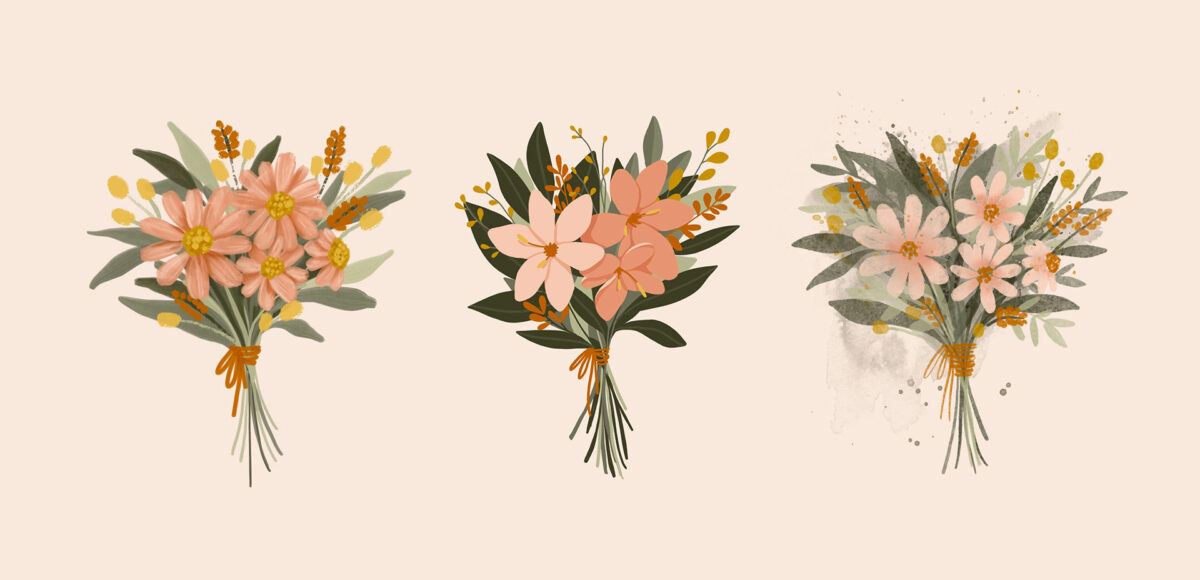
We’ll be taking familiar flower petals + shapes and adding style by simply changing up the ingredients (the chocolate chips and rainbow sprinkles, if you will). Then we can take a step back and see how style can do so much more than create a different illustration look, but evoke different feelings, too.
Creating consistency for the bouquet of flowers drawing
To allow us to get an accurate look at the differences in style, we’re going to keep a few things the same (i.e. the main recipe) as we go through this exercise.
We’ll be using the same composition sketch for each style which you can download as a jpg here. My canvas size for each illustration is 1080px x 1920px at 300dpi, Display P3 color profile.
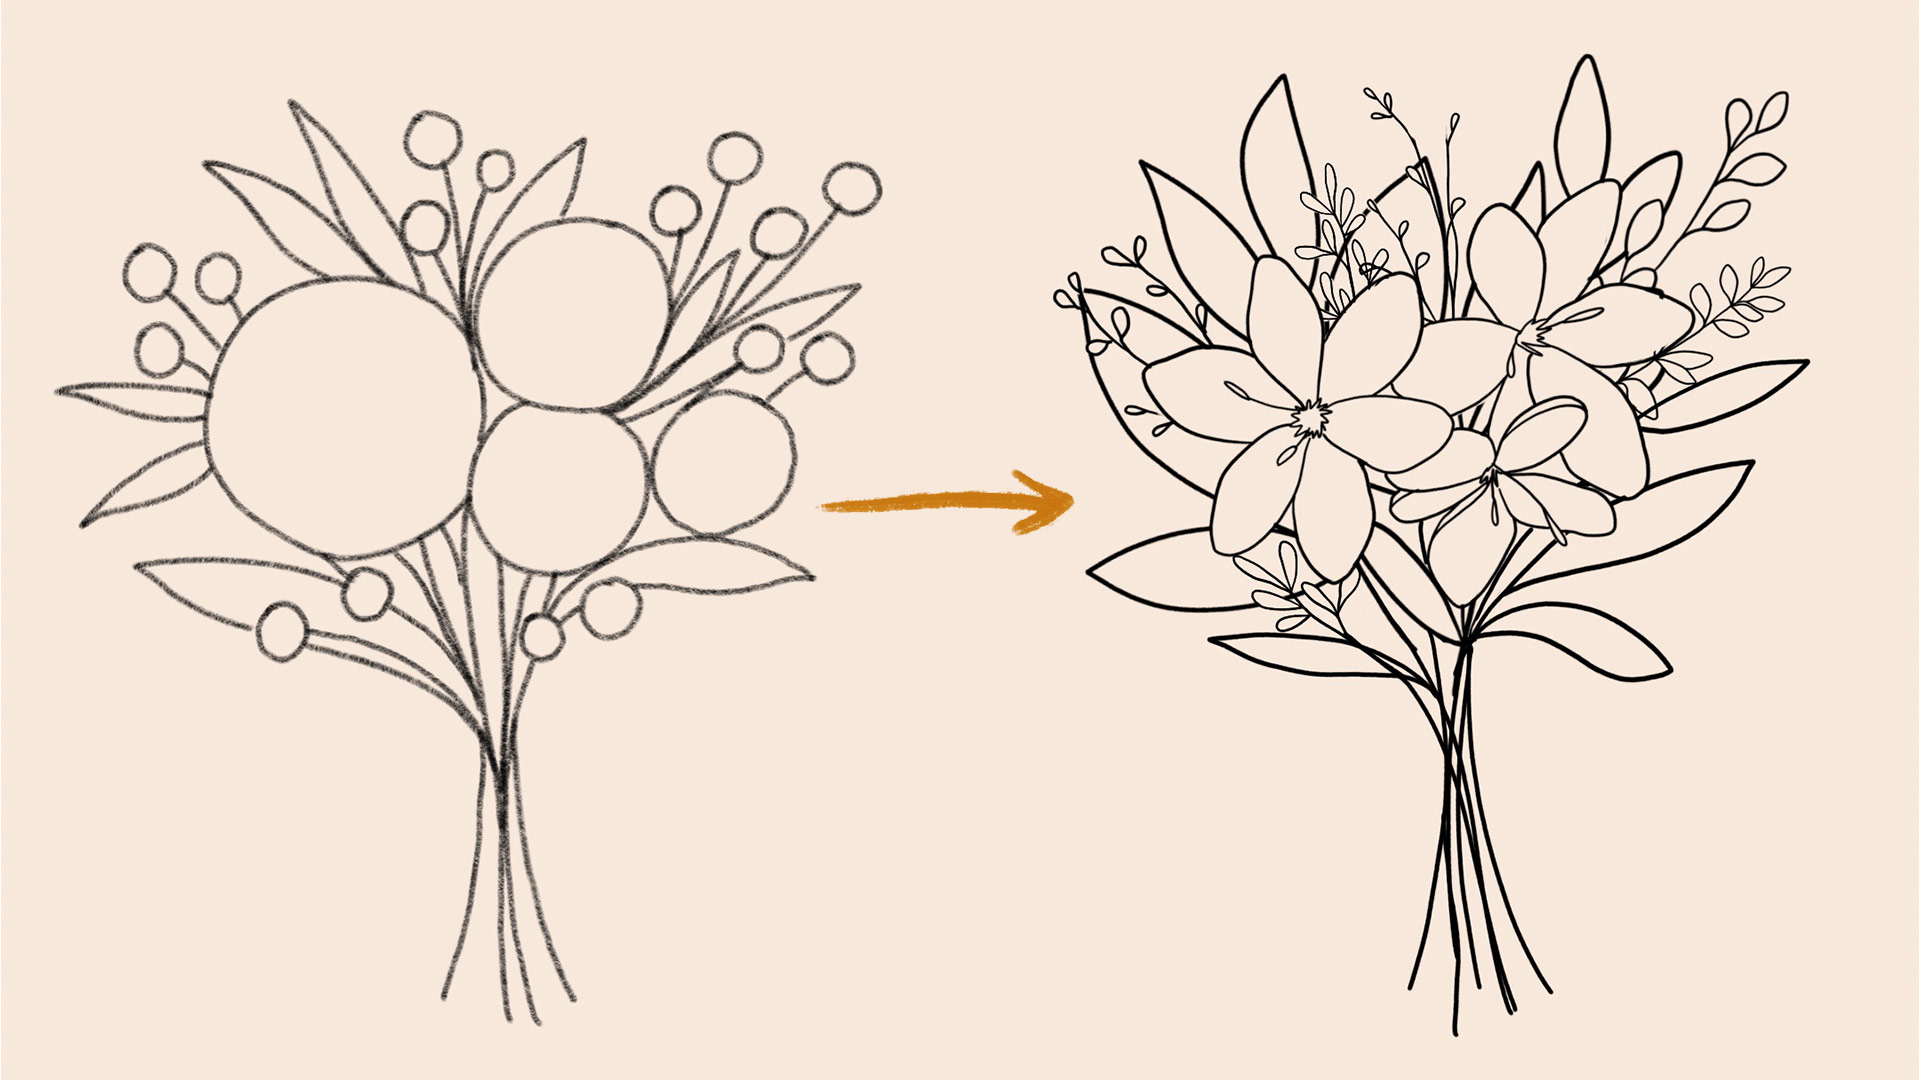
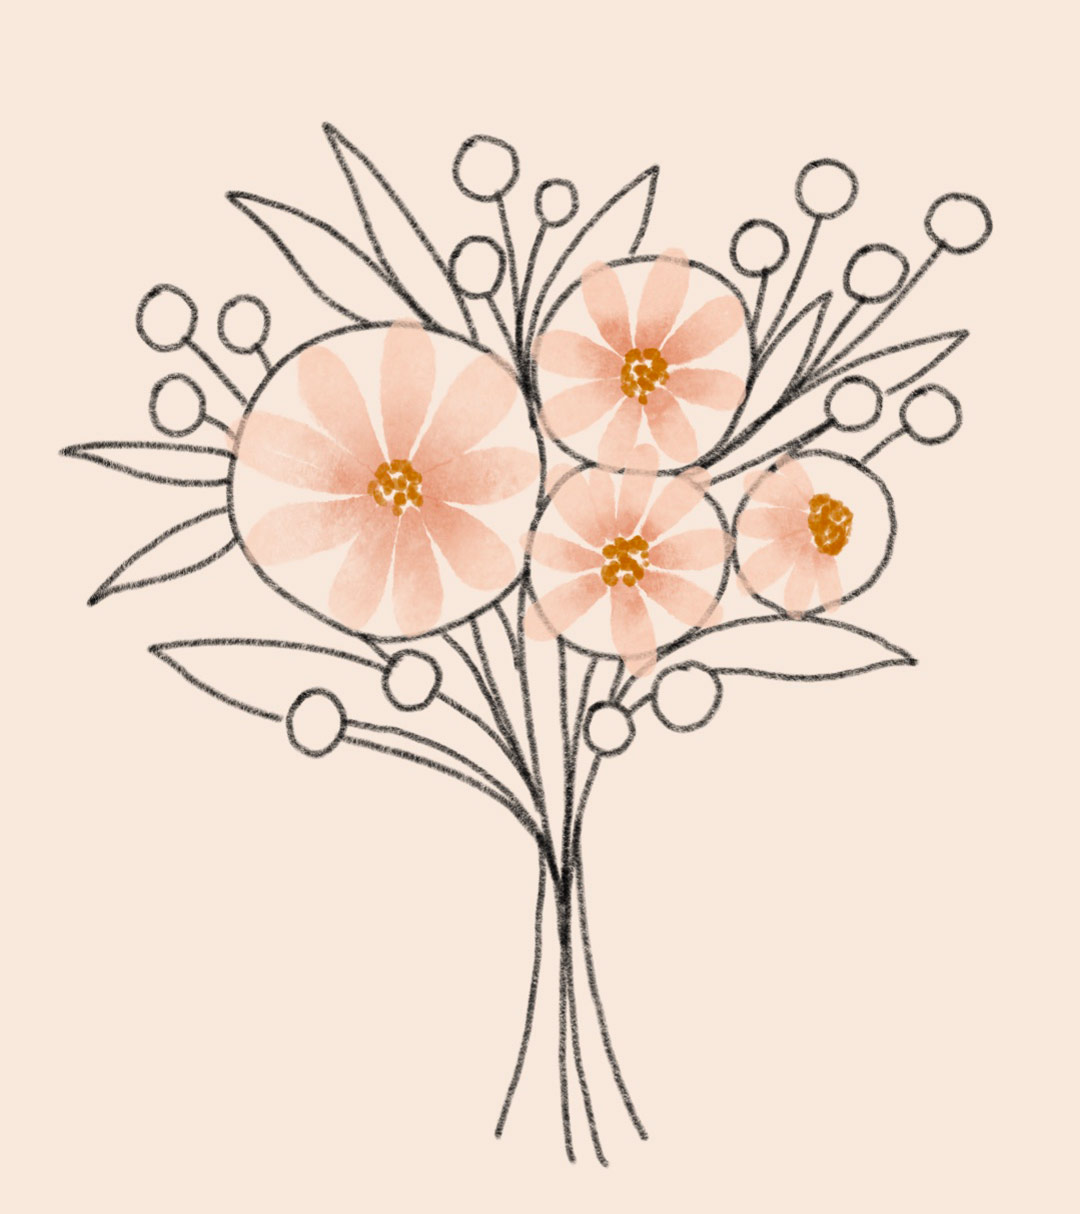
Here’s what that sketch looks like:
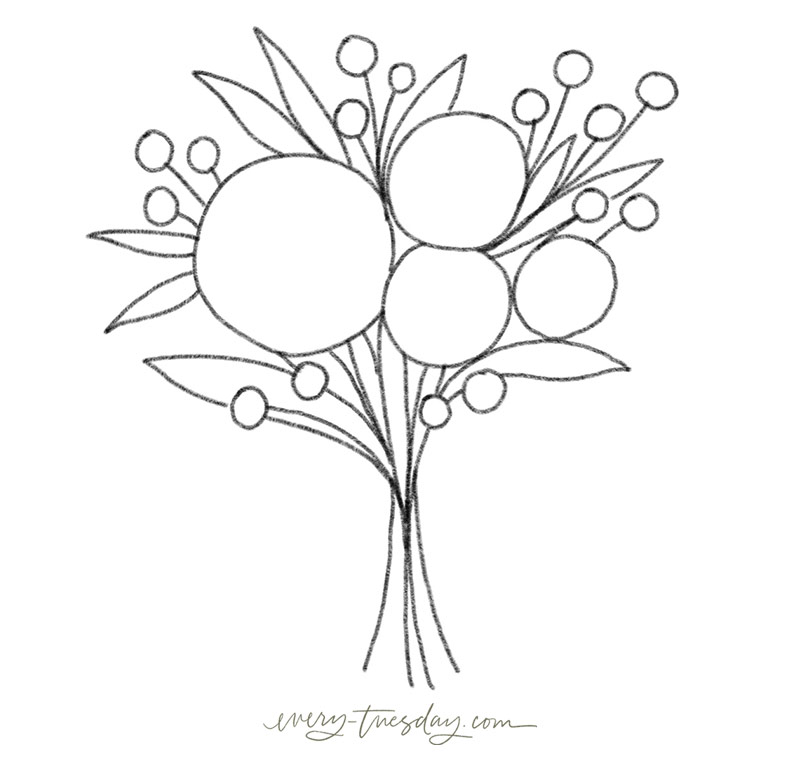
The circles represent where the bouquet’s flowers will go and the lines and leaf sketches represent the foliage within the bouquet. Feel free to make any edits you’d like to this! If you have an idea, don’t hold back!
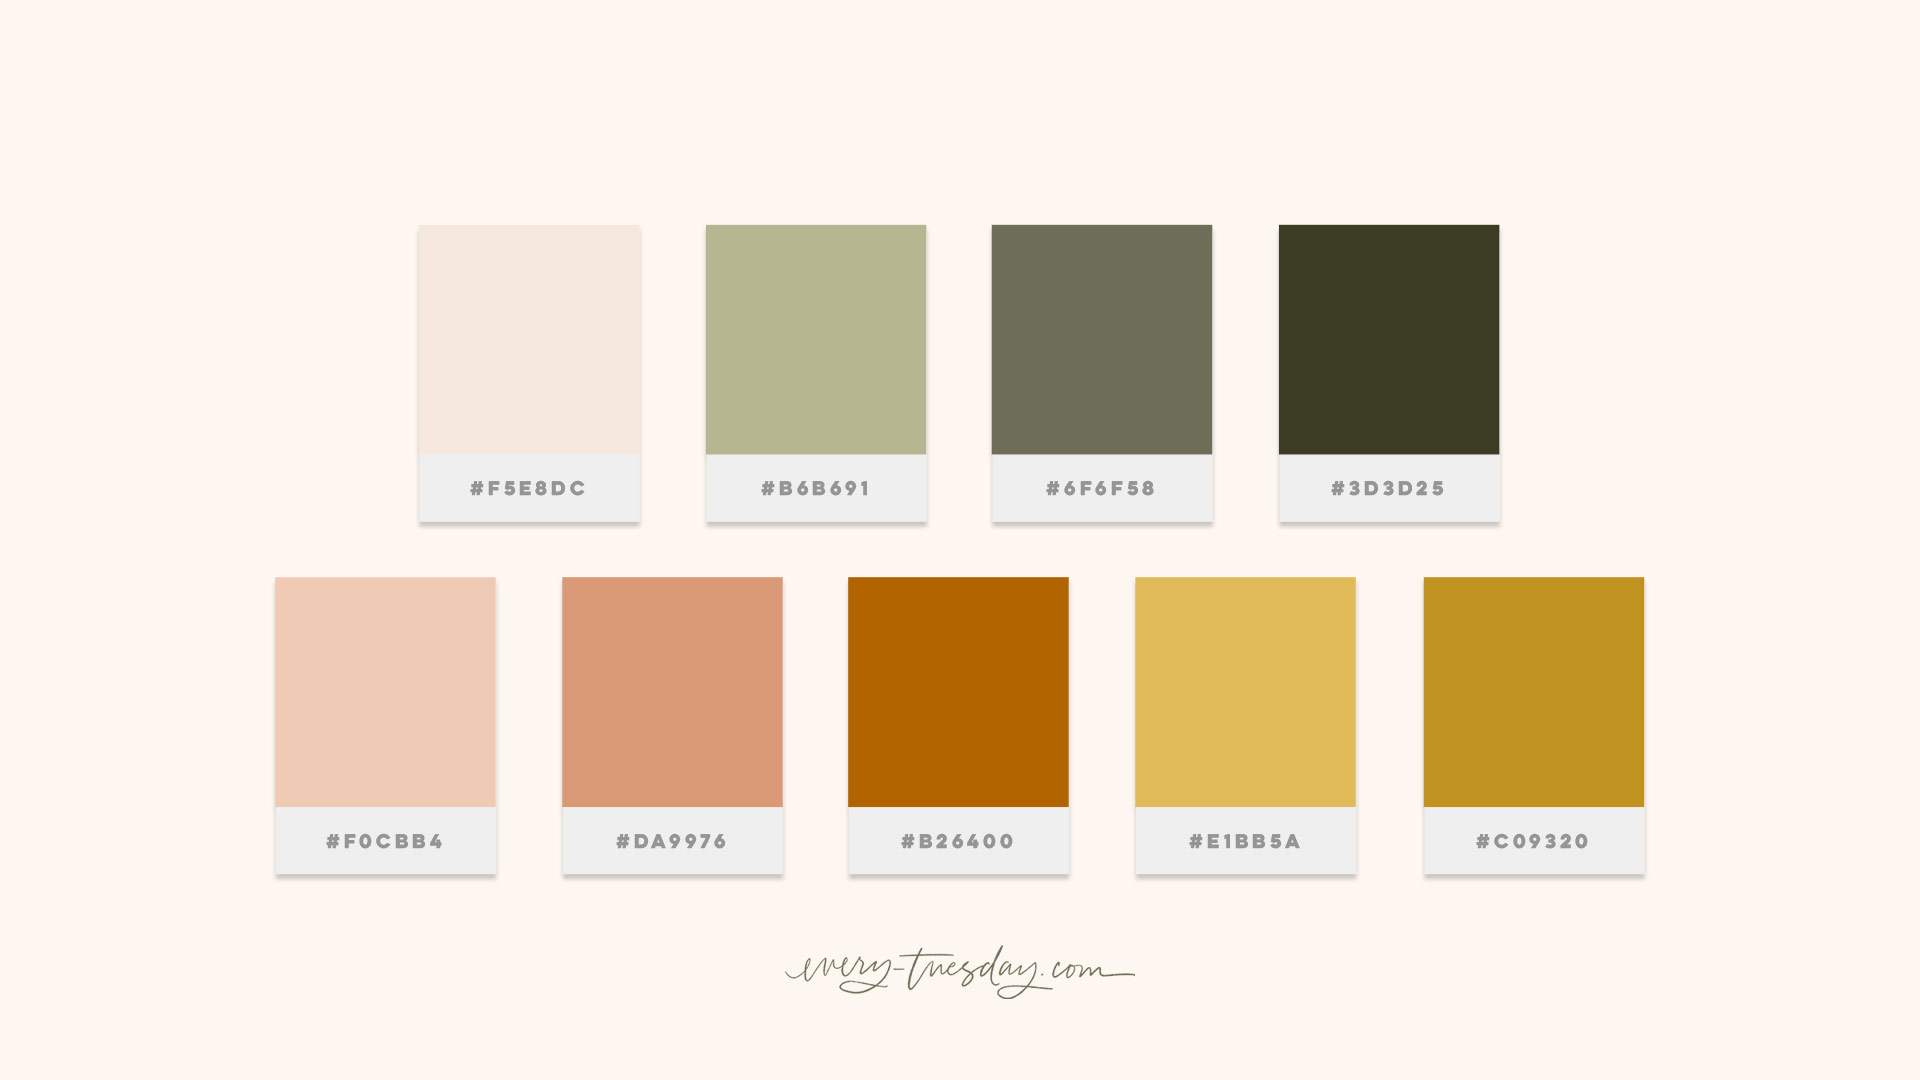
We’ll also be using the same colors for each bouquet. You can download that Procreate color swatch file here.
Here’s what those colors look like:
Now that we’ve got our basics down, let’s talk about flower shapes.
Making a unique flower bouquet drawing can seem difficult if you’re not a seasoned illustrator.
Luckily, nothing says you have to be a pro illustrator to draw some pretty flowers hanging out together.
We’ll use some simple shapes and bring them to life with our different rainbow sprinkles Procreate brushes.
3 unique brush sets to enhance your creative process
The 3 different styles we’ll execute are: gouache, flat and watercolor. To explore each style fully, we’ll be using the following brush sets:
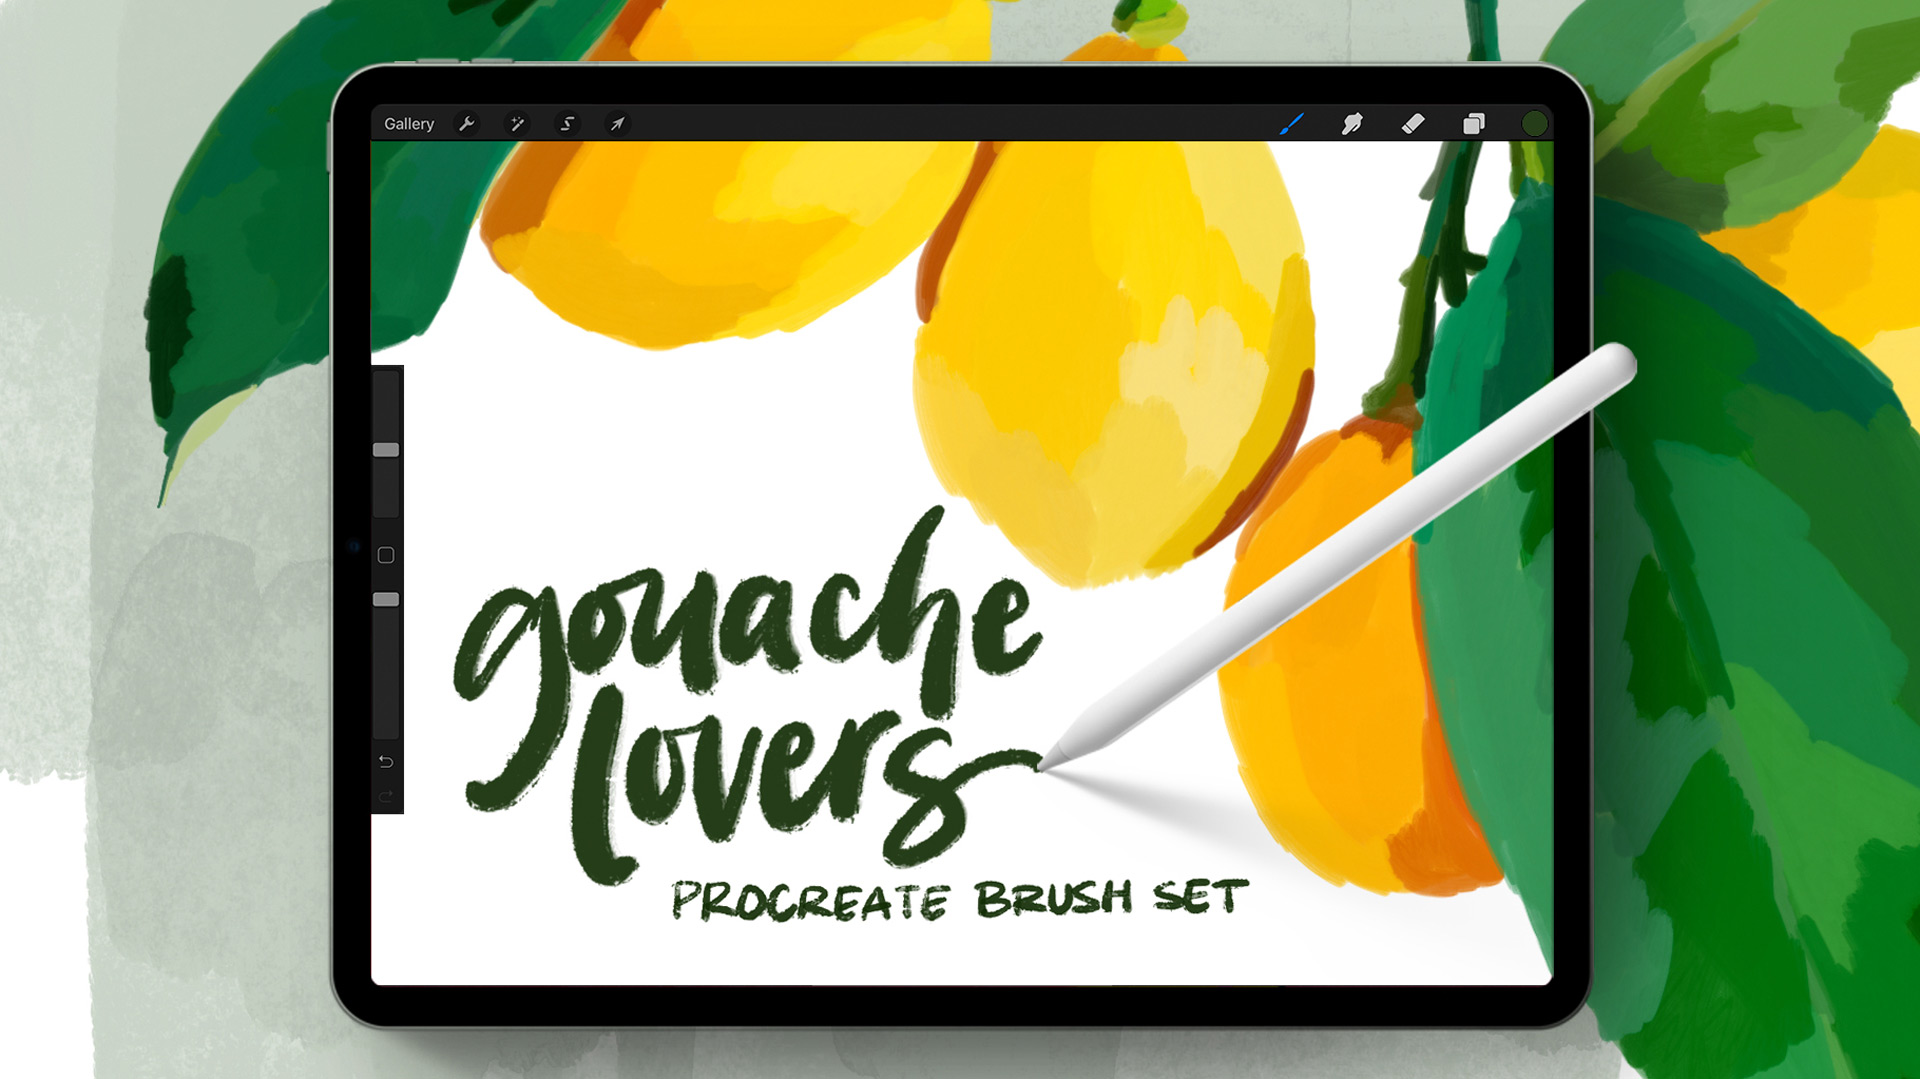
Free brush samples are available for email subscribers at TuesdayMakers.com
Gouache style bouquet of flowers composition sketch: practicing a simple flower shape
To create the largest flowers in our bouquet (or ‘hero’ flowers, as I like to call them), we’ll simply paint several petals around a stamen, mimicking a daisy.
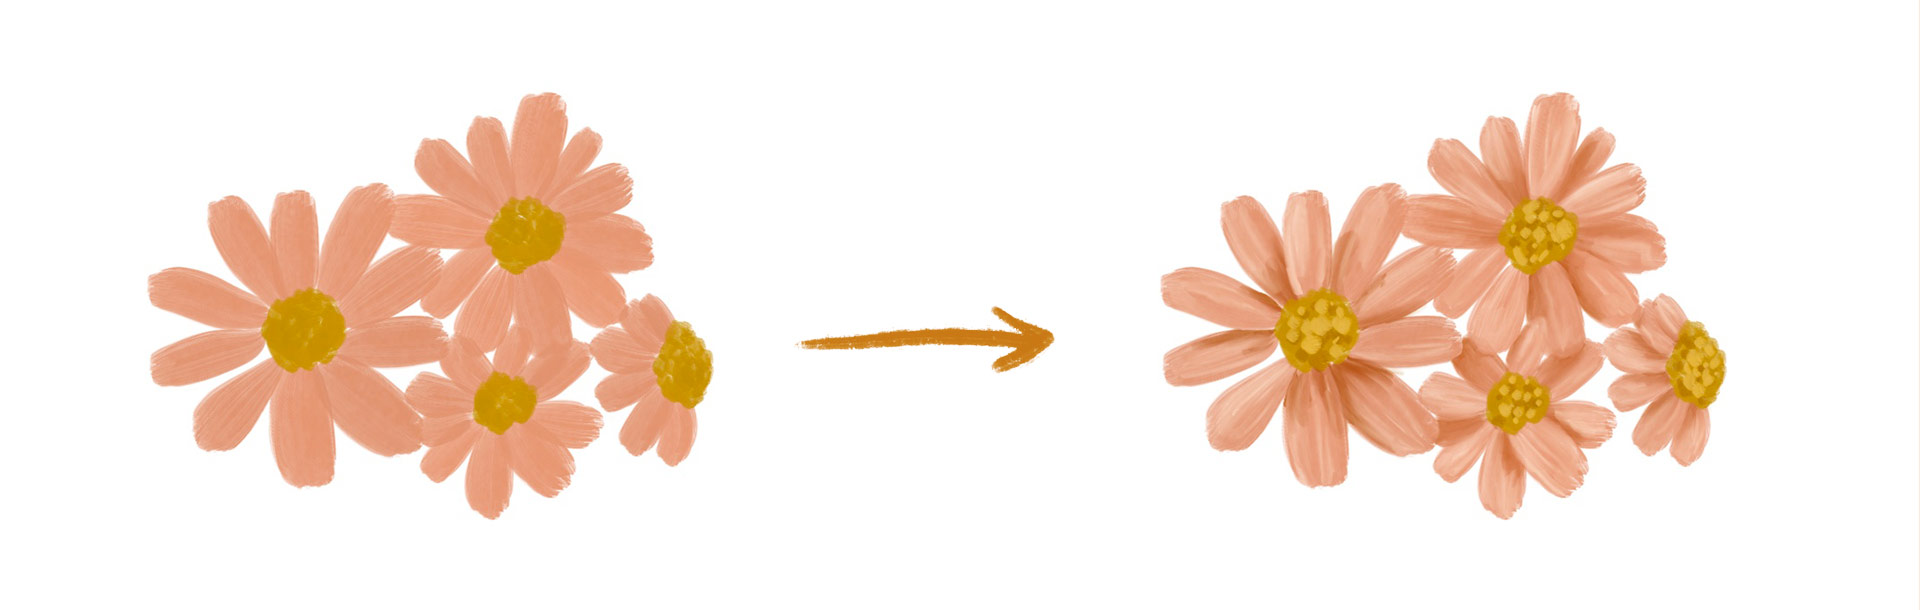
I’m using the streaky semi-transparent brush here. Next, I’ll add extra color where the petals meet the stamen and smudge it to create more depth. I’ll also stipple in a few different shades within the stamen.
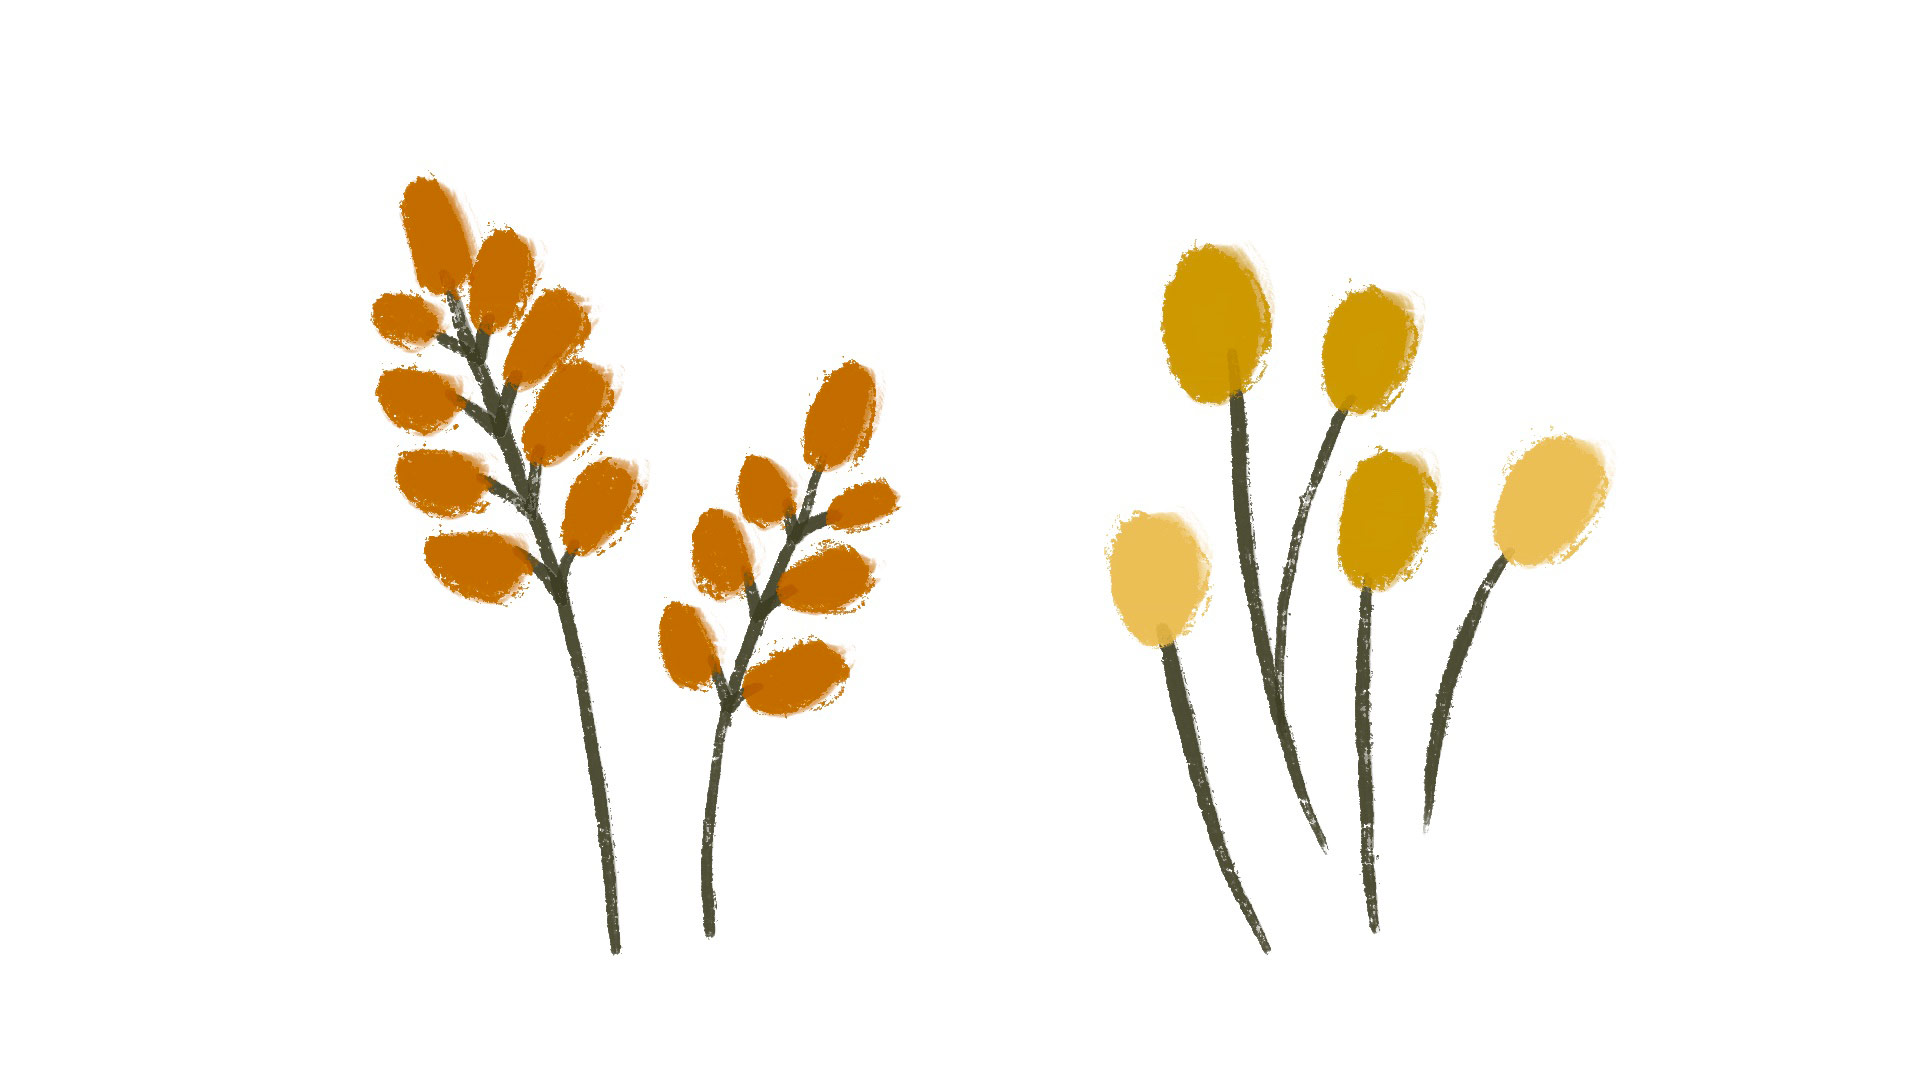
For supporting florals, I add symmetrical lines of color along some stems. I also like adding in billy buttons, too. I’m using the ‘dried out’ brush to create extra texture.
Practice these before getting started, and you’ll be perfectly prepared for your flower bouquet drawing!
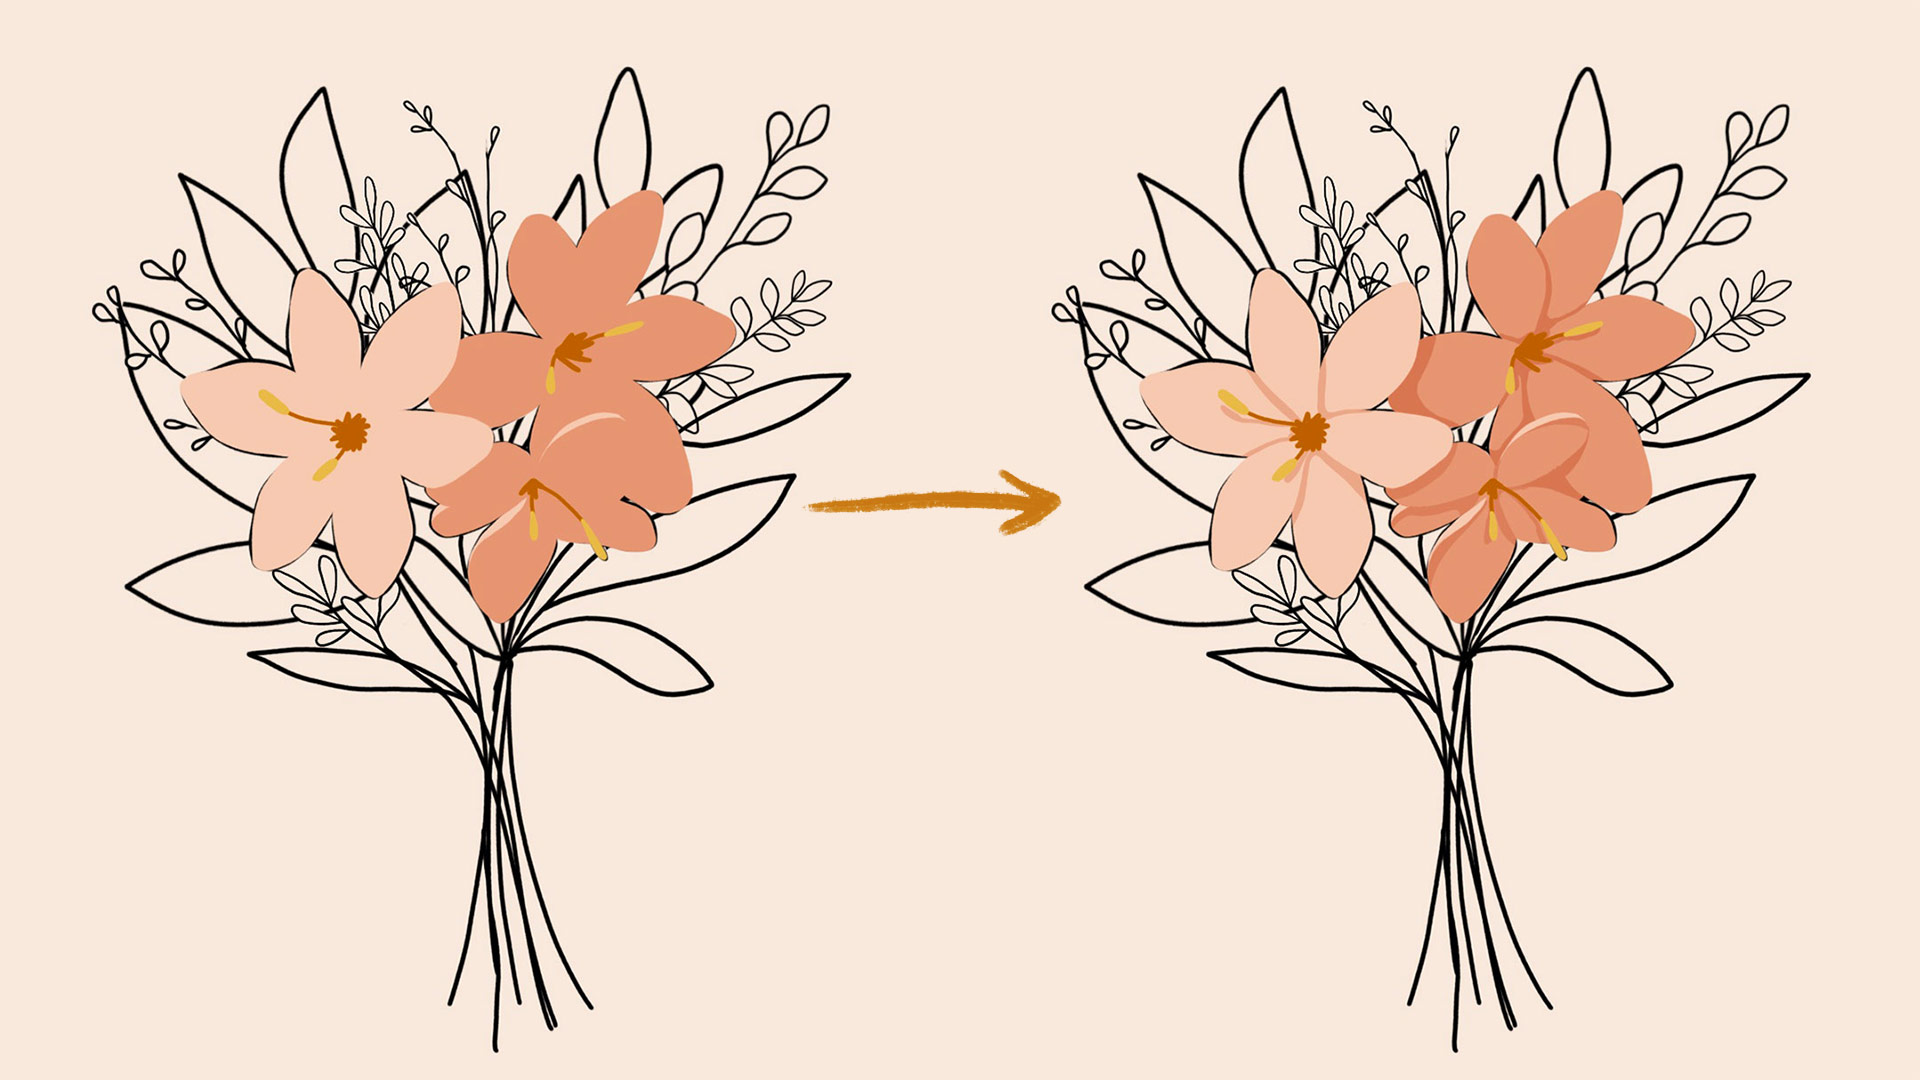
Step 1: Painting the whole bouquet of flowers starting with the biggest flowers
I always begin with the biggest flowers in my illustration first, adding them where the largest circles in my composition sketch are.
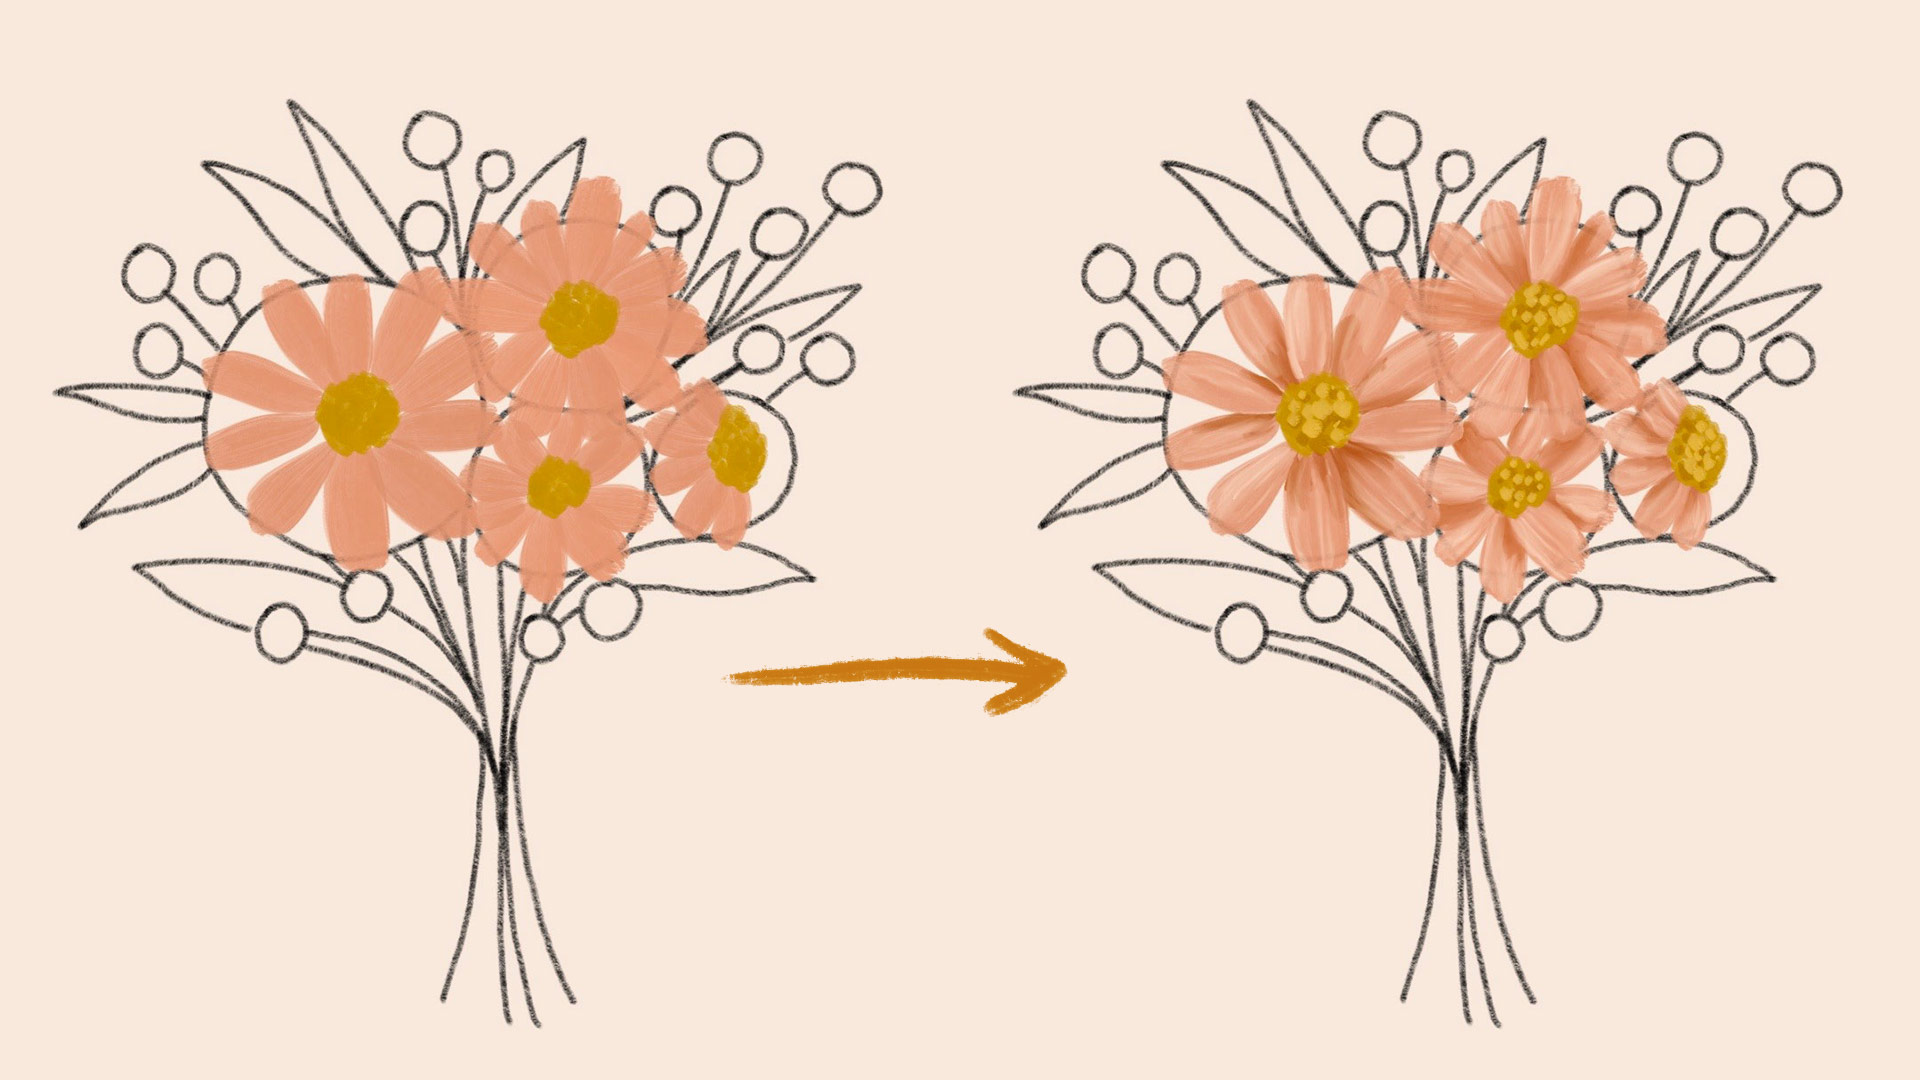
Step 2: Paint supporting flowers
Now add in your supporting flowers wherever you see smaller circles in the composition sketch. Feel free to change the flower type if you’d like and make it your own!
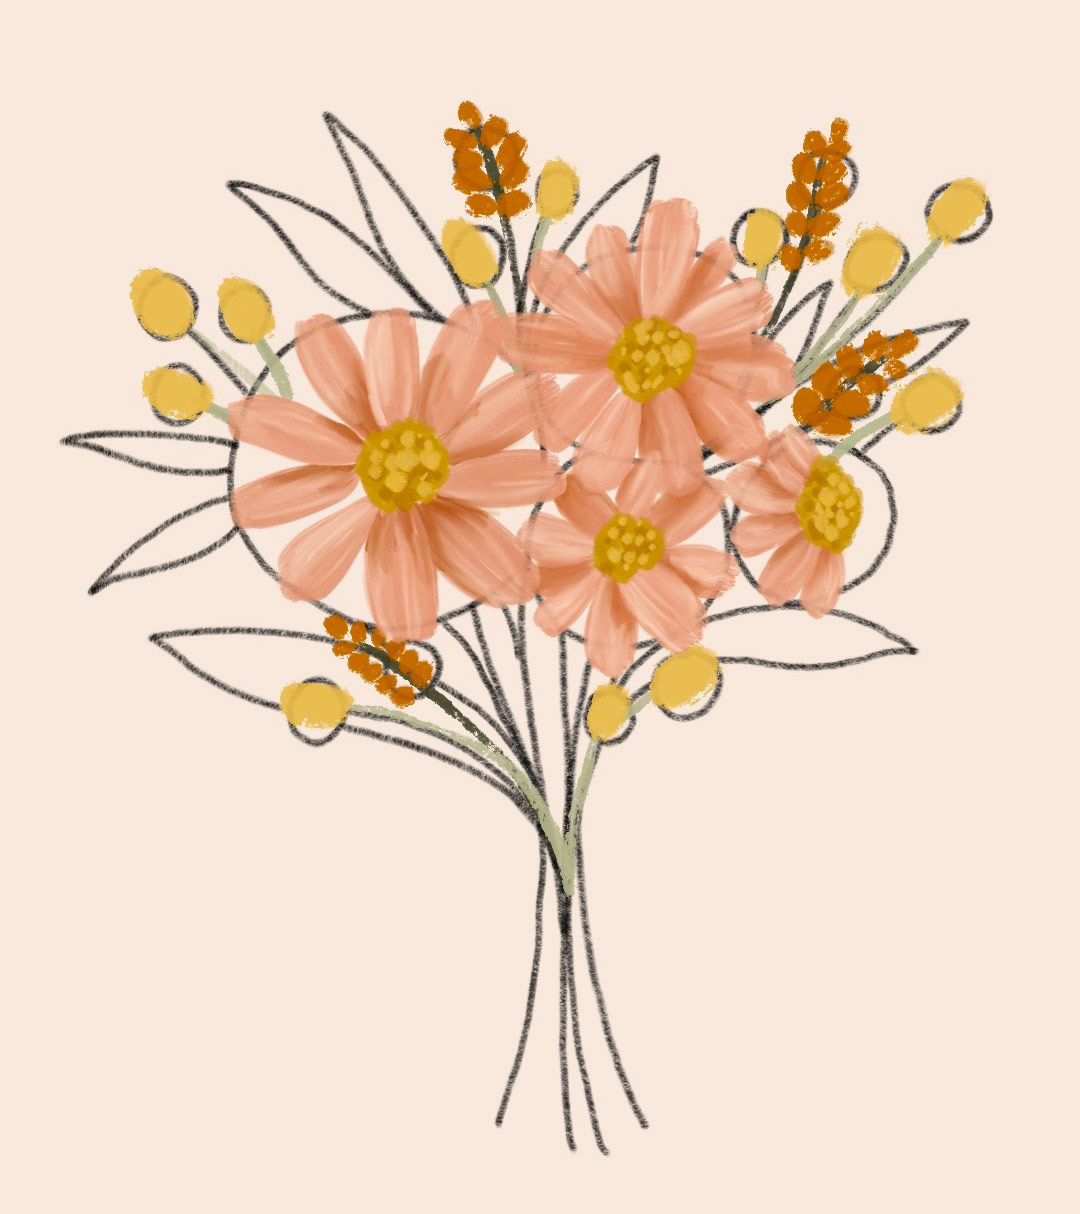
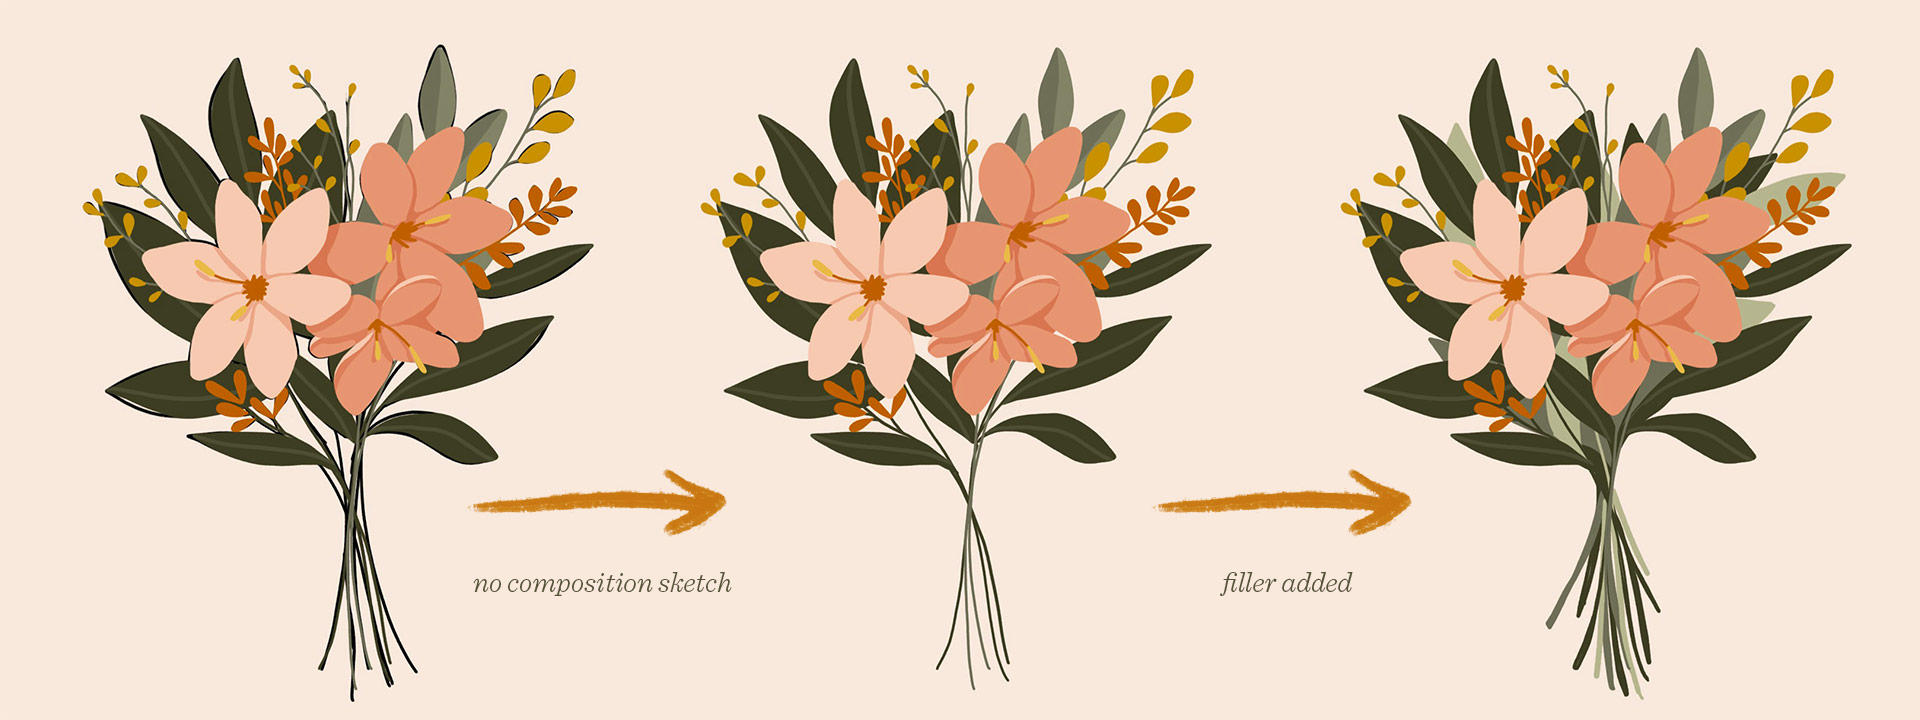
Step 3: Painting foliage
It’s time to tie everything together! Add in leafy greenery along with flower stems.
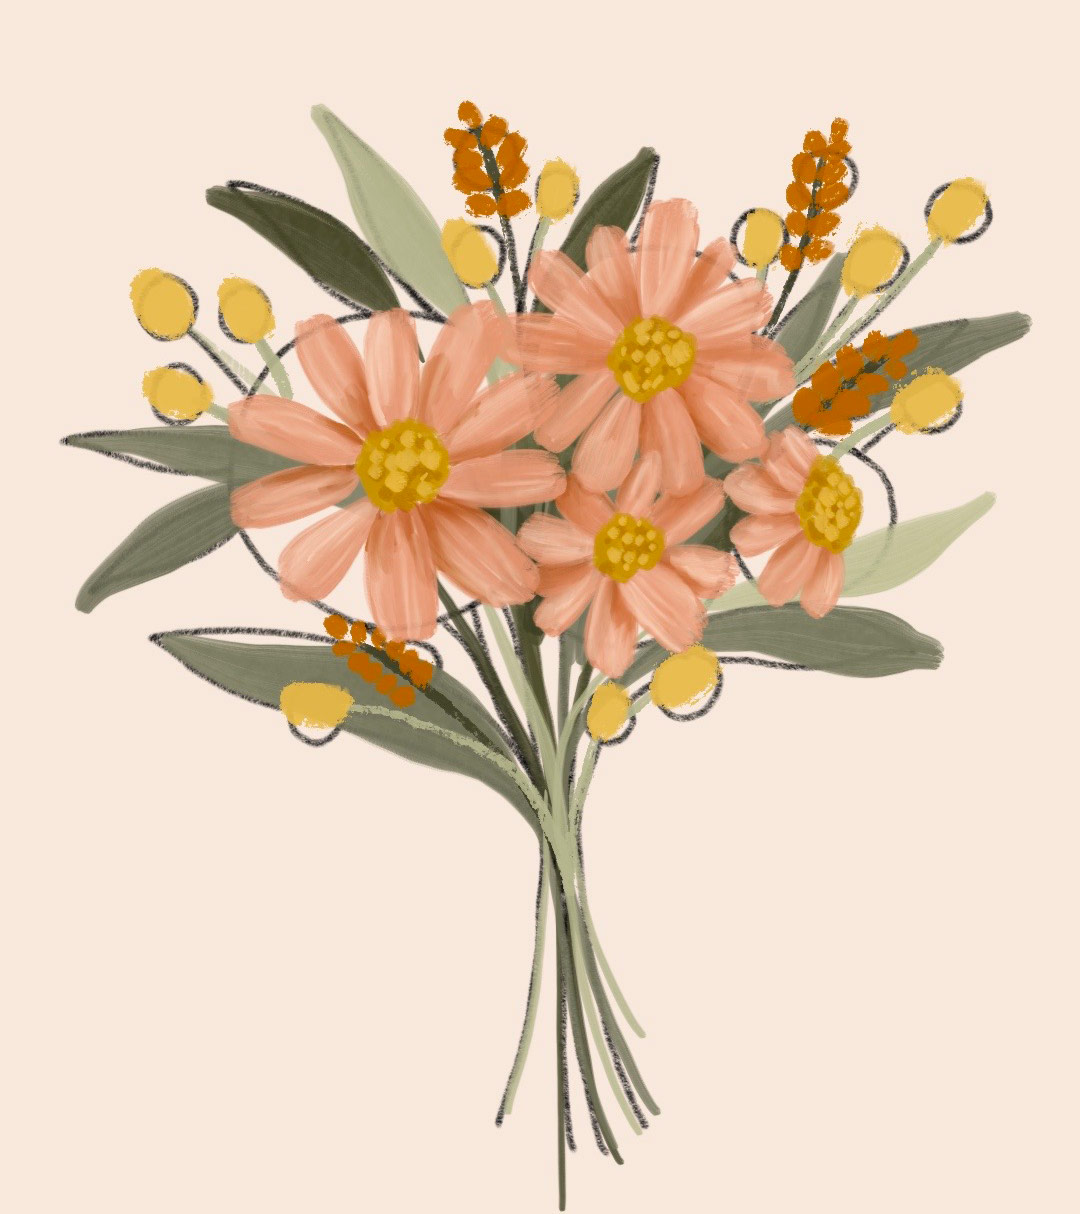
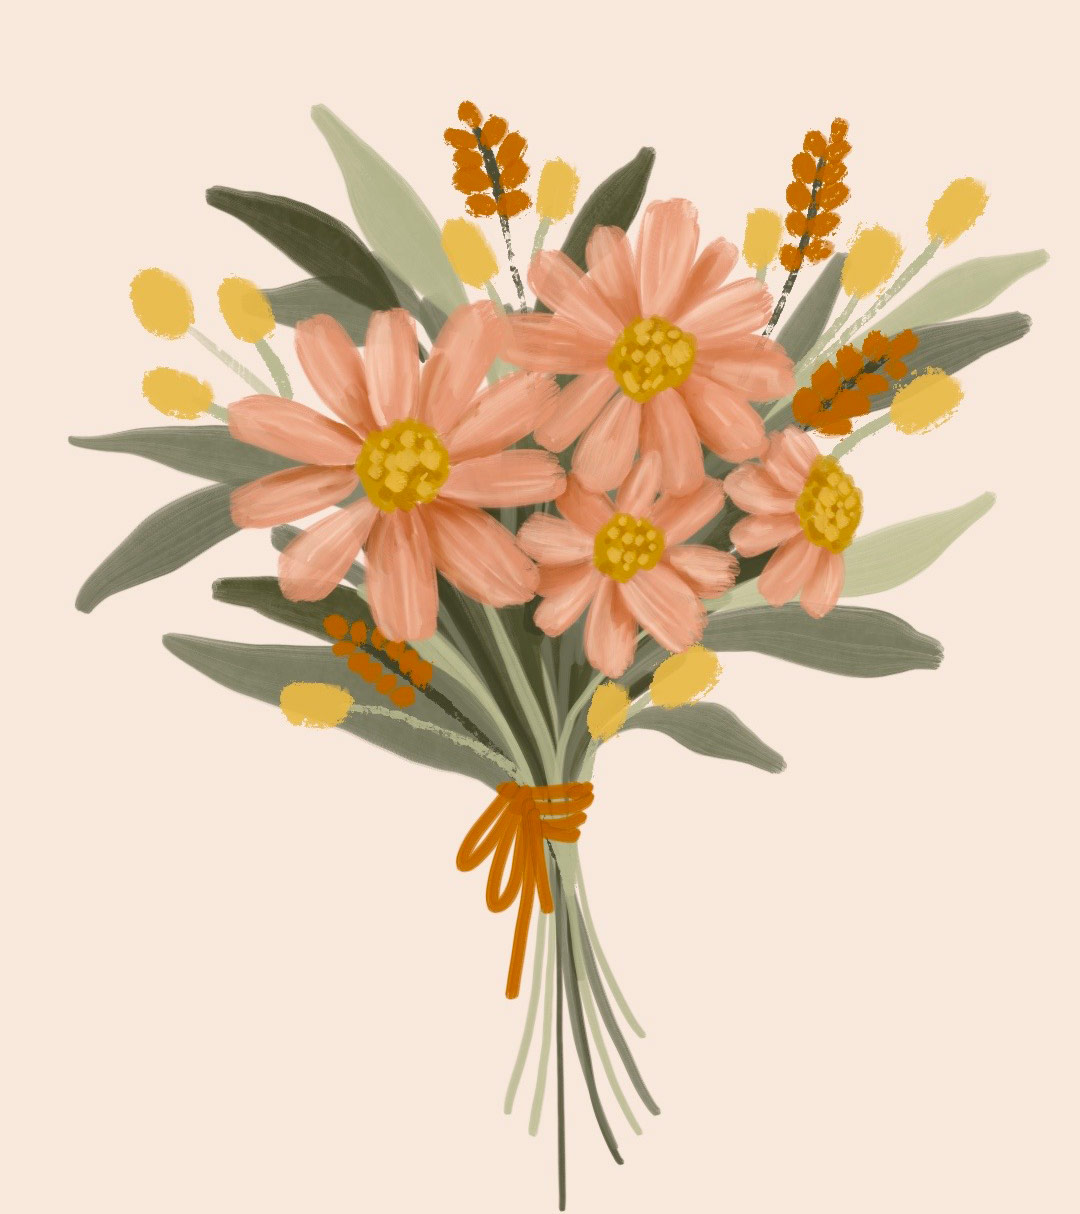
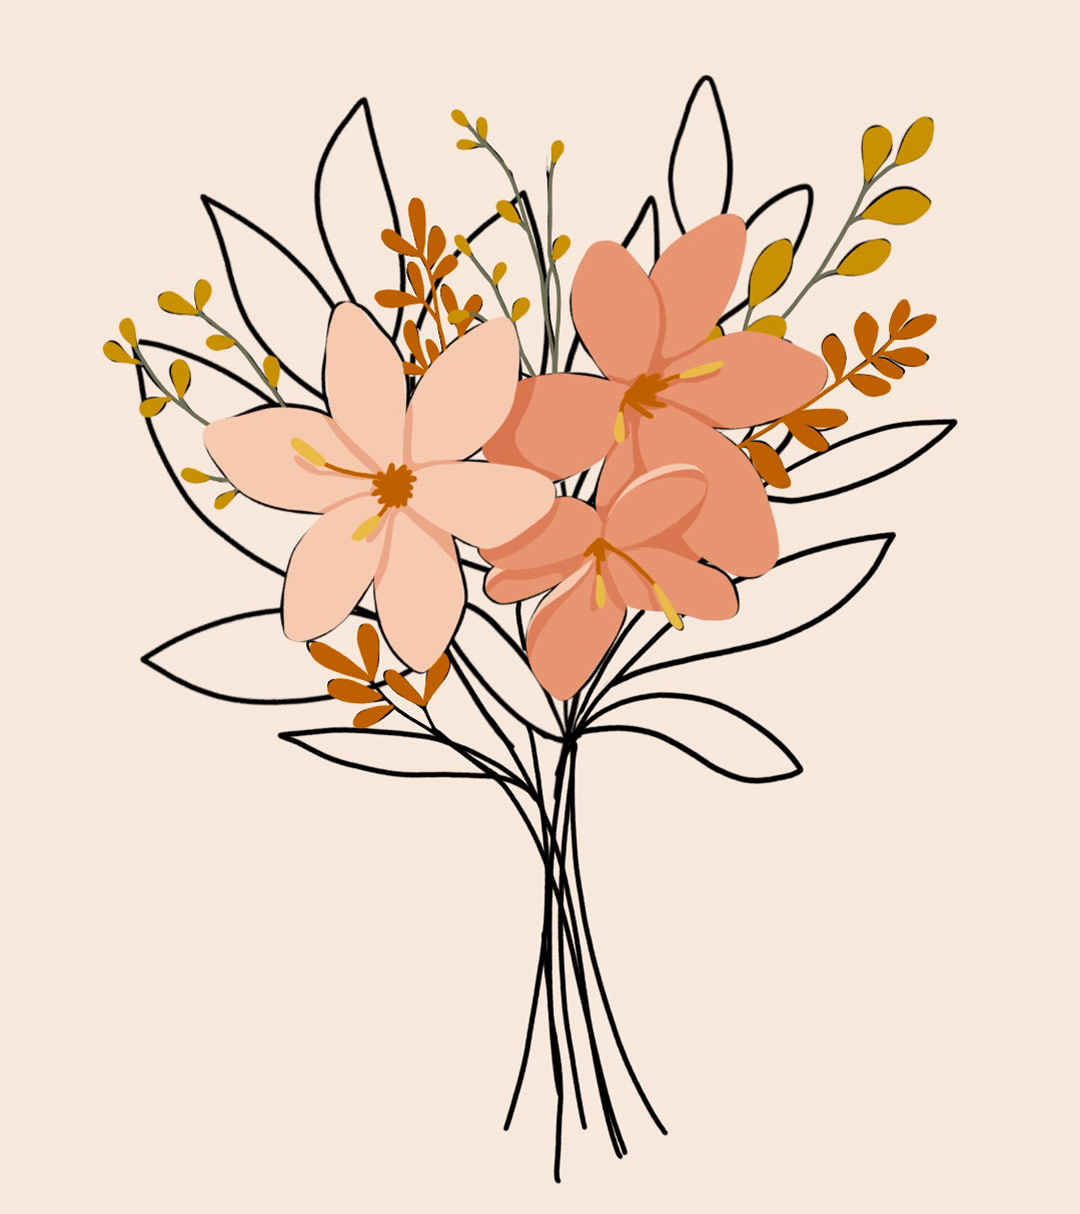
Step 4: Filling in the gaps
Are there weird spaces anywhere? Add in extra supporting flowers or foliage elements to close them up and keep the focus on those beautiful flowers!

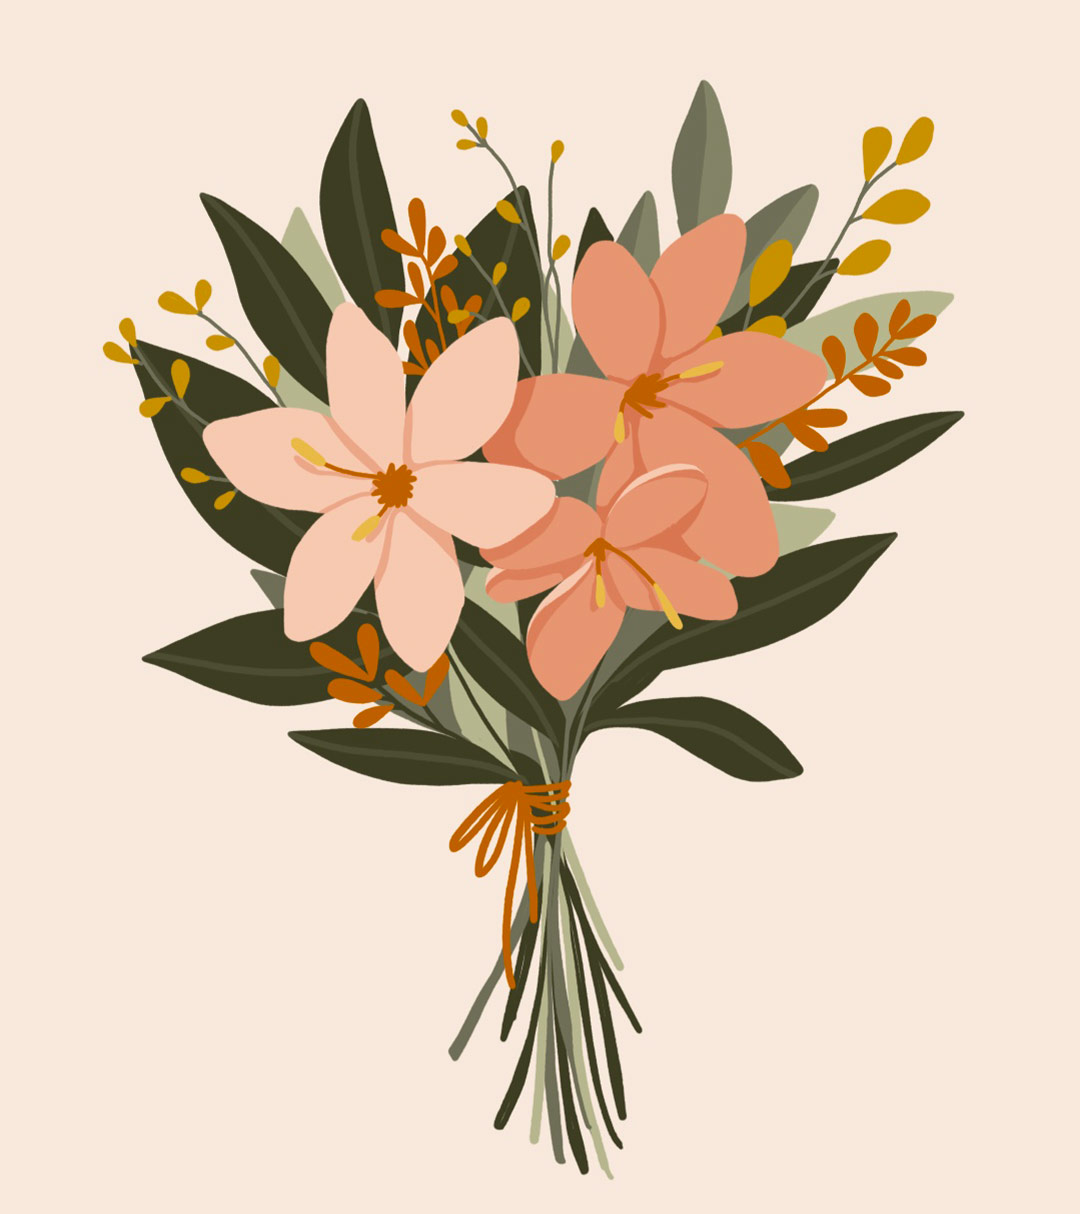
Here’s the final gouache style bouquet of flowers! 💐
Flat style bouquet with the flower composition sketch: using flower stamp brushes
Using the bouquet maker brush set is a little more advanced, since we’ll design an additional composition using stamp brushes. For more on how to do this, check out this tutorial!
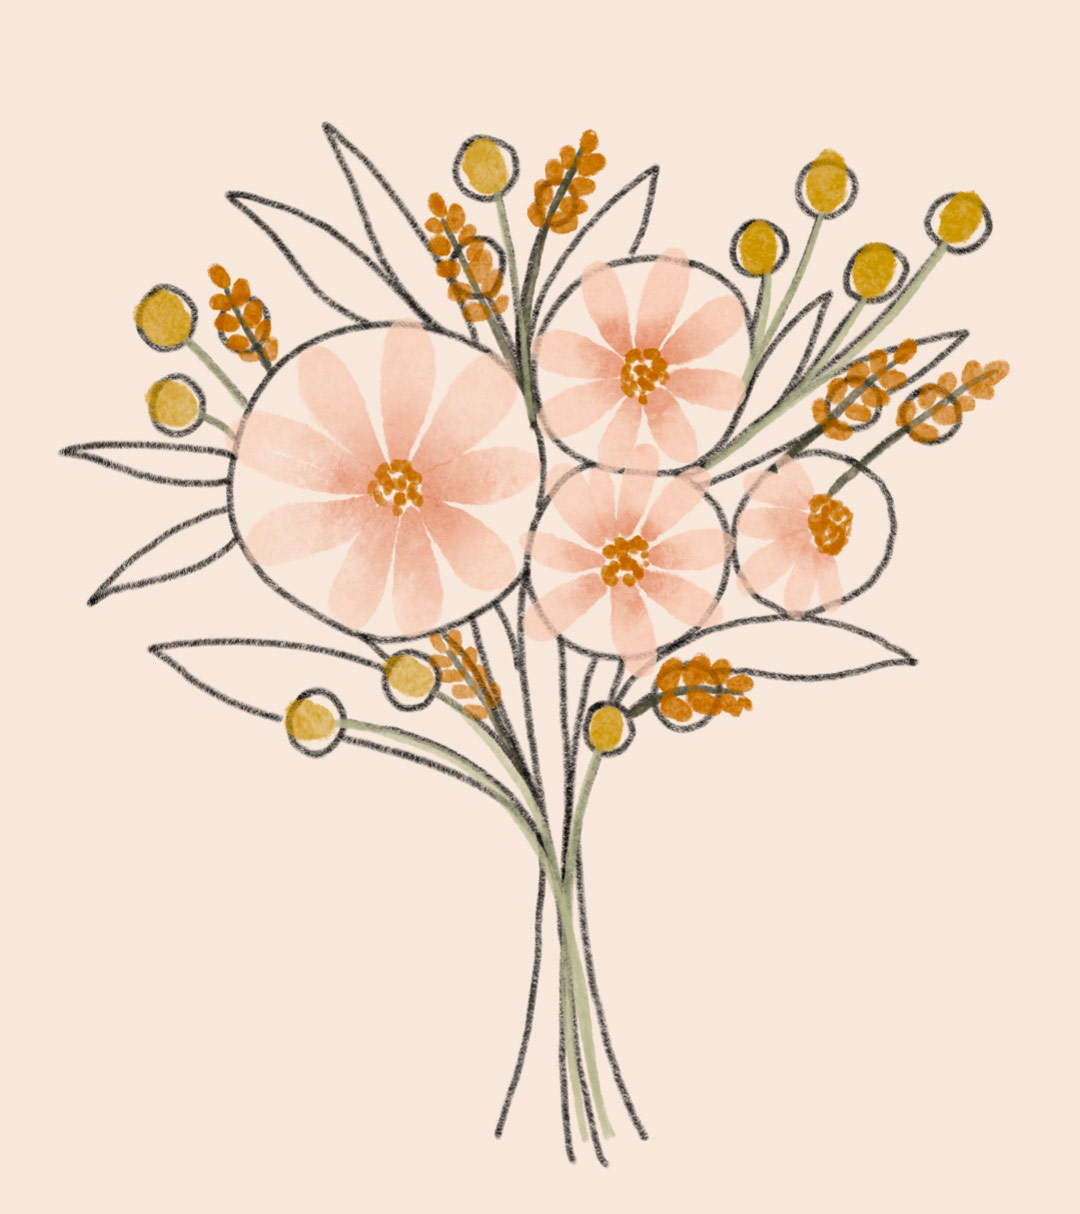
Here is the refined composition for this flower bouquet:
Step 1: Add color to your flowers
Once I have my refined bouquet composition, I always start with the largest flowers first. I use the Edgy Ink brush from the Bouquet Maker brush set to draw and fill all of my elements.
After I have the main flower shape filled, I also draw in some shadows, so I focus on areas where elements may overlap. I use the same color as my flower’s base color for these, but change the blend mode to multiply and reduce the opacity as needed.
Next, I follow the same process for drawing my supporting flowers, creating simple pops of color, similar to the gouache style.
Step 2: Draw foliage and fill in the gaps
Let’s finish things up! Add in your foliage along with any extra details, and don’t forget to fix any gaps.
Your flat style bouquet of flowers is complete! 🎉

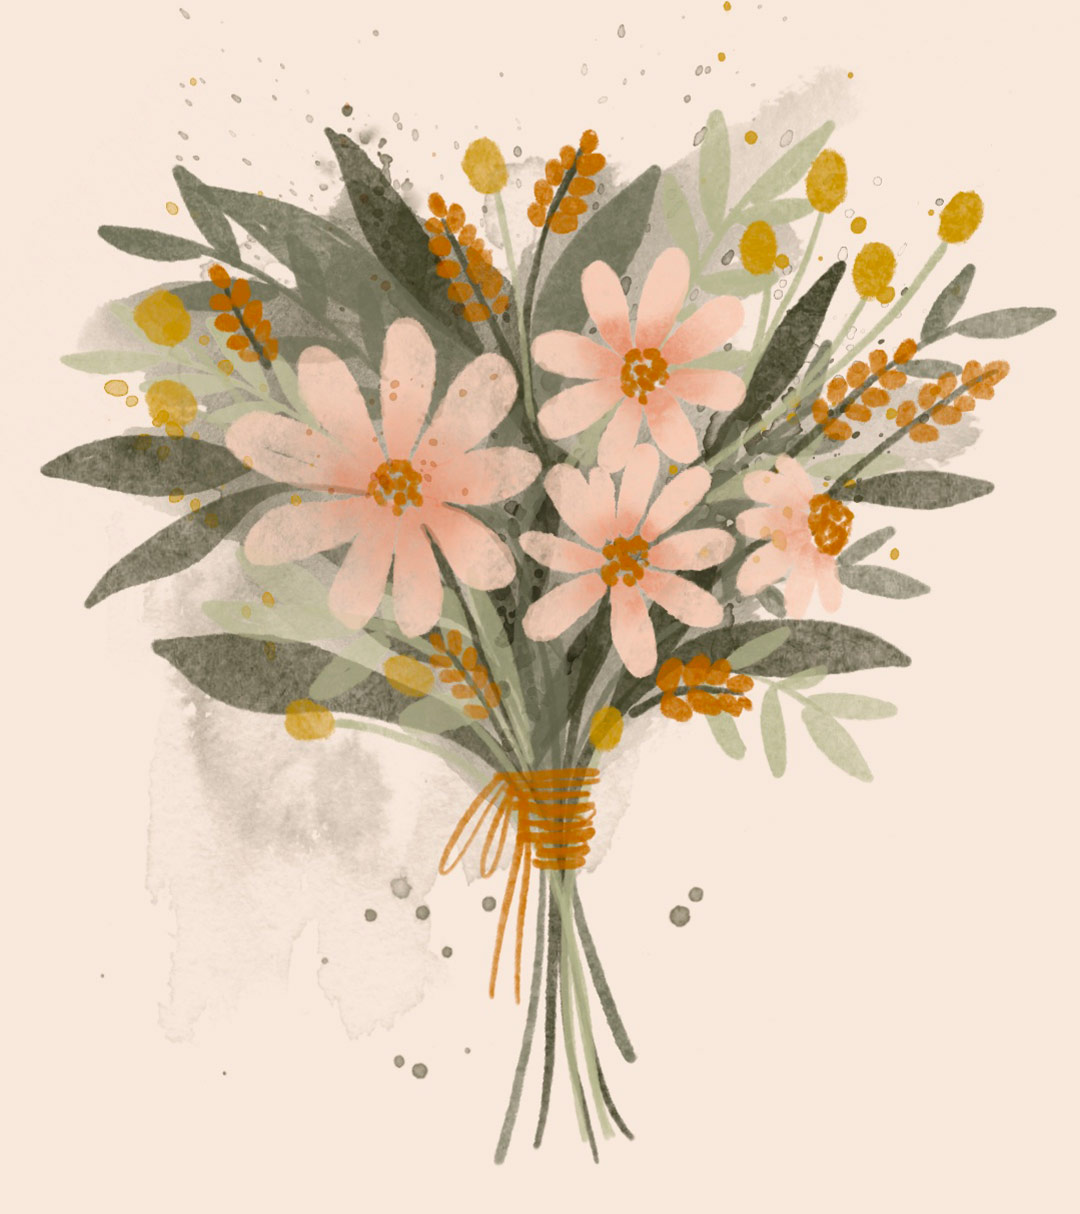
Messy watercolor flower bouquet: getting started
We’ll be using the same flower shapes and process we used for the gouache bouquet, but we’ll use the Tuesday Waterbrush for all of our drawing components.
Step 1: Paint your beautiful flowers
Time to fill in those big circles with those beautifully textured daisies!
Step 2: Draw supporting flowers
Use any tiny petaled flower for these if you’d like to change it up! I like keeping the most detail in my hero flowers, but drawing little lines in supporting blooms can create simpler visual interest.
Finish your messy watercolor flower bouquet
Draw in your foliage and stems using the Tuesday Waterbrush, then it’s time to make a mess! Select different messy shape and splatter stamps to push the style further.
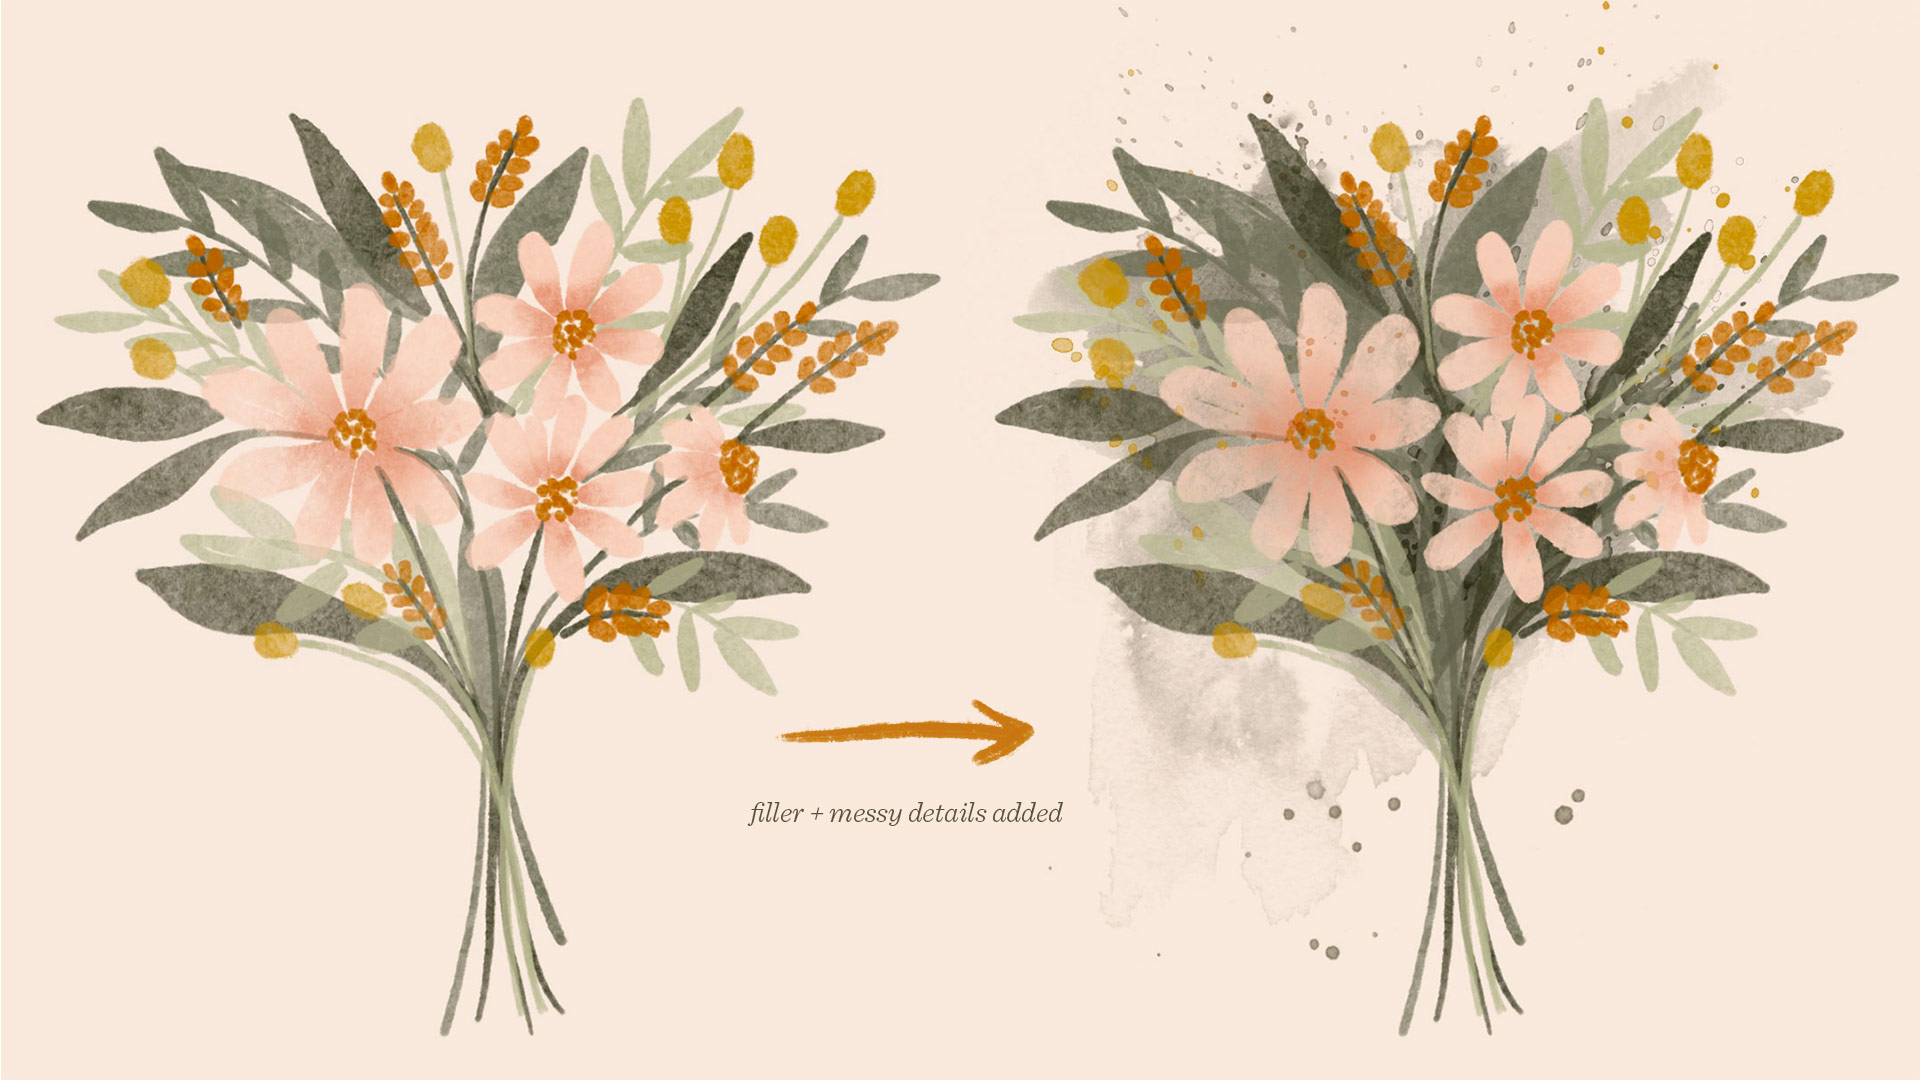
Your messy watercolor flower bouquet is finished! ✨
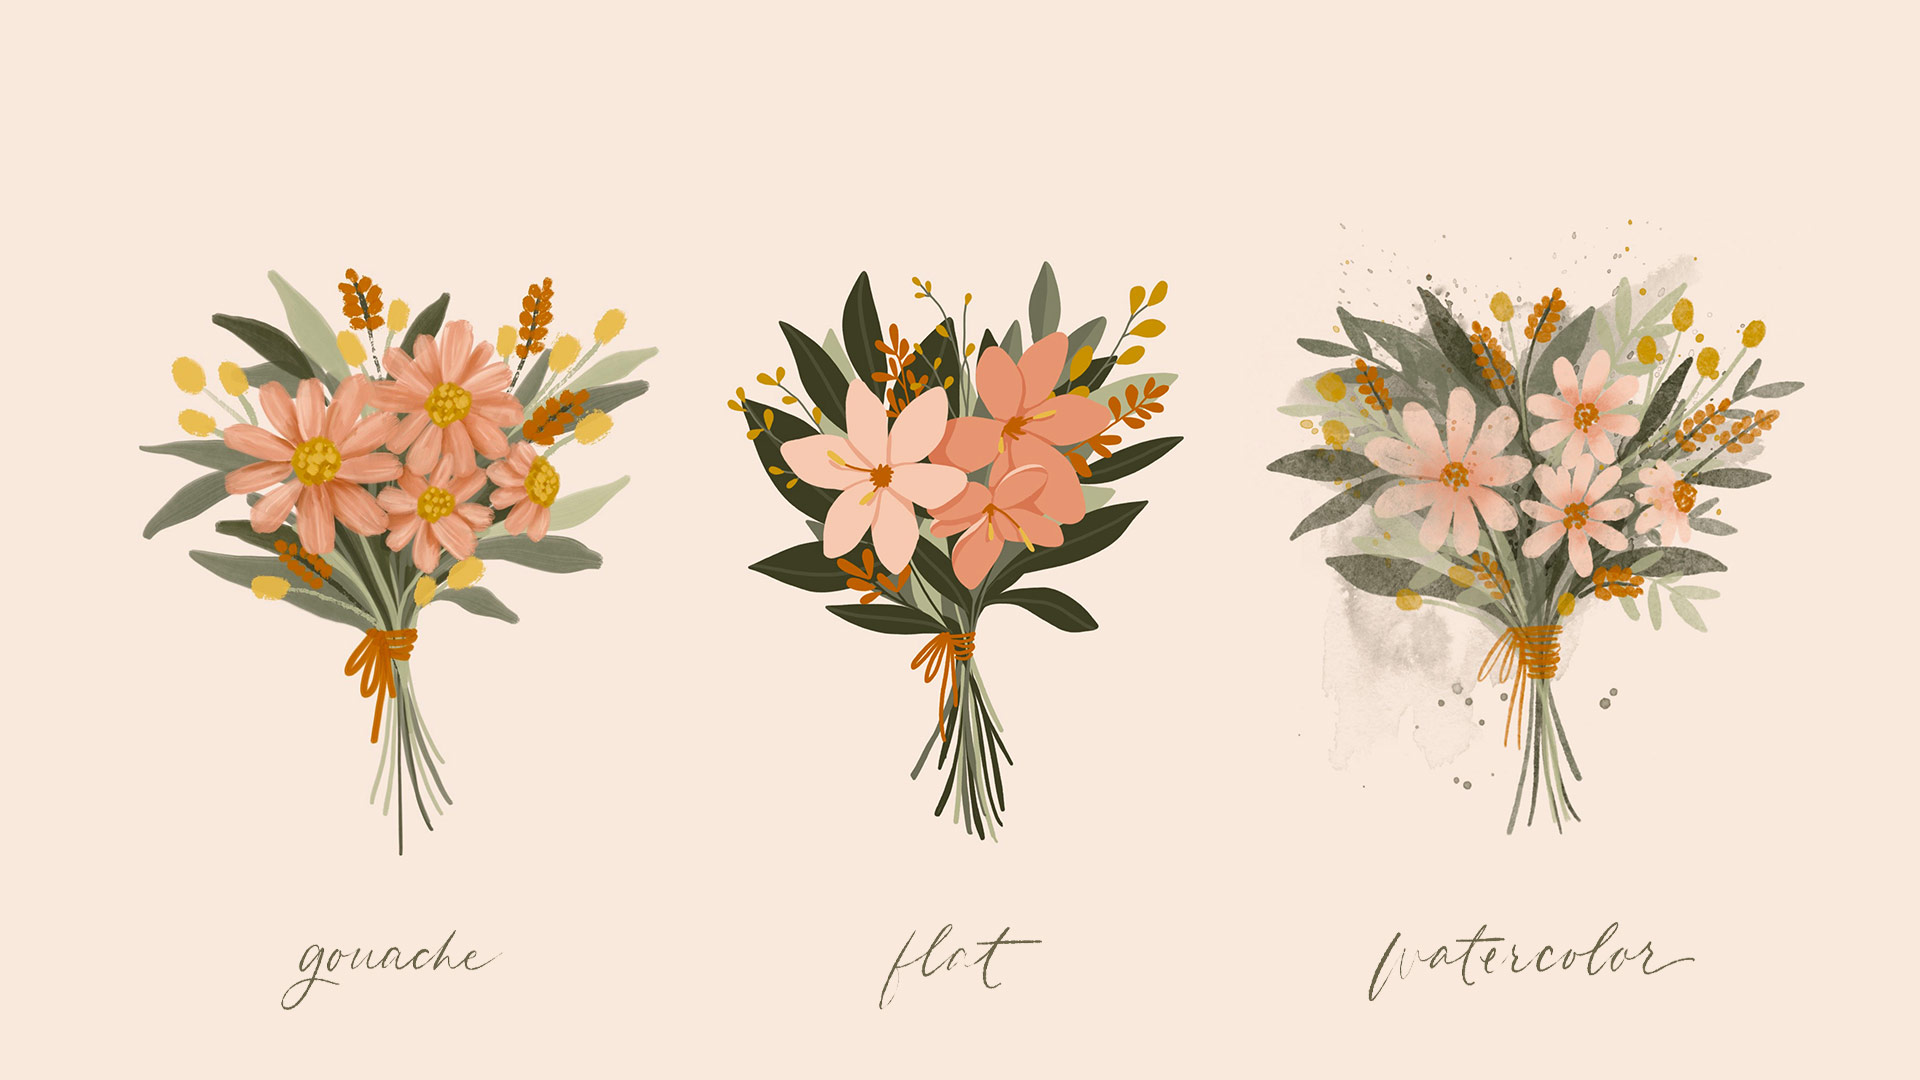
Here’s a final look at all 3 styles together:
Now what? Save and use!
After you’ve completed your bouquet of flowers, it’s time to use them! Export them on a transparent background by turning off the visibility of the background layer and saving them as a png. You can then place them on social media graphics, stationery designs (wedding invitation, special occasion announcement, birthday invite, etc.), website images or even add them to pattern designs!
Deep dive into flower bouquet drawing and painting
If you enjoyed this process and would like to learn more about the styles above, check out these comprehensive online courses!
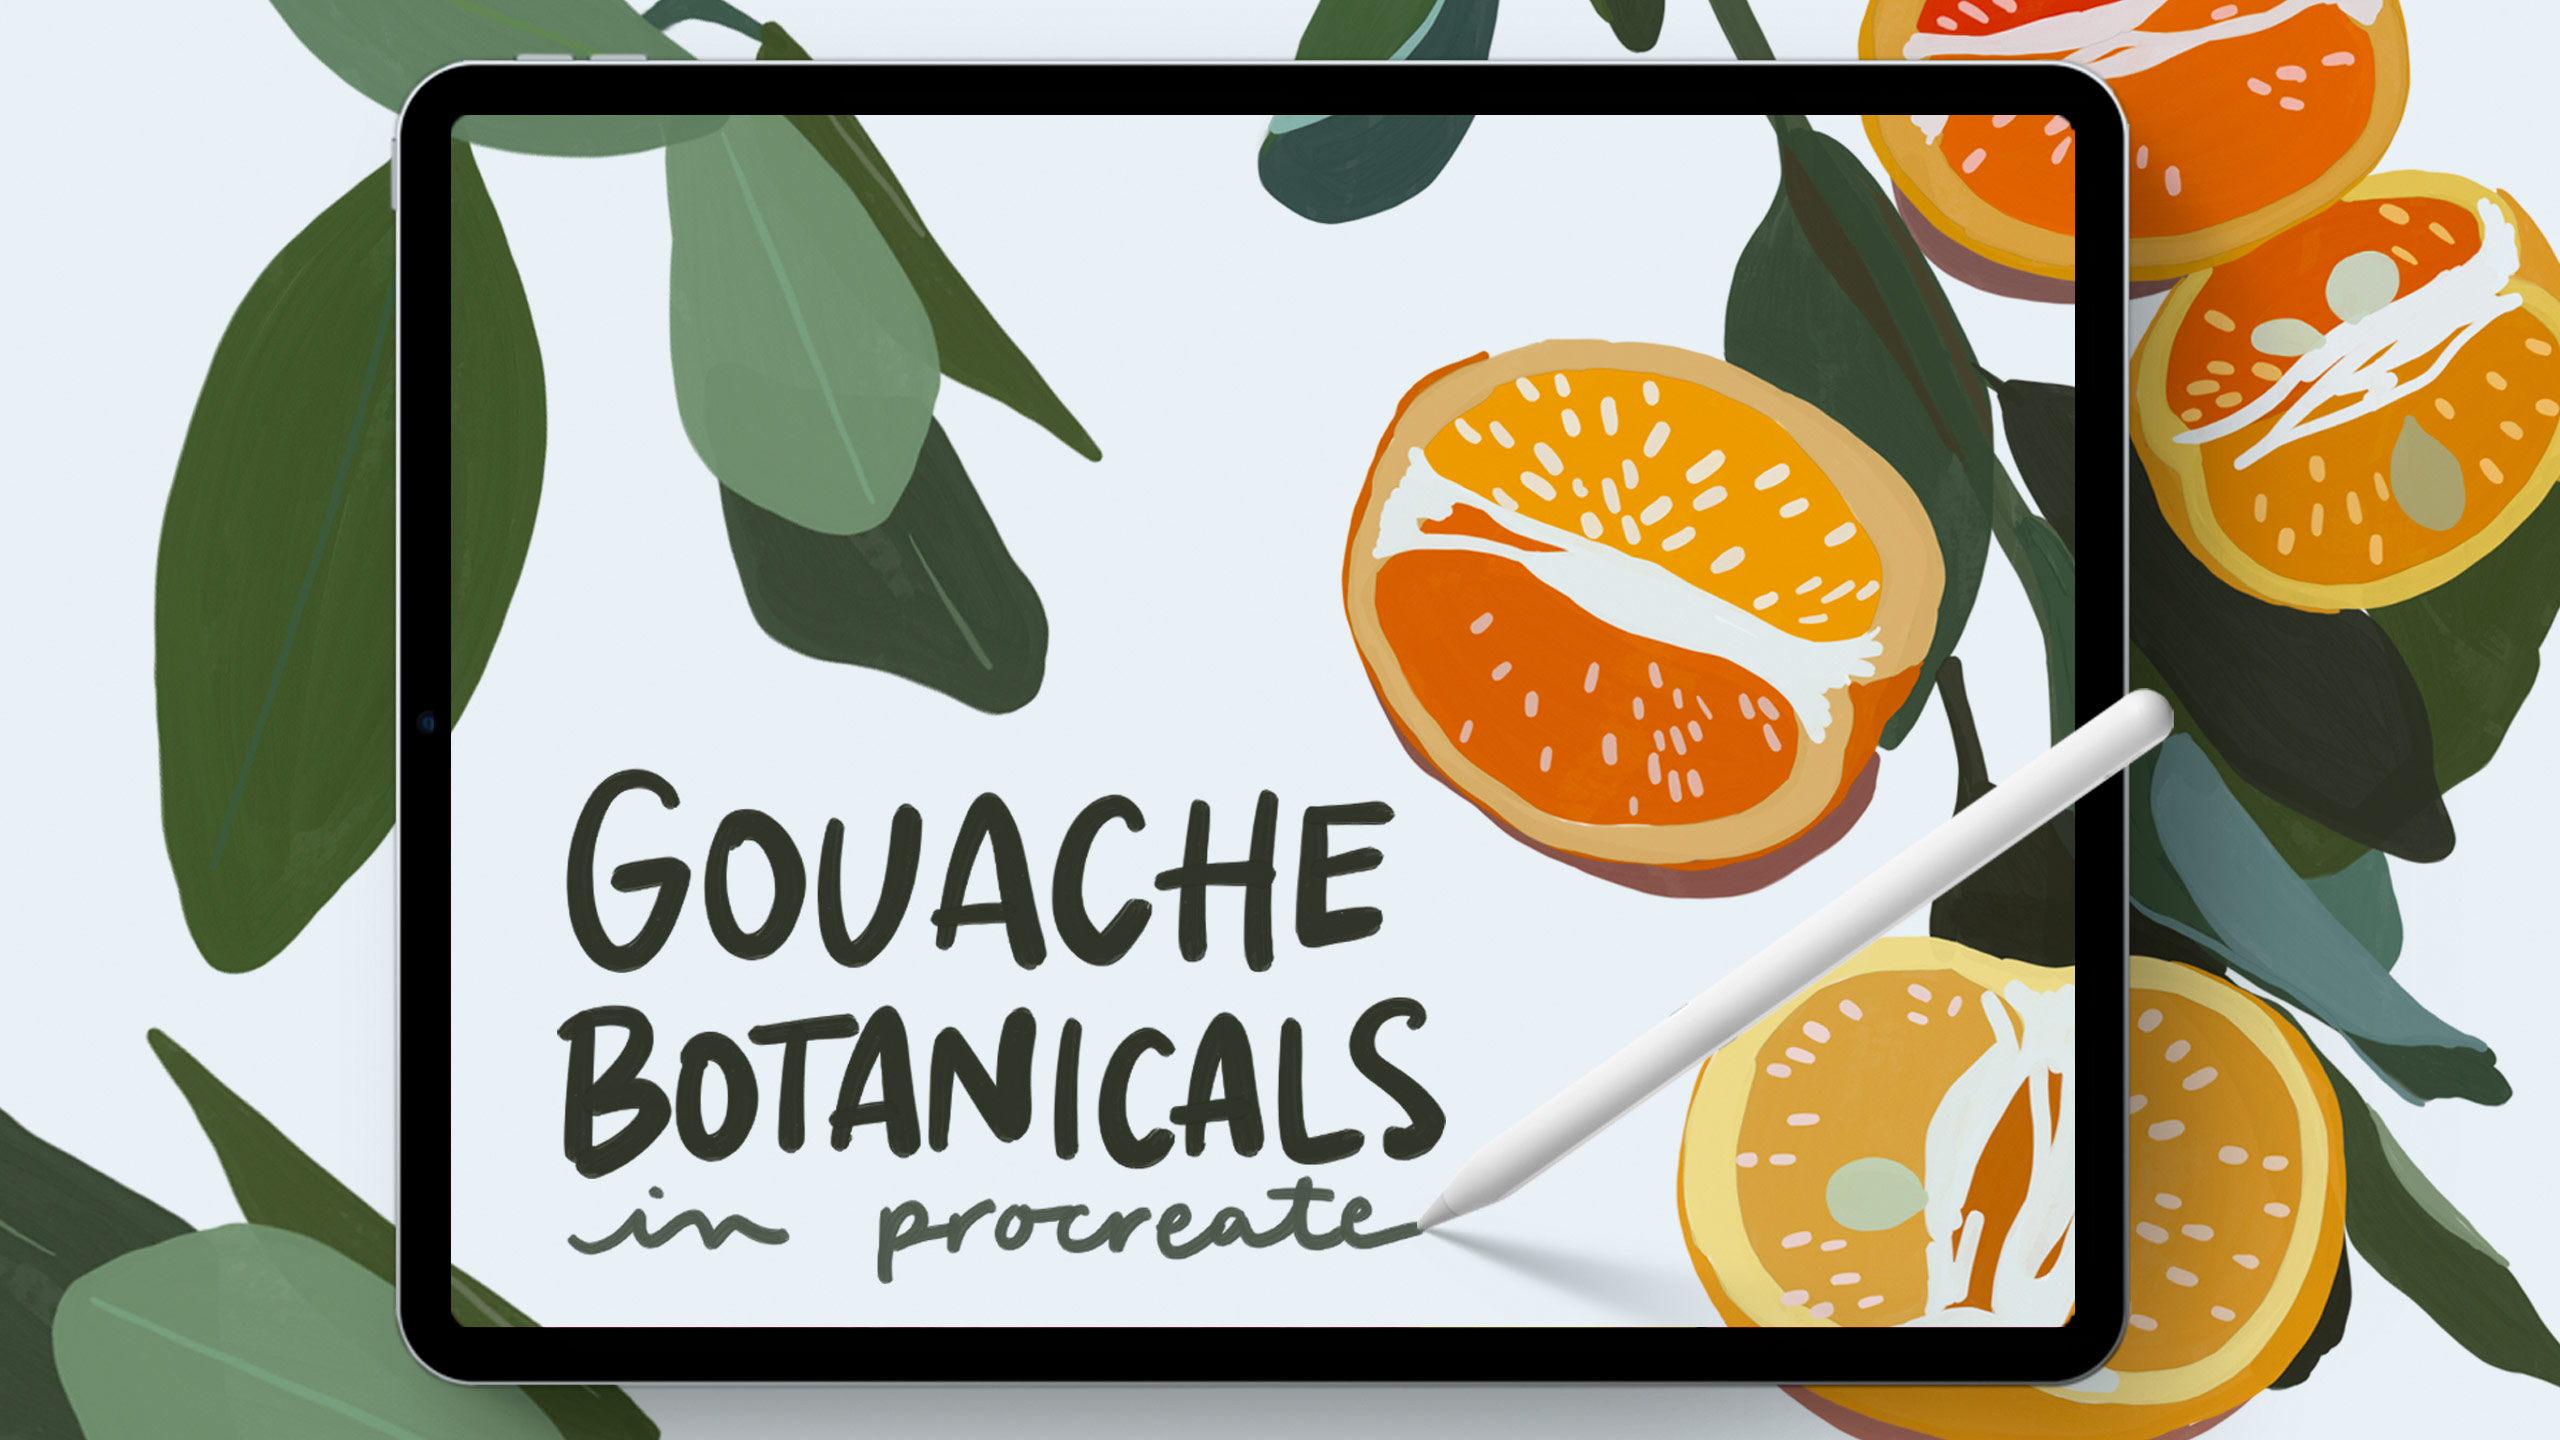
Gouache Botanicals in Procreate
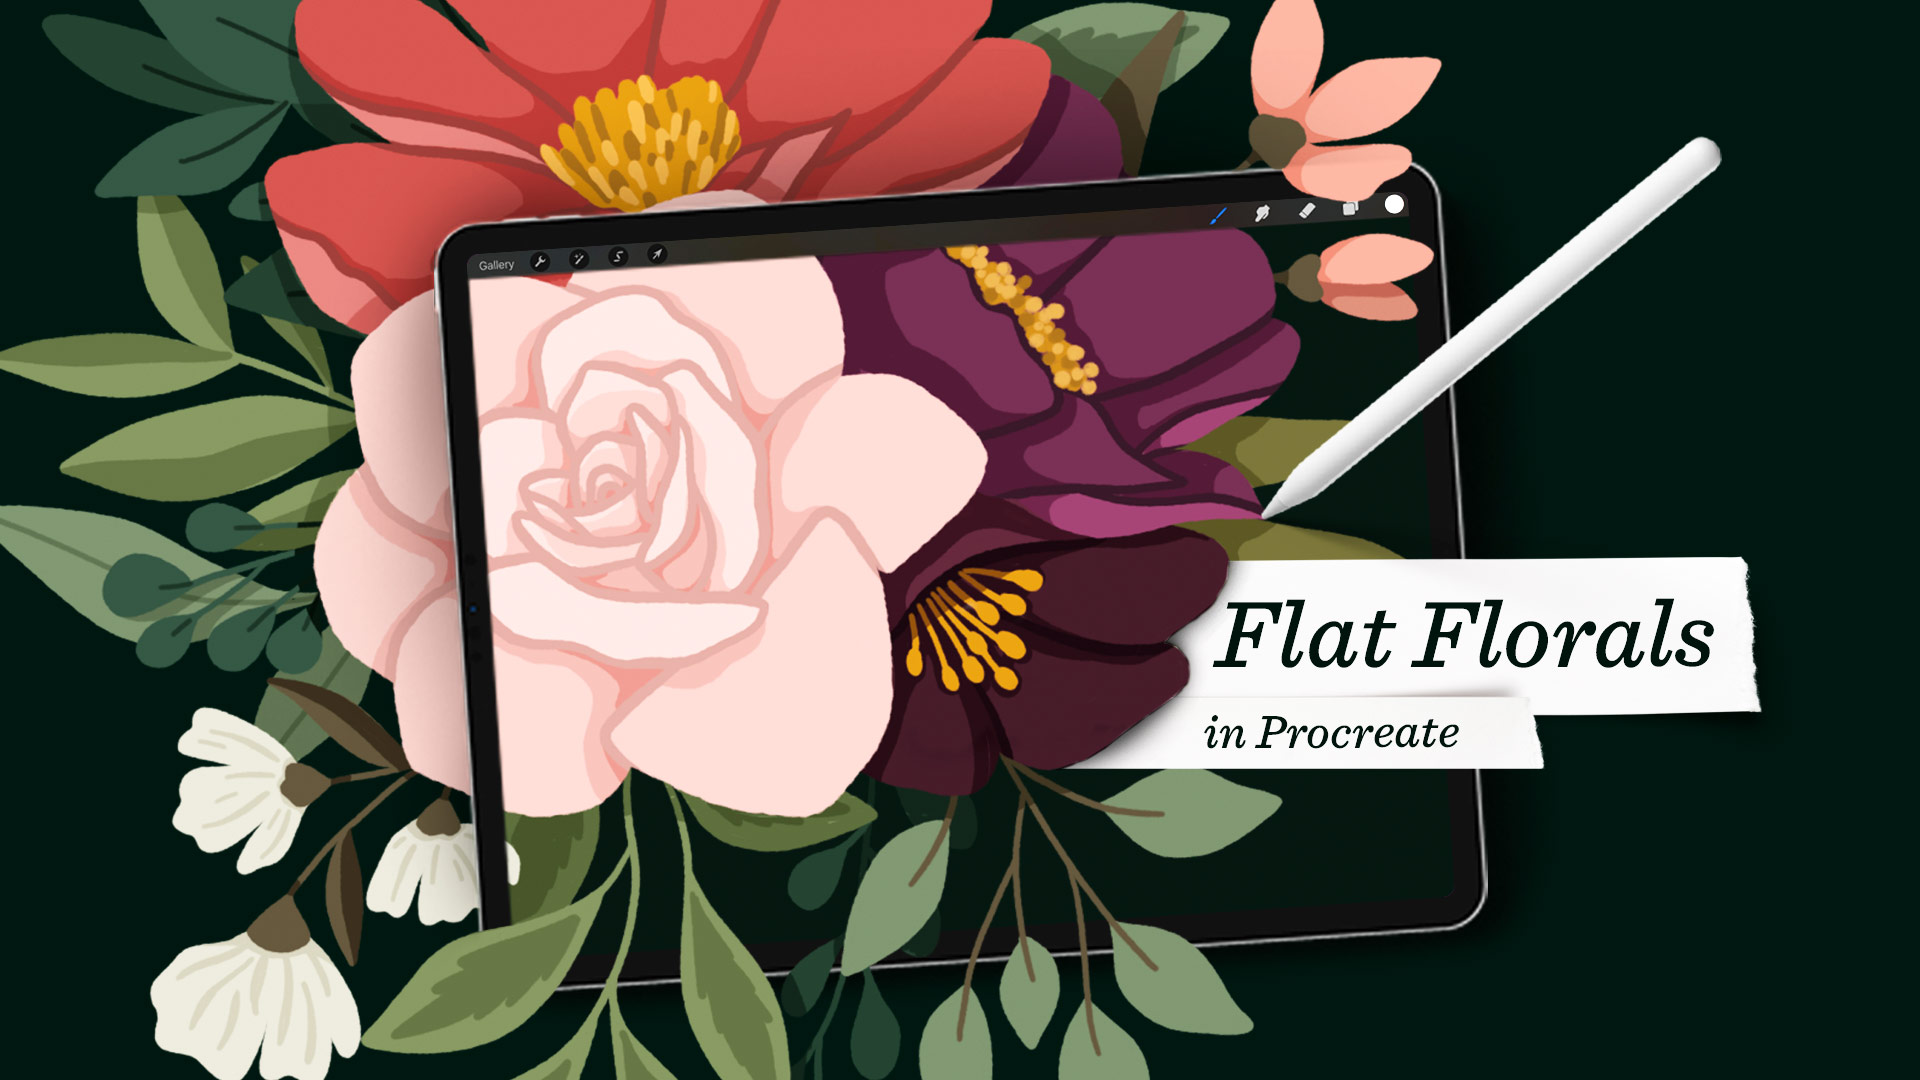
Flat Florals in Procreate
Messy Watercolors in Procreate
Receive special offers on courses + products, a new design file every month plus instant access to the Resource Library!

Pick up over 50 design + lettering files as our gift to you when you join the Tuesday Tribe for free!
error
Congrats!
Please check your email to confirm.
You May Also Enjoy
 Paint a Winter Watercolor Bouquet in Procreate Posted in Tutorials, Hand Lettering, Illustration, iPad Lettering, Beginner, Watercolor, Procreate
 Simple Flower Doodles with Messy Watercolor in Procreate Posted in Illustration, Watercolor, Procreate, Flat Style
 Paint a Vase of Fall Florals in Procreate Posted in Freebies, Tutorials, Color, Hand Drawn, Illustration, Beginner, Procreate, Gouache
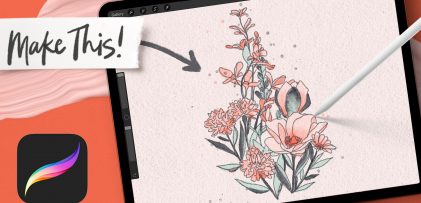 Line Art Florals for Beginners in Procreate Posted in Freebies, Tutorials, Hand Lettering, Color, Hand Drawn, Illustration, Beginner, Watercolor, Procreate
Heidi | May 9, 2023
|
As always Teela, this is an amazingly informative post. I think I own all of these courses but it is so helpful to see the instructions in written form too. Thanks for sharing!
Teela | Author | May 20, 2023
|
❤️