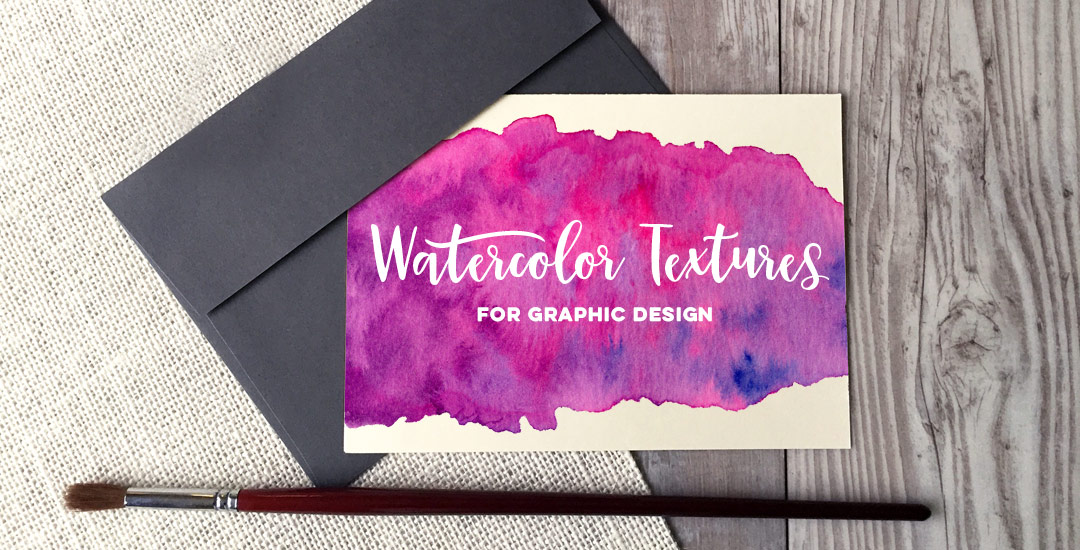
Welcome to Photoshop month! Because Photoshop plays such a large role in taking my designs further, this month I’m sharing some of the tools and tricks I use all the time in Photoshop. This month is specifically in celebration of my new Intro to Photoshop class with Brit + Co which launches tomorrow (today’s the last day to sign up and get 15% off using this link!). In the class, we create this outcome, which uses watercolor textures and lettering, so today I wanted to share some quick tips on adjusting watercolor textures for your specific needs.
I’ve been asked quite a bit lately how to change any watercolor texture to a specific color, so I think this tutorial was meant to be! Say you want to incorporate a custom watercolor texture into your branding – you love the texture, but it’s not the right color for your brand. Or, you just want it to be something else. In this week’s video, I walk you through three methods using Photoshop: changing all of the colors within the watercolor to something different, changing the entire watercolor into one specific color (which is great for branding), and changing just a portion of the watercolor to a different, specific color. All the tips in the video below!
Change any Watercolor Texture to a Specific Color
Watercolor textures used in this video:
– Abstract soft #6 from Watercolor Texture Kit vol. 2
– Abstract #6 from Watercolor Texture Kit
– The main texture above is abstract streak #8 from Watercolor Texture Kit vol. 2
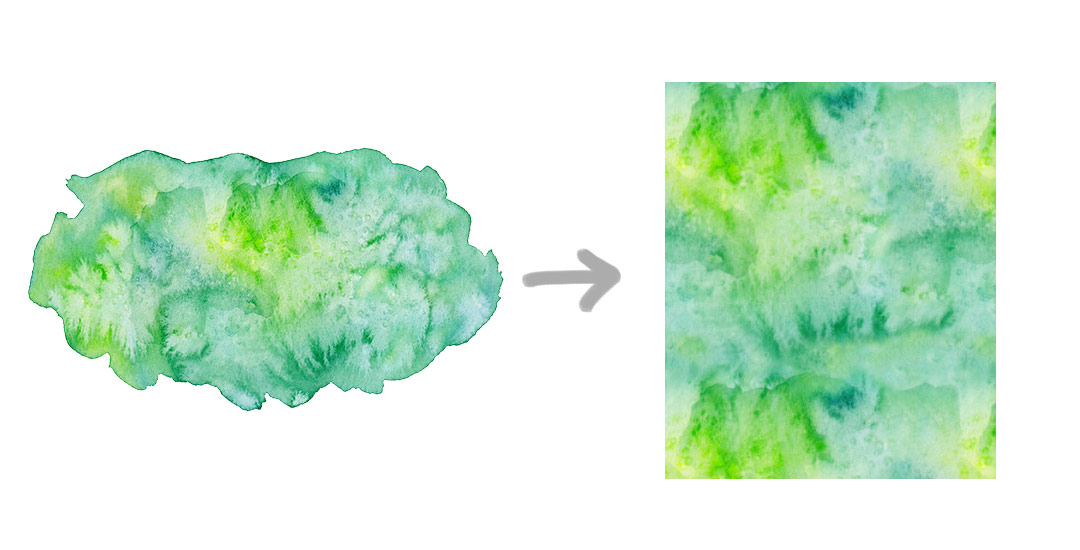
The Skillshare class mentioned where we go step by step creating textures, then digitizing + cutting them out in Photoshop is right here 🙂
Receive special offers on courses + products, a new design file every month plus instant access to the Resource Library!

Pick up over 50 design + lettering files as our gift to you when you join the Tuesday Tribe for free!
error
Congrats!
Please check your email to confirm.


Ashlee | August 8, 2016
|
This was such a helpful tutorial for what I am working on right this moment. Thank you so much for doing this and all the amazing tutorials you always put up!!
Teela | Author | August 8, 2016
|
Yay! I’m so glad 🙂 Thanks for checking it out!
Giuliana | October 17, 2016
|
Woooww!! gran gran ayuda! muy bueno
thank you!
Gabriela - Rodica Dima | May 9, 2017
|
Can this be done in Illustrator?
Teela | Author | May 12, 2017
|
It can’t in the same way – you could mask color blocks with different blend modes on top of the texture, but you won’t get the same kind of outcome. Photoshop is the way you should go for something like this
Gigi | September 16, 2017
|
Hey I am making a youtube channel ,and I was wondering if I can use this for my banner?
-Thanks
Teela | Author | September 18, 2017
|
Hey, you’ll have to purchase the texture in order to use it on your channel – you’re not allowed to pull it from the website directly for use.
Catherine Campbell | March 7, 2018
|
Hey Teela,
I had a question about the vectorising watercolour textures. When you have vectorised it, what type of file do you save it as in Illustrator?
Catherine
Teela | Author | March 28, 2018
|
Hey!
You’d want to save it as both an ai and eps file 🙂