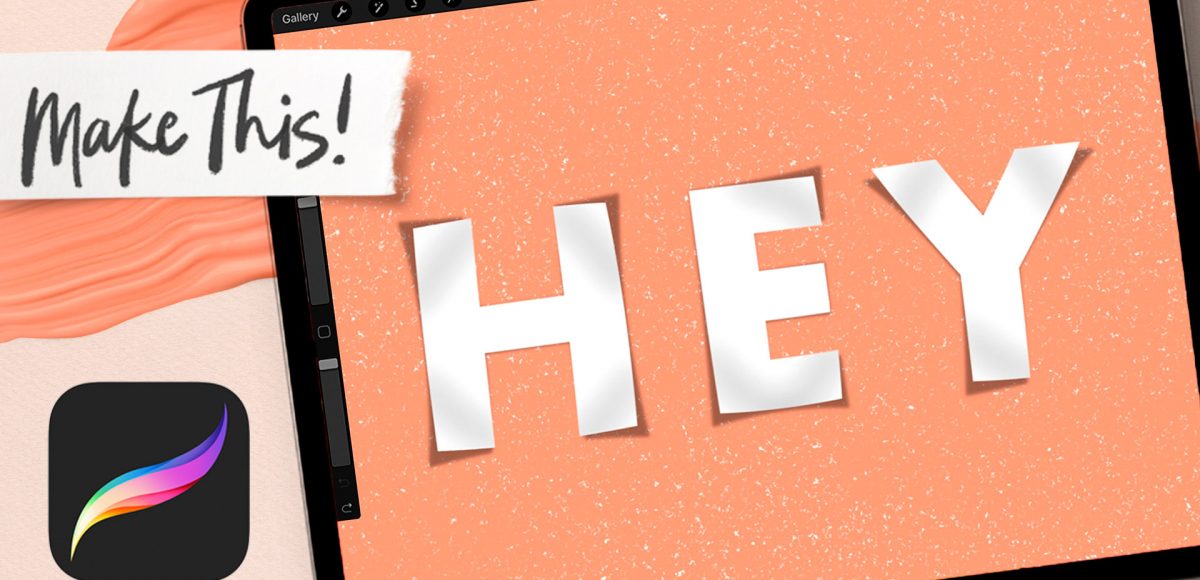
I love experimenting with simple illusions in Procreate – especially when it comes to paper and stationery. My latest idea was to see if I could create a peeling paper effect and apply it to typography. Once I got it working the way I imagined it, I couldn’t wait to share it with you! This one is wayyyy easier than it looks, too – aren’t those always the best? 😉
Pin it for later!
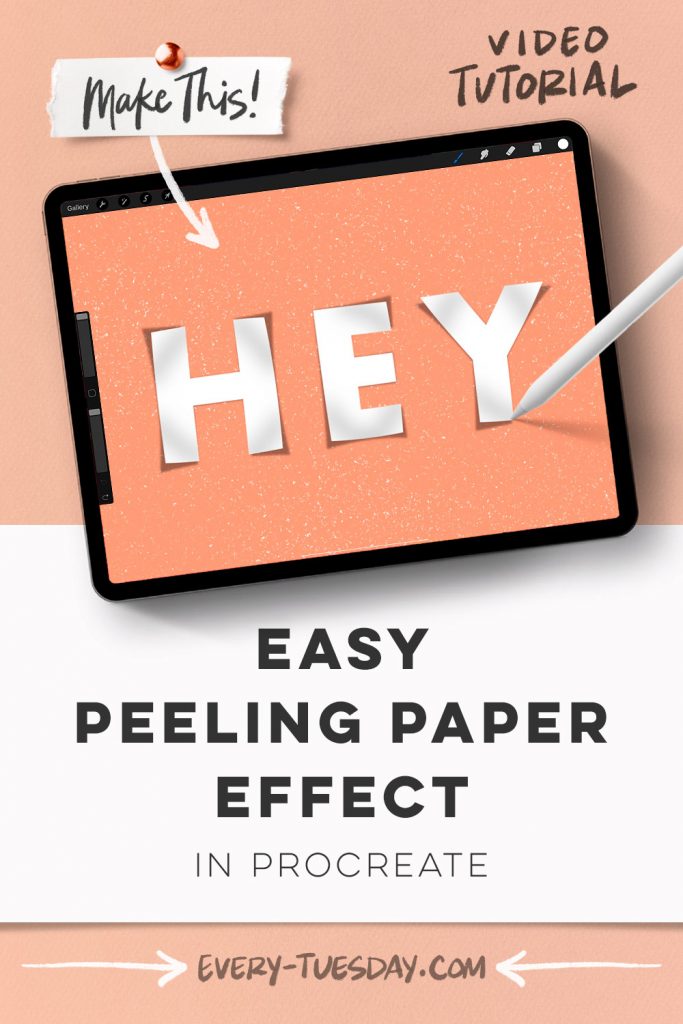
Easy Peeling Paper Effect in Procreate
Mentioned in this video:
- Super Shaders Procreate Brushes (or any favorite textured brushes)
- Your favorite color for the background (I’m using #fca17d)
The brush set this week comes from Envato Elements – if you’d like to try them out, click here for 70% off your first month (coupon will be applied when you join). They now offer a 7 day free trial, too!

Here’s a written overview of how to make an easy peeling paper effect in Procreate:
- Download the Super Shaders brushes and install them into Procreate.
- Add in a background texture with Super Shader #3. Lightly glide your stylus over the screen. Create a new layer right above that and now lightly glide your stylus over again in a different direction.
- Add in your typeable text by selecting white, head over to the wrench, add category, and choose add text. Write out the word Hey. Change the properties of the text by double tapping on the word until the whole word is selected. Change the properties as you would like.
- Tap on the lettering thumbnail and choose rasterize.
- Create the warp shadow by selecting the layer thumbnail and create a new layer. Change your color to black, come back to the layers and choose fill layer. Drag the black text layer under the white text layer.
- Hit the select icon, and then draw around the H. Hit the selection icon and choose warp. Pull the corners to warp as you like. Repeat these steps with the other letters.
- Change the blend mode of the black layer to multiply. Reduce the opacity and add a gaussian blur.
- Start warping the letters themselves by tapping on the white layer and selecting each letter individually.
- Create a new layer and apply a clipping mask. Switch your brush to Super Shader #17 at 10%. Look where the curl is happening and draw a line where the bend would occur. Apply a gaussian blur to about 10%. Reduce the opacity to 60%.
- Done!
Receive special offers on courses + products, a new design file every month plus instant access to the Resource Library!

Pick up over 50 design + lettering files as our gift to you when you join the Tuesday Tribe for free!
error
Congrats!
Please check your email to confirm.
You May Also Enjoy
 Make Washi Taped Flowers in Procreate Posted in Freebies, Tutorials, Color, Hand Drawn, Illustration, Advanced, Procreate
 Paint Flat Florals for Birthday Stationery in Procreate Posted in Freebies, Tutorials, Hand Lettering, Color, Resources, Hand Drawn, Illustration, Advanced, Procreate
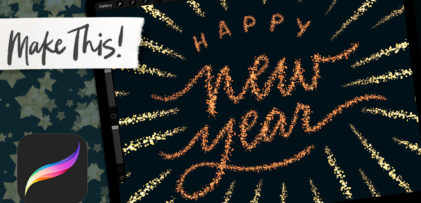 New Year’s Firework Animation in Procreate Posted in Freebies, Tutorials, Hand Lettering, Holiday, Hand Drawn, Illustration, Procreate, Intermediate, Animation
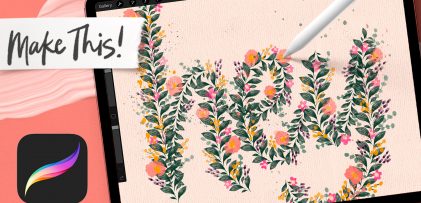 Make a Pattern Lettering Brush in Procreate Posted in Freebies, Tutorials, Hand Lettering, Color, Hand Drawn, Patterns, Illustration, Procreate, Intermediate
No comments