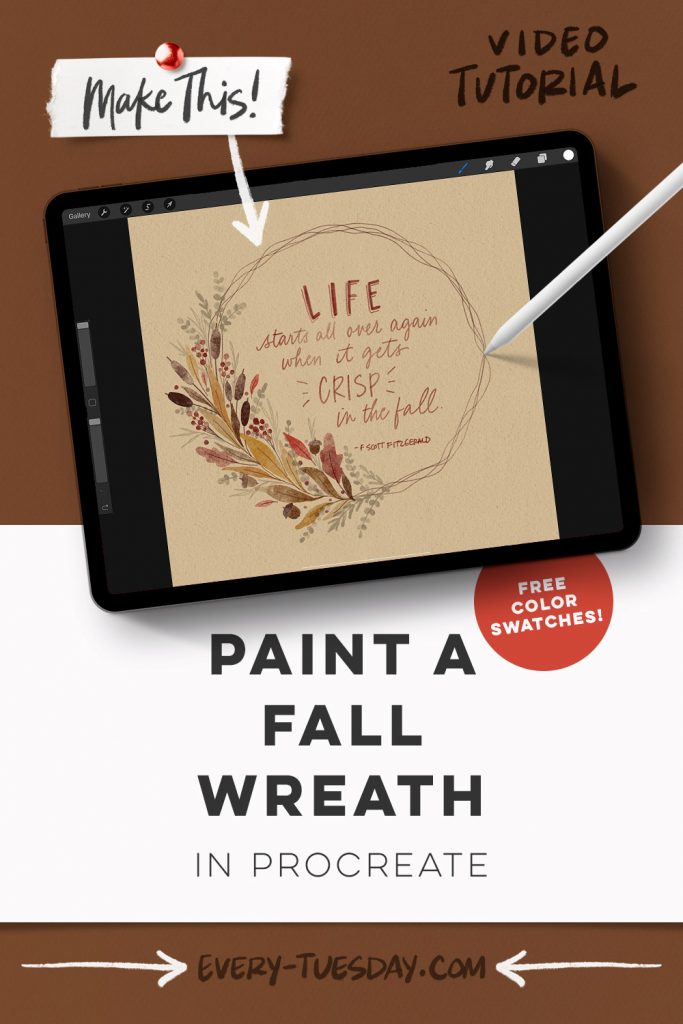
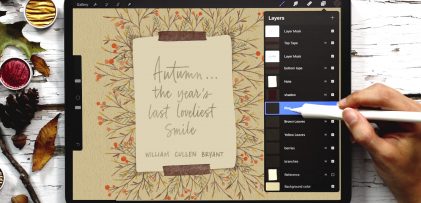
Let’s get to this week’s tutorial! Today, we’re revisiting one of my favorites: fall wreaths! This one is a little different because we’re making an asymmetrical, semi-filled wreath and keeping plenty of room for some lettering in the middle. Together, we’ll create our sketch layer and plan out our foliage-focused wreath, then paint over it with lots of fun, fall-colored elements. We’ll finish it off with intertwined branches + lettering, and we’re only using one brush set for all of it (my paid set of watercolor illustration brushes, but feel free to use any you’d like). This is a beginner friendly tutorial that’s easy to customize + make your own!
Pin it for later!

Paint a Fall Wreath in Procreate
Mentioned in this video:

Here’s a written overview of how to paint a fall wreath in Procreate:
- Give yourself a guide for your wreath by drawing a circle, hold it, and then it will snap into place.
- Create a new layer to sketch out your plan for what everything will look like. You can do this all on one layer or separate the elements out onto individual layers.
- Start painting in your fall foliage by switching through various different colors with the medium paint round brush.
- Connect everything with your common branch and draw in the stems of the different leaves too.
- Fill in the rest of the wreath with supporting elements to fill in the background. Draw in loose freehand branches, leafy symmetrical branches, and some pointed oval leaves.
- Using your round liner brush, loosely hold your pencil while drawing in your intertwined branches.
- Pop in your lettering with the round liner brush and write out your quote. Turn on your drawing guide to help write in straight lines.
- Done!
Receive special offers on courses + products, a new design file every month plus instant access to the Resource Library!

Pick up over 50 design + lettering files as our gift to you when you join the Tuesday Tribe for free!
error
Congrats!
Please check your email to confirm.


No comments