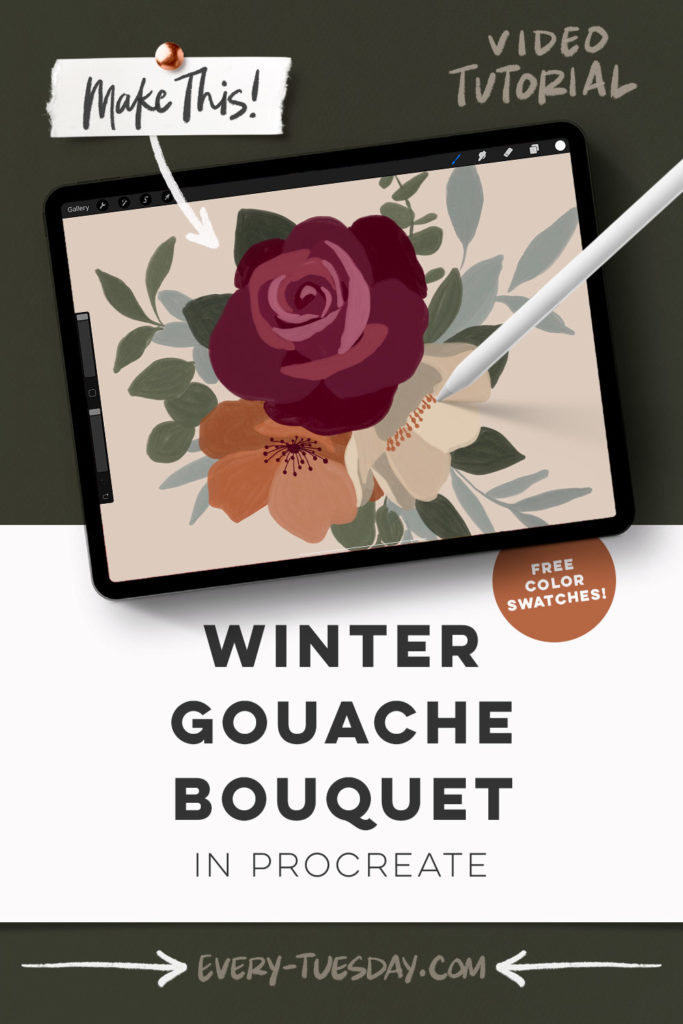
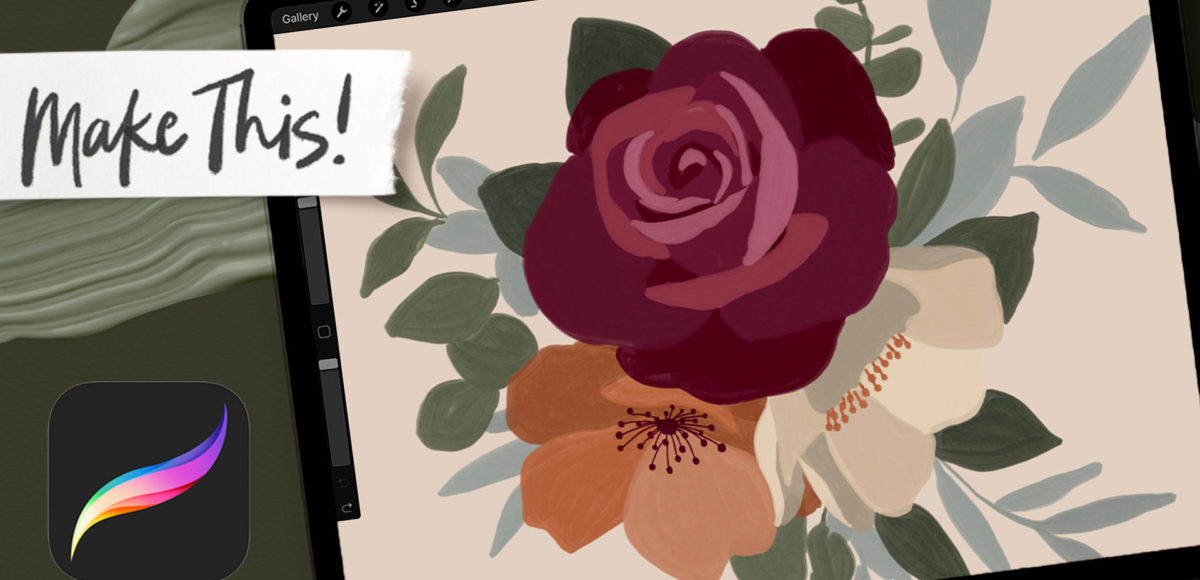
I’ve been playing around with my new Bouquet Maker brush set non stop lately and combining it with some of my past brush sets to see what I could come up with. Once I started experimenting with the gouache set, I knew I had to share this process!
This one’s definitely on the more advanced side, but if you’ve taken my new Flat Florals course or my free Procreate for Beginners course, you’ll be all set for it!
Pin it for later!

Paint a Winter Gouache Bouquet in Procreate
Mentioned in this video:
- Bouquet Maker Brush Set (trace a reference image as an alternative)
- Gouache Lovers Brush Set (or any favorite painting brushes)
- Color Palette (free)

Here’s a written overview of how to paint a winter gouache bouquet in Procreate:
- Plan out the bouquet using the bouquet maker brush set and the gouache lovers brush set.
- Grab composition number 12 and stamp it in with your finger. Reduce the opacity of it and start putting in the different flowers.
- Paint in the foliage with the inky edge brush as a guide layer for when you begin painting with the gouache.
- Group everything you have done together.
- Tackle each element individually and paint them in with the gouache brushes. Start with your hero flower and grab the streaky semi transparent brush.
- If there are several gaps where the petals meet, add in a color block to fill that in.
- Group all of the hero layers together, toggle it up and rename it.
- Turn off the hero flower and begin working on the next flower.
- When you are done with the flowers, move onto the foliage starting with the back most leaves.
- Keep a copy of the large bouquet for later use. Use the duplicate to scale down and change the background color.
- Add in your lettering with the liner brush at 10%.
- Done!
Receive special offers on courses + products, a new design file every month plus instant access to the Resource Library!

Pick up over 50 design + lettering files as our gift to you when you join the Tuesday Tribe for free!
error
Congrats!
Please check your email to confirm.


No comments