Our daughter’s birthday is December 28th (she’ll be 4 this year!) and she knows as soon as ‘the leaves are off the trees and the lights are up’ it means her birthday is getting close 🥰 Spence and I never used to decorate right after Thanksgiving, but now that we’ve got a little one that the lights mean so much to, we’re on it like clockwork. Since we’ll be shivering on ladders in a few days, it felt only fitting to share that holiday tradition in tutorial form this week 🤩
Pin it for later!
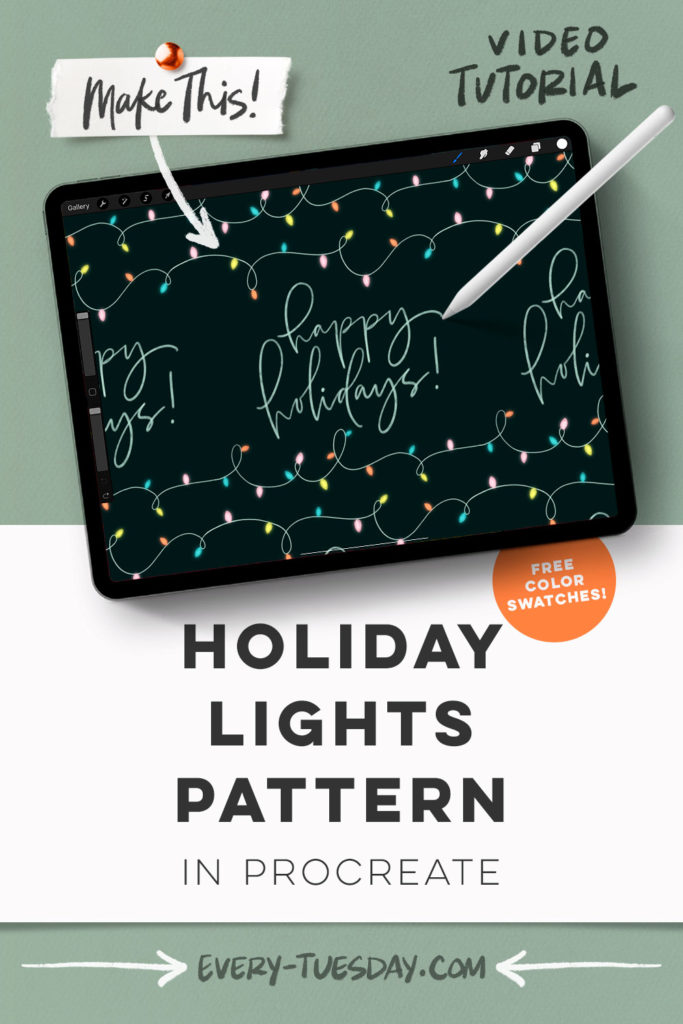
Seamless Holiday Lights in Procreate
Mentioned in this video:
- Fabulous Pencils Brush Set
- Pattern starter file (free – you’ll need to be on Procreate v.5.2.9 to use it)
- Color Palette (free)
The brush set this week comes from Envato Elements – if you’d like to try them out, click here for 70% off your first month (coupon will be applied when you join). They now offer a 7 day free trial, too!

Here’s a written overview of how to make seamless holiday lights in Procreate:
- Bring in the template canvas to get started.
- Create a dark-colored background on its own layer and add in your lettering or typeable text.
- Add in your string lights by creating a new layer and grab the fortune 4 pencil. Draw in the string light at the top and bottom close to the edge.
- Group everything you have done together and make a duplicate. Flatten one group and begin the process of making it a seamless pattern.
- Select the pattern, save and load, tap on selection 1, go to the wrench, go to add, cut and then paste. Repeat with the other quadrants. Label the layers.
- Select layers number 1 and 3, and drag it straight over. Select layers 2 and 4 and do the opposite. Choose layer 1 and 2, and drag them down. Choose layer 3 and 4, and drag them up. Merge all 4 layers together.
- Make the connection between the string of lights. Merge the two layers together.
- Add in your lights by creating a new layer and put little lines where you plan to put the lights. Switch back to the Alice pencil and draw in the lights.
- To make the bulbs glow, group all of the bulb layers and duplicate them. Apply a gaussian blur to them and change the blend mode to screen.
- Test the pattern by grabbing the flattened layer, drag it up to snap into the top left quadrant. Repeat to fill the canvas. Repeat this process one more time.
- Done!
Receive special offers on courses + products, a new design file every month plus instant access to the Resource Library!
Pick up over 50 design + lettering files as our gift to you when you join the Tuesday Tribe for free!
error
Congrats!
Please check your email to confirm.


No comments