This has been one of my most requested tutorials so far this year, and today, it’s live! In this video, I’m sharing the process I follow for creating a seamless, simple repeat pattern in Procreate. By the end, you’ll have a pattern that seamlessly repeats on all four sides, and you’ll see how to test it to check it, too 🍋 Use this method with any subjects you’d like and when you’re done, upload the pattern square to your favorite textile site (here’s one of my favorites), or add it into Photoshop and have more fun – that pattern square is all you need ✨
Pin it for later!
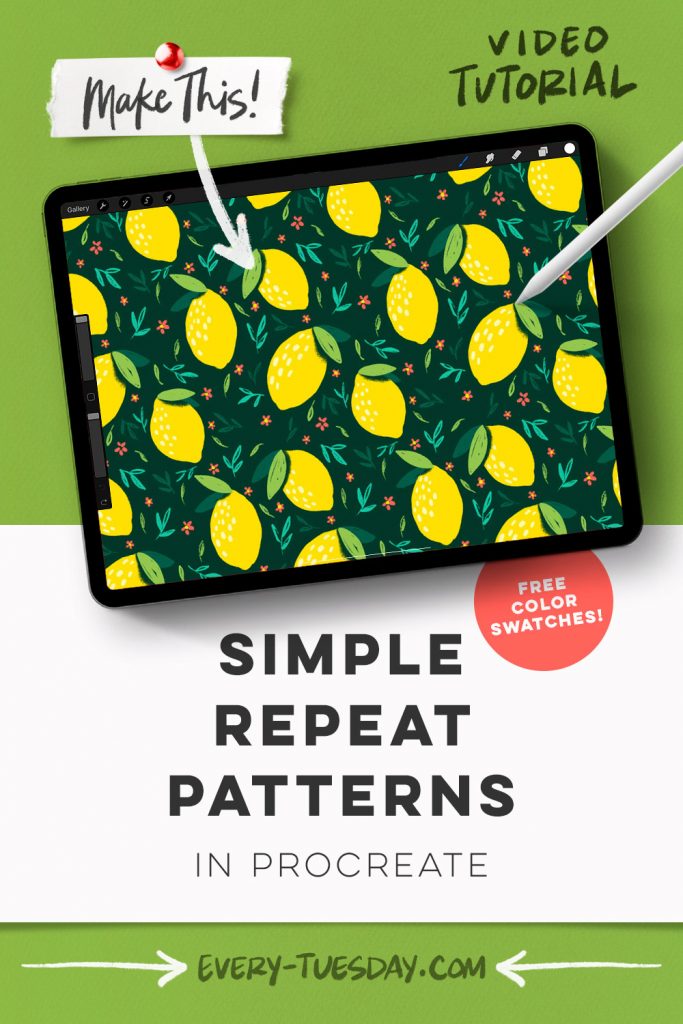
Simple Repeat Pattern in Procreate
Mentioned in this video:
- Scribbles Procreate Brushes (or any favorite sketchy brushes)
- Color Palette (free)
The brush set this week comes from Envato Elements – if you’d like to try them out, click here for 70% off your first month (coupon will be applied when you join)

Here’s a written overview of how to make a simple repeat pattern in Procreate:
- Begin painting in your lemons. Paint in some leaves on each lemon with a messier, sketchier look. Create a new layer underneath the lemon layer and add some background leaves. Add in some highlights on the lemons and a faux shadow under the green leaf. Finally, paint in the background elements.
- Group everything you have done into one layer. Now duplicate this to have a layered version to refer back to. Flatten your new group on one layer.
- Toggle off your design to have a blank canvas to set up your squares. Turn on the drawing guide, edit the grid size to max. Drop any color you want into the background.
- Make sure uniform and snapping is toggled on. Drag the layer into the top left quadrant. Repeat for the other three corners.
- To create selections for each box, select your first color layer, hit save and load and hit the plus. Repeat for the other three corners. Delete all of the colored square layers.
- Come to the pattern layer, select the layer, hit save and load, and hit selection 1. Tap on the wrench, add category, hit cut and then hit paste. Come back down to the pattern layer and repeat for the other three corners.
- Select layer 1 and 3, move them to the right and make sure that it snaps. Then, select layer 2 and 4, move them to the left and make sure it snaps. Repeat with layer 1 and 2, drag them down until they snap. Grab 3 and 4 and bring them up until they snap.
- Merge all of the squares together. Create a new layer and drag it underneath the pattern layer. Add in additional elements to fill in the center area. Pinch the new layer with the pattern layer to get them all on the same layer.
- Finally, test your pattern by making a duplicate of your layer and drag it to the top left corner. Make a new duplicate and drag it to the top right corner. Repeat to fill the rest of the canvas.
- Done!
Receive special offers on courses + products, a new design file every month plus instant access to the Resource Library!

Pick up over 50 design + lettering files as our gift to you when you join the Tuesday Tribe for free!
error
Congrats!
Please check your email to confirm.





No comments