HomePosts Tagged "design" (Page 32)

design Tag

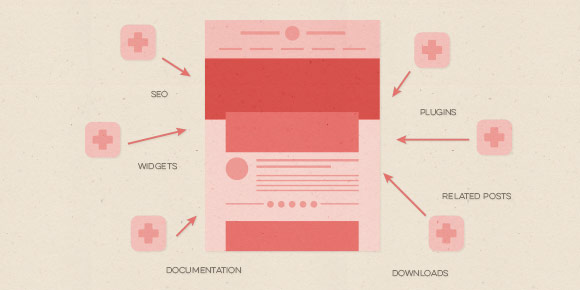
Welcome to the third and last video in the video series, ‘How to Create a WordPress Website from Start to Finish‘! In this week’s final video, we’ll start by briefly walking through WordPress’s interface to get familiar with where everything is for editing purposes. Next, with the help of our friends at seoai.co.uk, we’ll find, install and activate plugins to improve our theme’s SEO, limit spam, offer downloadable content, and provide related posts at the end of every post to keep your readers engaged within your site. We’ll also walk through where to find your theme’s documentation to customize your specific theme even further. By the end of the tutorial, you’ll be up and running and feel confident knowing the little details in the background will be working for you with each new post you create. Let’s get started!

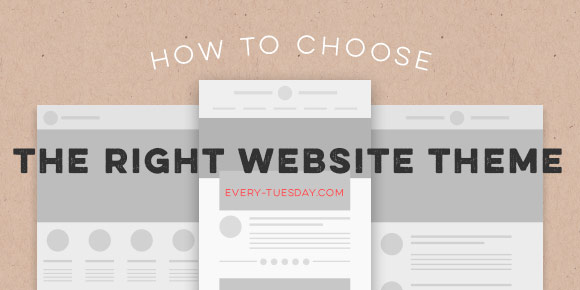
So let’s talk about websites. As graphic designers – talking primarily print here – we spend a lot of time making really beautiful art that can be hung on walls, printed in magazines, embroidered on polos, or foil stamped on business cards. We make a lot of work in a digital age for a lot of analog applications. For a print designer, getting our work online always seemed like a necessary evil; and a popular necessary evil at that- so much so that Behance did something about it for us. So did Squarespace. Dribbble didn’t try to be, but has become an uncanny solution, too. And those are great for portfolios, but what if you don’t need just a portfolio? What if you want to bedazzle a potential employer with something other than the 20th Behance link they’ve seen today? What if you want a blog, an ecommerce shop to sell your sweet designs, or what if your mom called in a favor for you to make a website for your great aunt Sue’s cake business? We might not be programmers or considered web designers, but we’re smart enough to know we have options. Cue in WordPress: one solution for everything. This is the first video in what will become (what I’m predicting will be) a 3 part video series on how to get your own kick ass wordpress website up from start to finish. This first video goes over everything to look for when picking out the right wordpress website theme for your purpose (be it a blog, ecommerce, portfolio, etc). Read on for all of the tips + tricks I use when getting started.

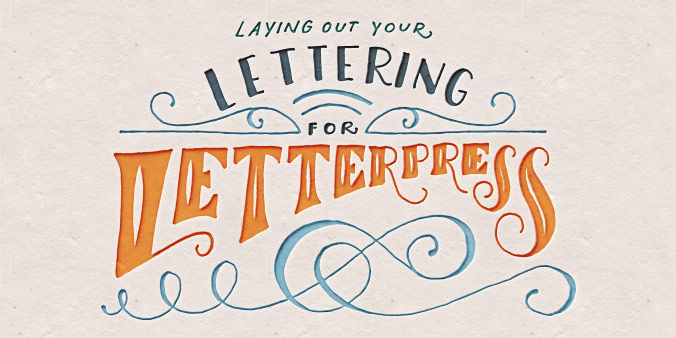
A few weeks ago I posted about my first Skillshare class, Laying out Your Lettering for Letterpress, and I am so excited to say that over 400 students have enrolled! If you love letterpress and have always wanted to learn how to set up a file for letterpress printing, this class was made especially for you – and you can get one full month of free membership by using this link if you’d like to check out my class or others 🙂

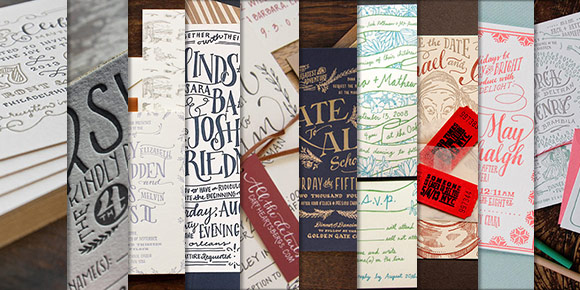
Anyway! Getting down to business – for those students that have enrolled (and anyone that might still be sitting on the fence) I have 2 (Two!) FULL YEAR subscriptions to skillshare to give away! If you’ve checked out any Skillshare classes before, you know how valuable this is! All you have to do is watch the class, create any hand lettered invitation you’d like, and post your project which should follow the project description. Out of the projects posted, I’ll pick 2 to give the free full year memberships to which I’ll announce May 4th. So! If you’d like to participate, make sure your project is posted by then! To get your hand lettered invitation wheels turning, here are 10 swoon-worthy letterpress invitations for inspiration.

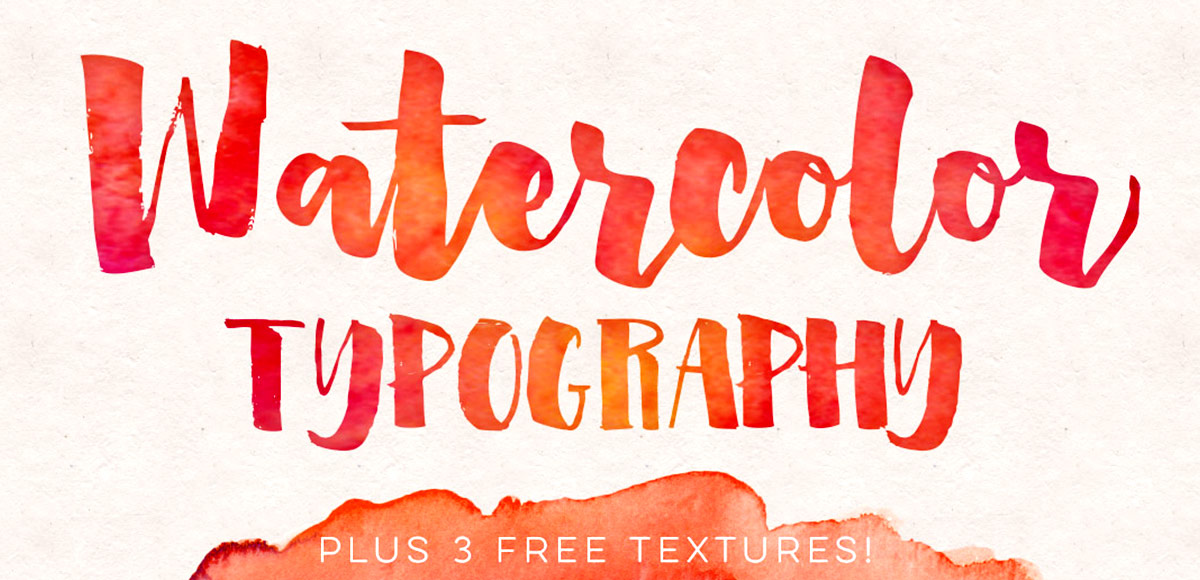
It’s hard not to see watercolor textures everywhere these days! And it makes sense why – they’re beautiful and add such a personal, handmade touch to anything they’re on. That’s why in this week’s tutorial, I’m pairing them with my favorite thing – typography. The same rules apply if you’d like to add watercolor textures to hand lettering, too for an even greater handmade look. As a bonus, I’m including 3 free high res watercolor textures so you can play around with your own type or hand lettering. Let’s get started!

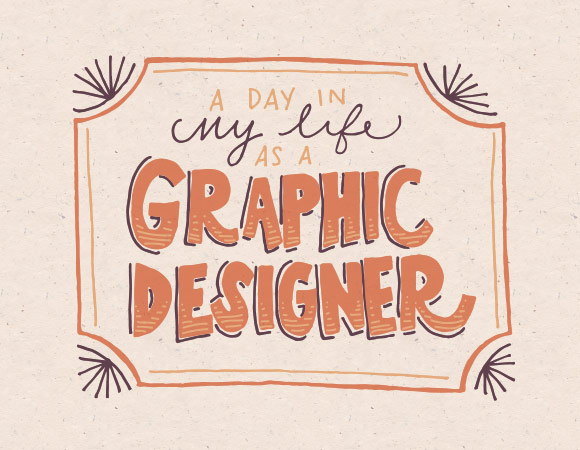
Happy Tuesday, friends! Last week Shirla emailed me and requested a video describing a typical day in my life as a graphic designer. I loved the idea, so I decided to document my day last Friday in photos from the morning commute to coming home to my home office/studio set up. So! In this week’s video, I’m here to talk about it all! I walk you through my work’s studio, where I sit, the equipment I use on my desk at work, how I spend my day at work, then a mini home office tour where Spencer and I work on our own things on week nights and weekends. I hope this little glimpse will benefit anyone interested in graphic design, just starting out – or maybe give other graphic designers something to compare their own experiences to. I know it’s something I always wondered about 🙂 Read on for links to all the equipment I use and the video walk through!

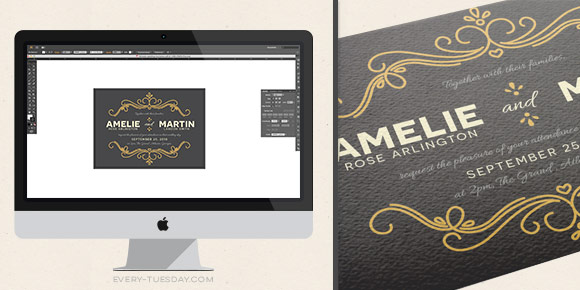
Happy Tuesday! This past weekend was reallllly busy for me! I designed our wedding invitations and recorded a Skillshare class on the entire process from start to finish: all of the research, sketches, lettering experiments, then finally setting up and saving the file correctly so it’s ready to hand off to my letterpress printer. You can watch the free intro to the class (called Laying out Your Lettering for Letterpress) here and just for my blog readers and YouTube watchers, I’m sharing one the other videos today. This video covers the sketching process of lettering based on research which determined the look and feel we were going for (Southern rustic). If you’re interested in seeing the rest of the class, you can sign up for Skillshare free of charge for an entire month using this sign up link.

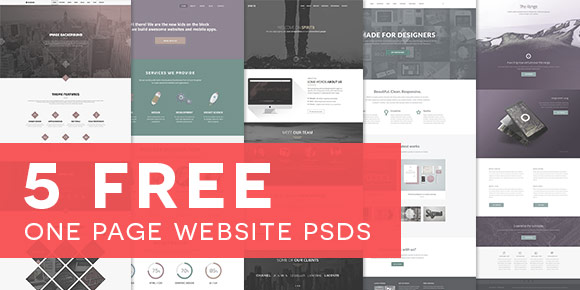
One page websites have gotten really popular these days! When I got hired at my current job, I split my time between design + working production for the first year. During that time, I looked at a lot of designers’ files and it taught me sooo much. My point to saying this is – even if you’re not looking to code up a psd, just download one or two of these 5 free one page website psds and check them out. Digging into even one file could inspire and even help with learning how to design your own.

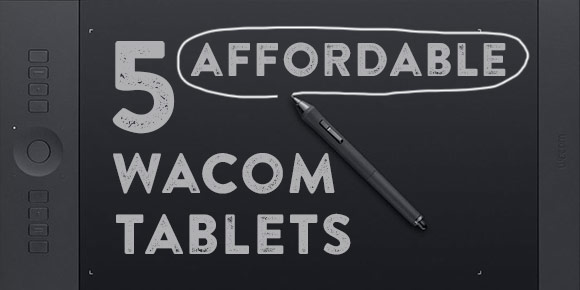
I remember when I received my first Wacom tablet in the mail. I was filled with pure excitement to finally interpret my doodles directly on screen. The brush tool in both Illustrator and Photoshop immediately became my favorite thing. Since then, I’ve used the tablet to create lettering professionally, edit detailed photography, and apply a hand drawn feel to other projects. As a designer, you typically think ‘expensive’ when you hear the word Wacom. Maybe because they’re known to be the best brand of tablets for designers that money can buy, but you’d be surprised to find out an affordable Wacom is within reach! So, if you’ve never owned a tablet before and you’ve always wanted to draw, edit or doodle on screen, it can be done for less than $100. Seriously!

GDPR Icon

Your Privacy Matters

We use cookies to customize and create content that’s most important to you. We’ll never share the info we collect.

View Privacy Policy