HomePosts Tagged "editing"

editing Tag

One major change that came with Procreate’s last update was masking. It might not have seemed major if you aren’t familiar with masking, but it was actually a bigger deal than it probably got credit for. Masking essentially allows for a non-destructive workflow. What that means, is instead of erasing something you don’t need, then having to draw it back in if you change your mind, masking ‘hides’ the part you don’t want and you can bring back the original easily at any time. Pretty nice. You can check out how awesome masking is in Photoshop here and it actually works pretty similarly in Procreate. In this week’s tutorial, I’ll take you through the two most common lettering scenarios where I use masking in Procreate. Once you begin masking, you’ll see the immediate advantages and how much faster (and efficient) it makes creating and editing.

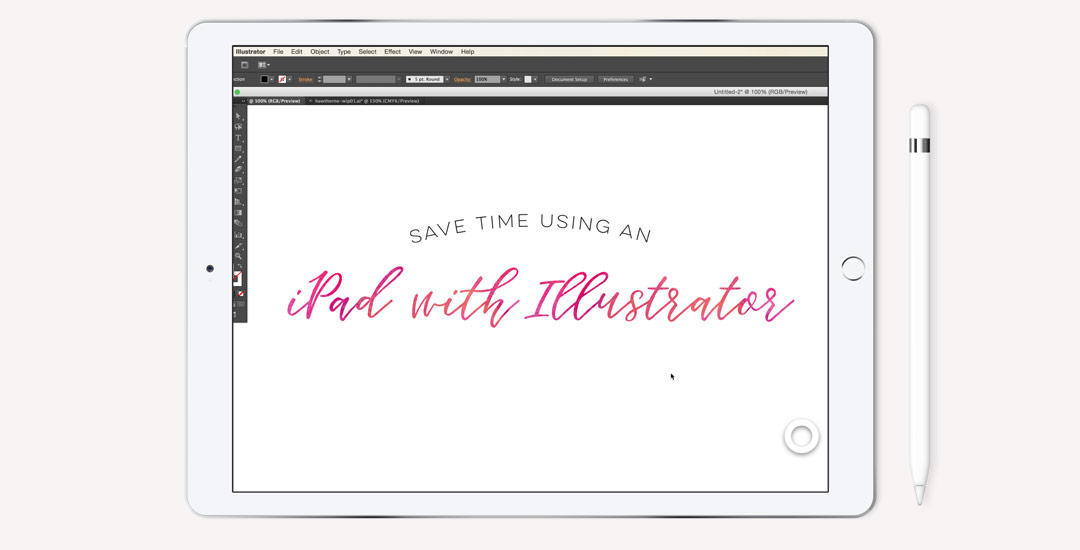
Ok, you guys. This one’s a game changer for real. No kidding, my workflow for editing vectors in Illustrator has been at least cut in half by now using my iPad with the app AstroPad. If you’ve seen this tutorial, or this one using the standard method of Wacom/mouse for edits/revisions, you’re going to love this one. You can also find a list of my top 5 affordable Wacom tablets here if you are interested in using that type of device. If you’ve checked our my Intro to iPad Lettering class, this will take things even further if you’re familiar with Illustrator – you can use this same method with Photoshop, but I find myself using it wayyyy more with Illustrator, so I’m focusing this video there. I spent some serious edit time on this so you could get the full effect of what’s happening on my computer vs. how I’m using the iPad – I walk you through basic edits of a design element and then show you how I used the iPad when I worked on my most recent font, Hawthorne Script. I’m not affiliated with AstroPad in any way, just really excited about how much time I’m about to get back in the future 🙂 See it all below!

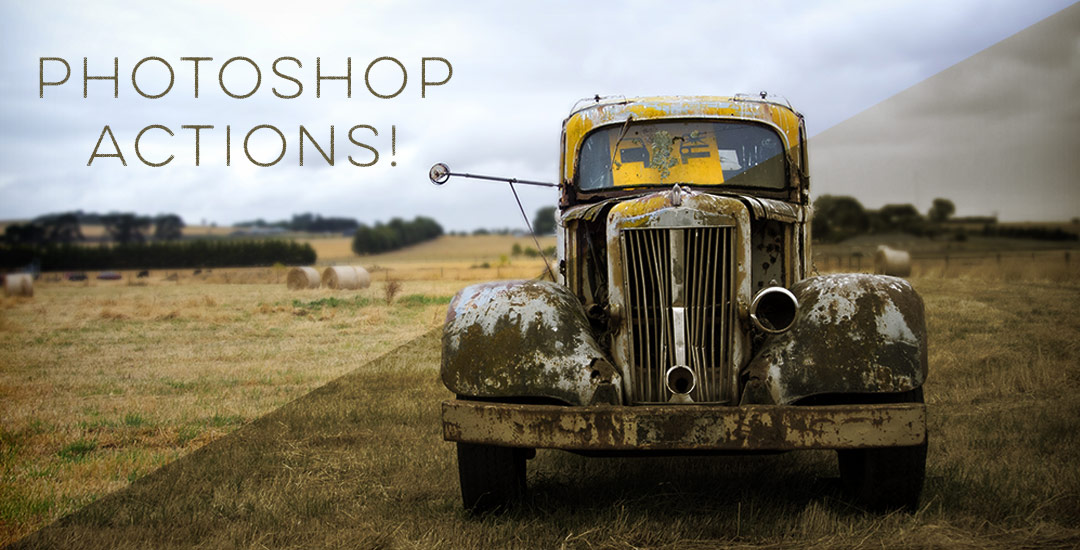
One of my favorite time saving tools when using Photoshop is Photoshop actions. I have used these for batch photo and file delivery to clients in a professional setting, and batch editing when putting together photos for family. Whenever you need to apply (the same) multiple settings to many files or photos at once, you create an action, then just run it for all of the others and you’re done in no time 🙂 It’s basically the closest thing to magic I’ve seen Photoshop do. In this week’s tutorial, we take 3 photos (this one, this one, and this one) and create a unique action for them that sets all of their widths to 1000px and also applies a sepia tone effect to the photos. We apply everything we need to one photo, then hit a single button to apply the same exact multiple steps to the others. It’s cool. You should definitely check out the video below to see!

I’m so excited to announce that my newest class, Intro to Photoshop in partnership with Brit + Co, is officially available! If you’ve ever wanted to learn Photoshop but felt intimidated, weren’t sure where to start, or just couldn’t find a class that taught more than the interface, this class was made just for you 🙂

We cover all of the basics to give you the confidence to begin editing and enhancing photos on your own, and if you’d like to incorporate some design elements, we go over that, too. This is an online class that you can watch at your own pace (stop, pause, play) whenever it’s convenient for you. We go step by step to create this instagram post together (or use for any purpose you’d like!) in quick and easy, digestible steps.. steps that you’ll be able to repeat on your own for any project of yours in the future.

Hope you’re having a great week! I had a rough start to mine, but it’s finally coming around – almost Friday! Anyway, today we’re talking about a sometimes confusing subject: photoshop layer masks. I realize it’s not the sexiest topic ever, but I can’t stress enough how important it is to understand and use them. I was actually so scared of layer masks that I went through my entire 4 year degree avoiding them. I cringe thinking about all the extra work I made for myself in my college days. I’m still not sure what sounded so scary about them, but I’m so glad I got over my layer mask-ophobia because I’ve been empowered to create and edit images and artwork quickly and non destructively in photoshop ever since. Here’s a quick, everything-you-need-to-know-to-avoid-confusion overview 🙂

I remember when I received my first Wacom tablet in the mail. I was filled with pure excitement to finally interpret my doodles directly on screen. The brush tool in both Illustrator and Photoshop immediately became my favorite thing. Since then, I’ve used the tablet to create lettering professionally, edit detailed photography, and apply a hand drawn feel to other projects. As a designer, you typically think ‘expensive’ when you hear the word Wacom. Maybe because they’re known to be the best brand of tablets for designers that money can buy, but you’d be surprised to find out an affordable Wacom is within reach! So, if you’ve never owned a tablet before and you’ve always wanted to draw, edit or doodle on screen, it can be done for less than $100. Seriously!

GDPR Icon

Your Privacy Matters

We use cookies to customize and create content that’s most important to you. We’ll never share the info we collect.

View Privacy Policy