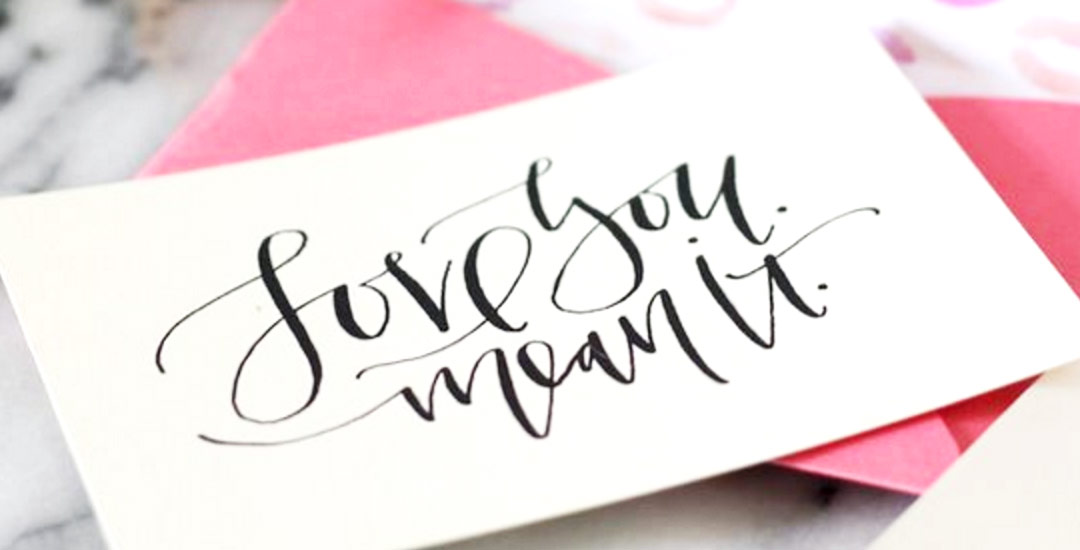
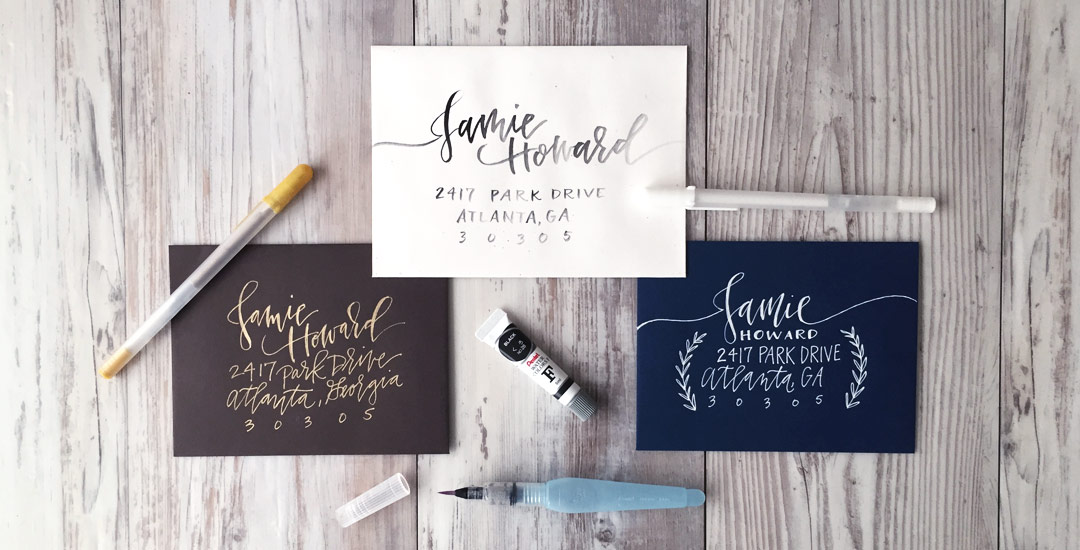
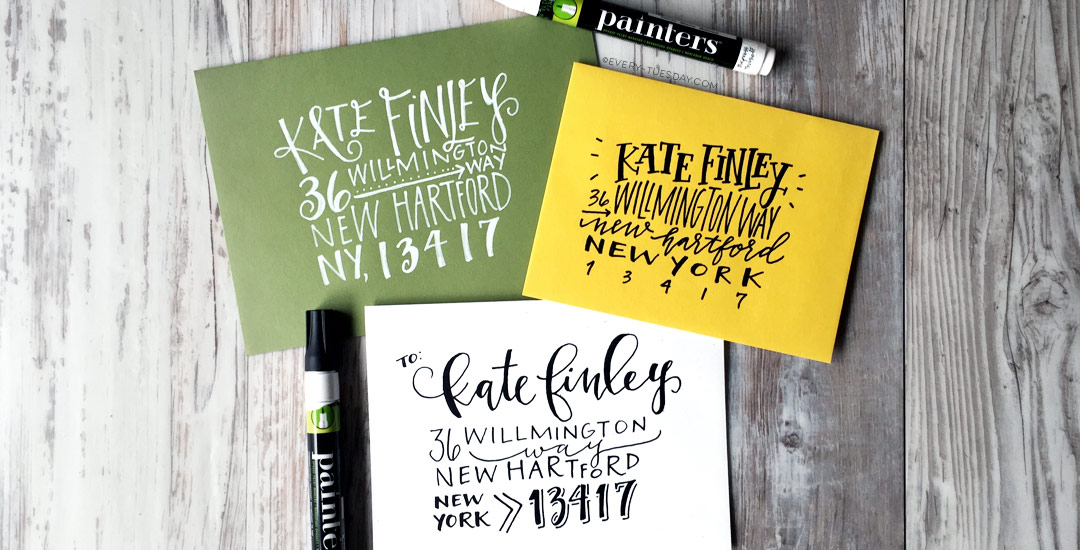
HomePosts Tagged "lettering" (Page 13)

lettering Tag

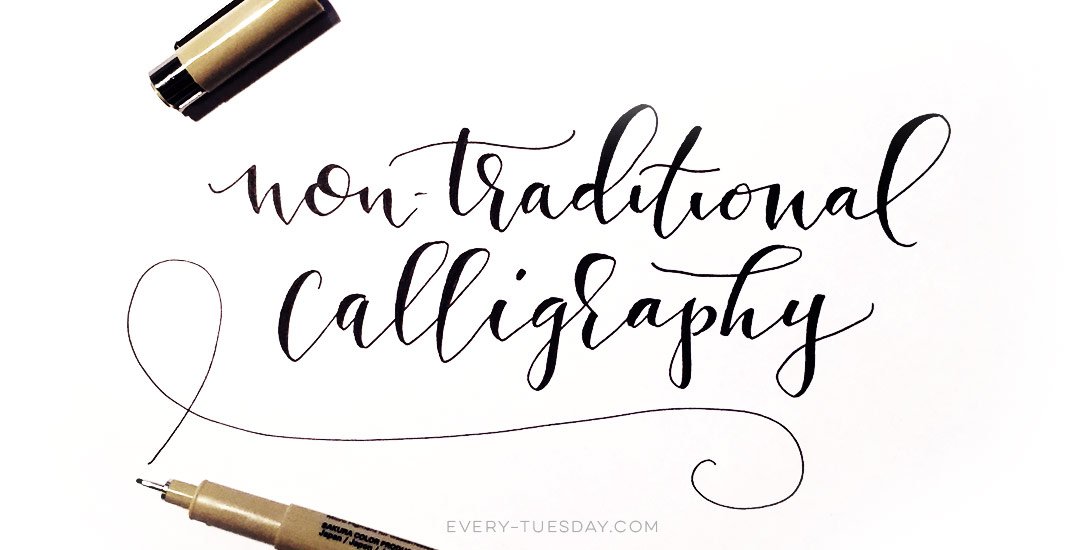
In last week’s tutorial, we created some formally bad ass sophisticated hand addressed envelopes for your classiest of occasions. In this week’s tutorial, we’re going in the opposite direction with 3 different layouts of a playful, fun and whimsical hand addressed envelope. Get your closest family and friends excited pre-event with this mailbox gift of an envelope and add a few more styles to your lettering arsenal at the same time. In this video, we go over embellishments to fit the theme, letter structure to give off the proper party vibe, and we walk step by step through a variety tips for hierarchy, layout and style mixing. Links to every material mentioned listed below!

I’ve always thought that Valentine’s Day is, by far, the most fun holiday to make (or buy) and send cards for. I mean, what could be better than showering your loved ones with hilarious puns? 😉

If you’re in a pinch this year, I’ve got just the thing to help! Check out these eight adorable, simple, and totally DIY-able Valentine’s Day cards for those of you who love graphic design and/or handlettering.

There’s nothing quite like receiving a beautifully hand addressed snail mailed card, note or correspondence. There’s also nothing quite like creating that very same mailbox surprise for someone else.

I looooove hand addressing envelopes in all kinds of different styles (suited for the person and the occasion, of course). It’s one of my most favorite things to letter and I can’t believe I haven’t created any video on it yet! That’s all about to change this week and next week with a two part envelope address lettering series! We’ll start this week with sophisticated lettering for more formal notes (for delivery to traditional folks or for classy occasions) and we’ll cover playful and whimsical lettering next week (reserved for the hippest of family, friends and events). All of the materials mentioned + links included below!

Oh my gosh, you guys. It’s finalllllly done! Today I’m happy to announce the debut of my first ever brush script font, Tuesday Script! I started this font in early December, following the same processes as the font project, but this time in script form, so there were a few adjustments to make sure all the letters flowed and connected properly together. Plus – this font comes with international supported characters so how those were made in the program was another learning experience 🙂 I took the leap and purchased the pro version of Glyphs (which is not so cheap, but I was able to get a discount by providing them with my itunes receipt from my Glyphs Mini purchase). I’m no expert yet, and when I figure some of the fancier features out, I may create a full class (is that something you’d want?), but for now, I’m celebrating the win of having the font complete and ready for you!

Spencer coded up another text editor, so you can try the full font out below. I’d love to hear what you think!

With January already well underway, it was definitely time for a desktop wallpaper update! Since we didn’t travel for the holidays, Spence and I have started our 2016 working hard on some exciting new projects! My first ever brush script font is getting ready to enter the font-editor phase (will be available later this month!) and every other extra minute has been spent creating classes, new tutorials, and writing the ebook on getting a full time graphic design job (coming in March!). Spence just finished designing our first Every-Tuesday products page (launching this coming Monday) and created this cool barbershop website template, which he’s currently converting into wordpress. Yep. Haven’t left our computers much, haha. Whatever you’re up to this month or have plans for in the coming weeks, I hope this January 2016 hand lettered desktop wallpaper will get you excited for the new beginnings of new things 🙂

I’m often asked how I add the ‘bounciness’ to letterforms as I’m drawing them out. I do this a lot with my non traditional calligraphy styles, too and this week I want to share how I taught myself to create the full non traditional calligraphy style using only my favorite pens (no calligraphy utensils!) and a little method I call the Skeleton Method. For more lettering time lapses and examples, take a peek at my Instagram 🙂 Read on to see it all!

Much like Teela, I’m a sucker for great typography. I may not be able to match her Pinterest board perfection, but today I’m going to share a few of my favorites. Stepping a little bit out of theme here, I’ve rounded up 8 of the most insane (in a good way) food Typins on all of Pinterest. Yes, you read that right: food typography. Not yet convinced it’s a thing? Start scrolling and feast your eyes (no pun intended).

It’s time for a new hand lettered desktop wallpaper! I’ve really enjoyed making these the last few months and plan to keep these going all next year – it’s also nice to get a frequent refresh on my own desktop 🙂 This month’s wallpaper doubles as a sneak peek! I’m half way through creating my next font – a brush script this time, and I just finished up the full lowercase portion. The December lettering you see will soon be an available font! Look for it next month 😉 Until then – grab the wallpaper in two different sizes: 1920×1080 and 1280×1024 with and without dates below!

Happy December! I’m not sure how we got here so quickly, but here we are! In the spirit of the upcoming holidays, I’m excited to say the next few weeks will all be holiday-specific tutorials. This week we’re going to start things off with a typography tutorial (my favorite kind) requested by Allison on how to form typography into a shape. To start the holiday theme off, I’ll share how I would create typography to conform to the shape of a holiday bulb using the word ‘Joyful’. Read on to see it all!

I pulled some pretty long hours getting the Glitz + Glam Kit ready for the holidays because I knew it was exactly what I needed this year to push my designs further…plus, who doesn’t like a little extra sparkle + shine in their work ? 🙂 This week – whether you’ve picked up the kit yet or not (here’s the freebie texture from last week you can use!), we’ll create a holiday wreath in Photoshop with foil accents. We’ll go over creating and applying a custom brush to a path, adding a foil texture to it and even changing the color of the foil! I also share how I set up my Instagram files in Photoshop 🙂 Read on to see it all!

Today is a big Tuesday! I just went live with my newest kit, Glitz + Glam, Digital Hot Foil and Glitter Textures, AND I’m giving one of those textures away for free in this post! I’ve gotten a few questions on how I apply gold textures to some of my Instagram images, so with the release of the kit, the free texture, and the holidays coming up, I wanted to share how to create hot foil typography using Photoshop and Illustrator this week. This week’s freebie comes as a seamless pattern file, high res tileable jpg and layer style. Read on for the freebie, tutorial, and more info on the kit!

GDPR Icon

Your Privacy Matters

We use cookies to customize and create content that’s most important to you. We’ll never share the info we collect.

View Privacy Policy