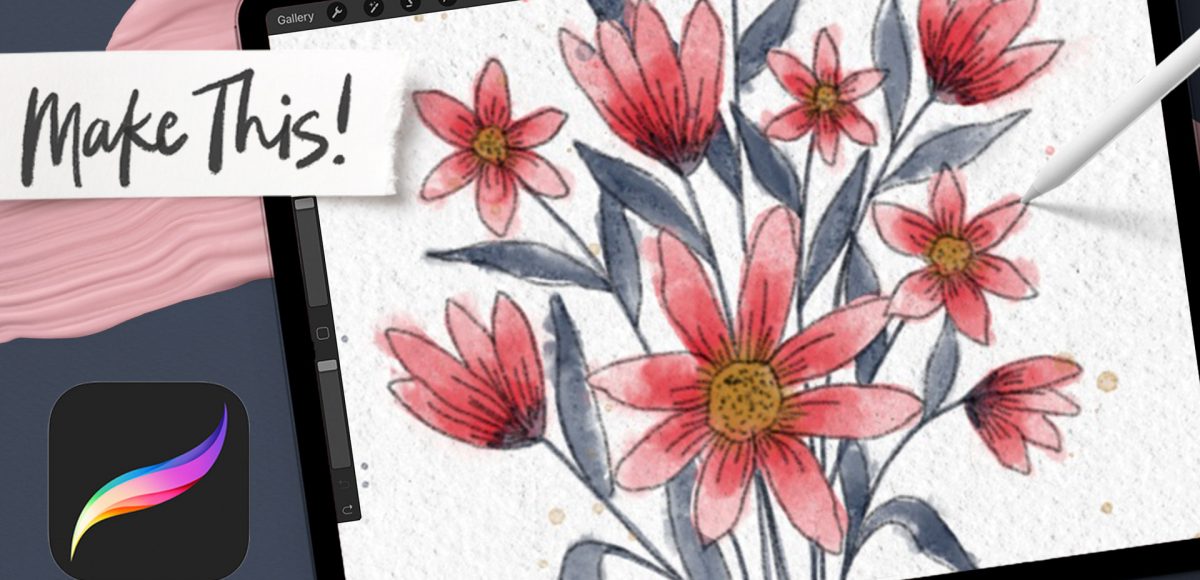
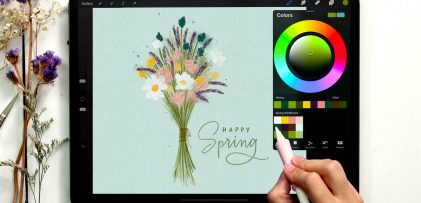
I’m revisiting a favorite this week – line art with watercolor! I wanted to keep the palette super simple with this one (only 4 colors!) and we freehand everything with simple imperfect shapes and lots of satisfying smudging.
Pin it for later!
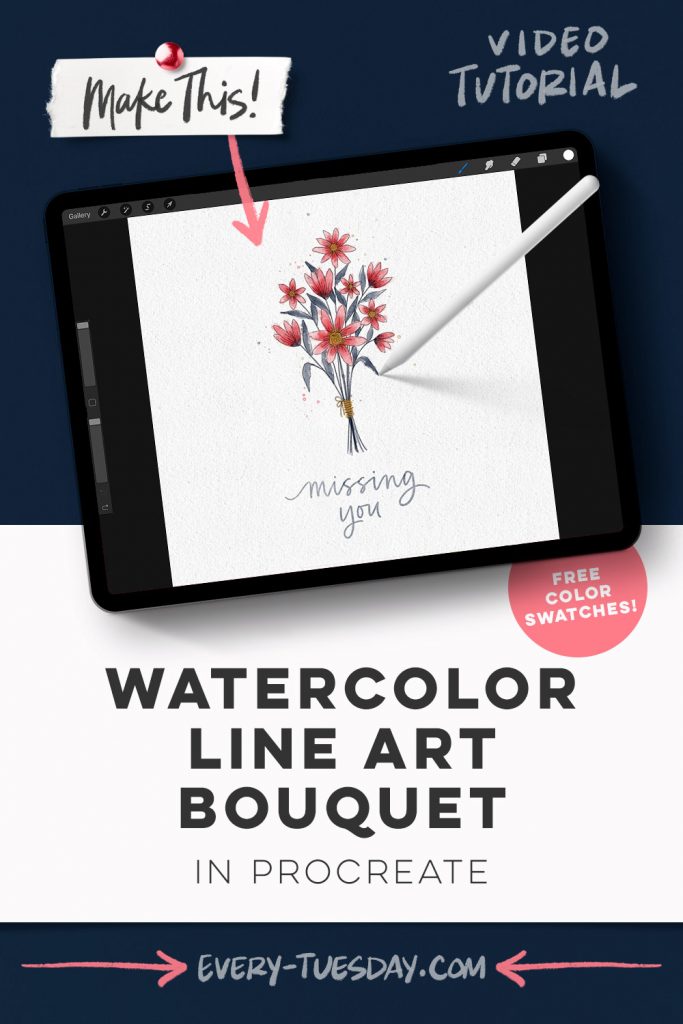
Watercolor Line Art Bouquet in Procreate
Mentioned in this video:

Here’s a written overview of how to make a watercolor line art bouquet in Procreate:
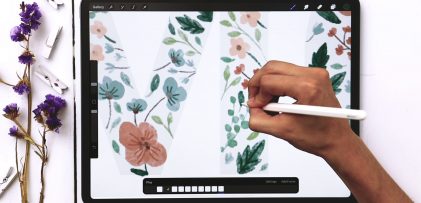
- Begin by painting in your main florals. Start plotting out where your flowers will be and just freehand them as you like. Size the florals on your canvas to bring them to the middle.
- Add in some extra details to it by adding the stamens and the stems. Keep the stems loose and draw in some extra stems coming out of the bottom.
- Draw in a transition space where the petals meet the stems. Now, we can paint in the leaves by using the little pressure, lots of pressure, little pressure technique.
- Add in some extra color to your petals and then smudge/ blend them to make it look more watercolor like. Follow this style for the leaves as well.
- Draw in a little string to the stems.
- Grab black to draw in the line art and details. Keep your hand loose and draw the outline of the bouquet and details.
- Reduce the size of the bouquet to have room for the lettering. Group all of the layers together and duplicate them. Turn off the visibility of the bottom group and reduce the size of the top group.
- Add in some lettering below the bouquet with the round liner brush or use editable text.
- Create a new layer, grab black, and the medium tooth paper texture. Paint across your canvas until the whole canvas is covered. Change the blend mode to multiply. Add in some paint splatter as you like.
- Done!
Receive special offers on courses + products, a new design file every month plus instant access to the Resource Library!

Pick up over 50 design + lettering files as our gift to you when you join the Tuesday Tribe for free!
error
Congrats!
Please check your email to confirm.


No comments