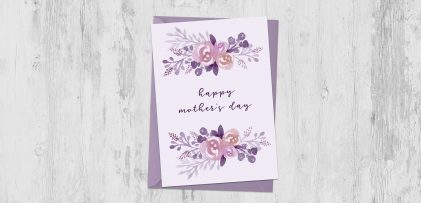
With Mother’s Day right around the corner, this week, we’re DIY’ing a hand lettered watercolor Mother’s Day card! My mom’s birthday is actually on Mother’s Day this year, so I had to think of something extra special 🙂 Cue masking fluid, brush pens, a watercolor effect and some lettering enhancements! In this week’s video, I share my trick for protecting your paint brush with masking fluid, how I cut down watercolor paper for greeting cards, use brush pens to create a watercolor texture and use regular lettering supplies to add final details. Pick up all the supplies shown and catch the full video below!
Pin it for later!
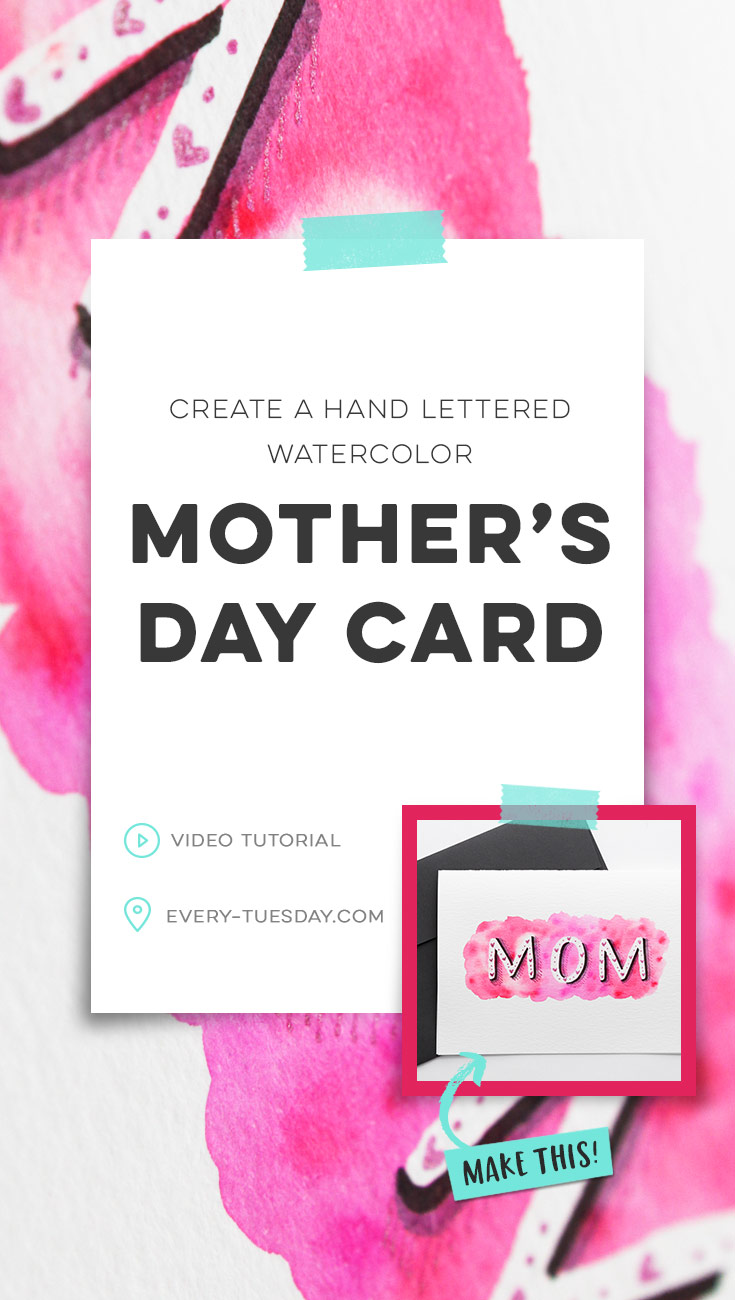
Create a Hand Lettered Watercolor Mother’s Day Card
Supplies used in this video:
- Canson cold press, 140# watercolor paper (11″x15″)
- Ruler
- Utility knife
- Mechanical pencil
- Clic eraser
- Dawn dish soap
- No.4 Winsor & Newton Cotman round brush
- Winsor & Newton colorless masking fluid
- Kuretake brush pens
- Fine tip waterbrush
- Tombow Fudenosuke twin tip brush pen
- Pink gelly roll glitter gel pen
- A7 Envelope
Mentioned in this video:

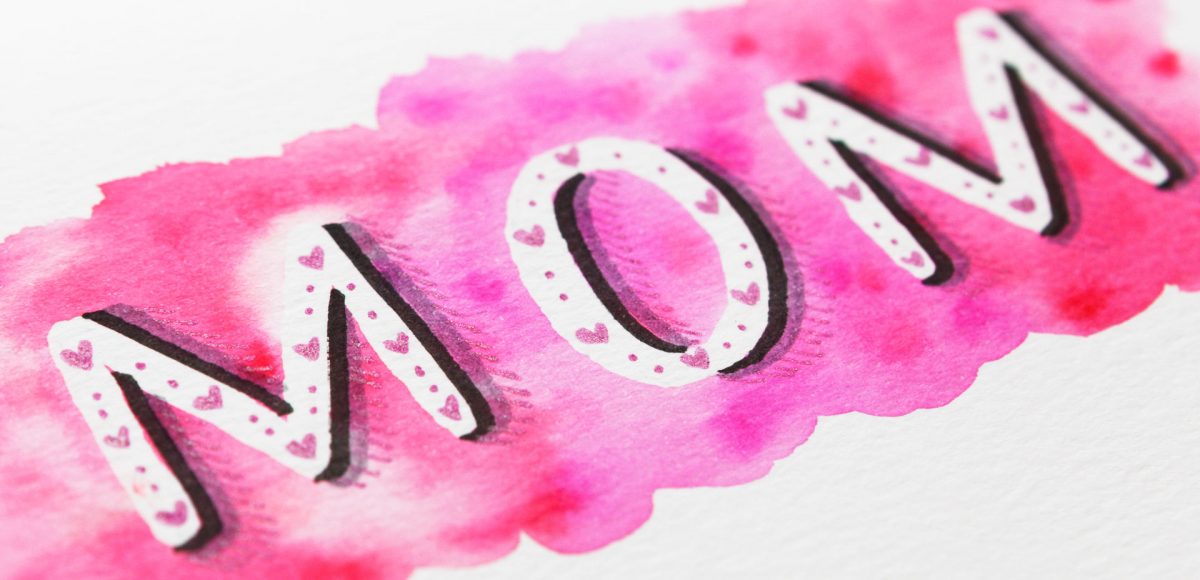
Here’s the written overview for creating our hand lettered watercolor Mother’s Day card!
- Cut down your watercolor paper into a folded, 7″x5″ greeting card. This will fit into any A7 sized envelope.
- Measure and center your word using your pencil. Erase away your sketch so it is only faintly visible.
- To prepare using your masking fluid: first, wet your paintbrush. Next, dip it into your dish soap so its bristles are fully coated. Dip into the masking fluid one time per stroke, laying an even layer. Allow to fully dry.
- Place splotches of color around your letters using your brush pens. Change up the placement of the most vibrant colors to create more variety in your texture.
- Using your waterbrush, make small circles and blend the splotches together. Wipe the tip of your waterbrush from time to time to keep color variety throughout your texture. Allow to fully dry.
- Remove masking fluid by rubbing with your finger, then pulling it up. Erase away any pencil lines that may still remain.
- With the black end of your Tombow Fudenosuke, lay a faux shadow on your letters. Pass through an additional time using the grey end.
- Using your gel pen, add in final details within your letters. Finish things off by apply shadow hatch marks to your existing faux shadow.
- Fill out your hand lettered watercolor Mother’s Day card and place in an envelope. Done!
Receive special offers on courses + products, a new design file every month plus instant access to the Resource Library!

Pick up over 50 design + lettering files as our gift to you when you join the Tuesday Tribe for free!
error
Congrats!
Please check your email to confirm.



Marie | May 10, 2018
|
Awesome! Do you have any tricks for drawing shadows on letters? I’m always stymied with doing the shadowing. I get a few right and then I’ll hit a tricky letter like an S or a B or R etc., and I mess it up. 🙁