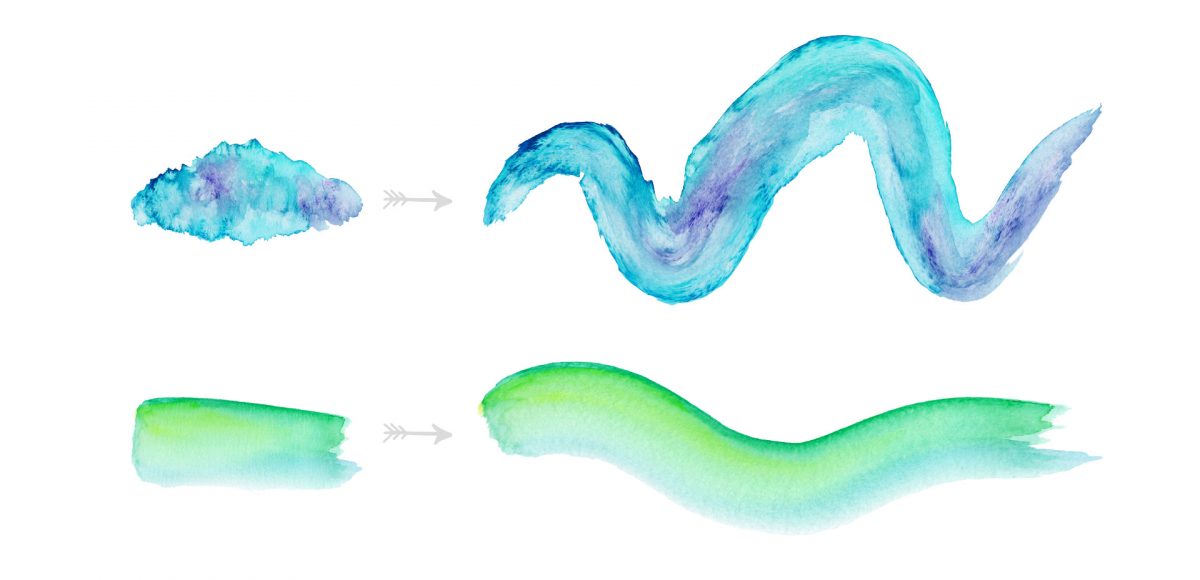
Happy Tuesday! I’m not gonna lie, this week’s tutorial is one of my favorites. Essentially, we’re combining the watercolor photoshop brush tutorial from a few weeks ago with last week’s ribbon tutorial. And we’re doing it all in Illustrator and keeping things simple and easy 😉 We’ll start by taking some watercolor textures on transparent backgrounds (like these, these or these), and then directly convert them into watercolor texture brushes in Illustrator. You’ll be able to transform the textures into any shape using the brush tool to create beautiful results. Create them once, then save them out for infinite future uses, too! Read on to see how!
Pin it for later!
Create Watercolor Texture Brushes in Adobe Illustrator
Mentioned in the tutorial:
- Watercolor Texture Kits vol. 1, vol. 2 and vol. 3
- Watercolor Texture online course (for removing backgrounds, see video #7)
- How to save Illustrator texture brushes for future use tutorial
- Create watercolor photoshop brushes tutorial
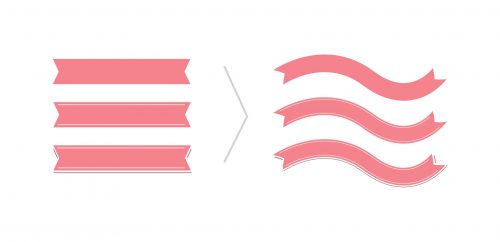
- How to create ribbon brushes in Illustrator tutorial
- *this tutorial will work with versions of Illustrator CC only*

Just like last week’s tutorial, here are the written how-to’s in case you need to reference this in the future!
- File > Place in your texture of choice. It must be on a transparent background (meaning it must be a transparent psd file or transparent png file). See this course (video #7) on how to remove backgrounds on your own textures.
- Once placed, scale your texture down. Use the shortcut: shift, alt, click and drag a corner to simultaneously scale every side of your texture at once. Remember, the size of the texture here will determine the default size of your brush. So! If you have a large artboard, go a little bigger – super small artboard, shrink that baby wayyy down.
- Before we can create the brush out of the texture, it needs to be rasterized. With the texture selected, go object > rasterize. When the rasterize settings pops up, be sure you select ‘transparent’ under the background category.
- Navigate to your brushes panel and hit the icon for a new brush. Select ‘Art Brush’ from the next pop up.
- In your art brush settings, make sure ‘stretch to fit stroke length’ is selected and the second overlap icon is selected.
- With your new brush selected, hit ‘b’ on your keyboard and draw a path! Scale the texture if needed using the stroke palette 🙂
- To save your new brush for future use, follow the instructions in this tutorial. Done!
Receive special offers on courses + products, a new design file every month plus instant access to the Resource Library!

Pick up over 50 design + lettering files as our gift to you when you join the Tuesday Tribe for free!
error
Congrats!
Please check your email to confirm.





Stacy Dela Cruz | March 3, 2017
|
Hi Teela! Just saying thank you for your awesome tutorials 🙂
You inspire me. Keep it up chica!
Teela | Author | March 7, 2017
|
Thanks Stacy! ❤️
Allison | March 23, 2017
|
Hi Teela,
Thank you for all your wonderful tutorials – very interesting ideas and clearly explained. Unfortunately, I had a terrible time with this. I spent hours trying to create a vector watercolor brush with one of the free textures you offer, and it wouldn’t work. It just, in AI, kept giving me the message: “The selected artwork contains an element that cannot be used in an art brush”. I did everything as you said, with the transparent background, etc. I’m so frustrated!
Thanks,
Allison
Teela | Author | March 25, 2017
|
Hey Allison! Thanks for checking out the tut! Unfortunately, this ability was an added feature to CC I didn’t realize until it was already recorded – so sorry!
ALLISON | March 26, 2017
|
oh dear (sorry for the caps-lock, it won’t turn off). so i can’t do this in cs6? IS THERE A WAY TO JUST BUY AND DOWNLOAD YOUR BRUSHES?
Leanne Duckmanton | March 24, 2017
|
I wish I could just buy a set of these!
ALLISON | March 26, 2017
|
Me too!
Lauren Paret | July 16, 2017
|
Hi Teela! I love your tutorials, I am wondering if there is a way to desaturate these watercolor brushes in Illustrator so that i can make them my own colors similar to the way you did in photoshop? Maybe you have a tutorial on this? Or maybe its not possible in Illustrator. Im a newbie! Thanks for all you do.
Lauren
Teela | Author | July 17, 2017
|
Hey Lauren! Since these are pixel-based graphics, Photoshop is the place you’d want to desaturate, then save that version and bring it into Illustrator. Any photo editing should be done in Photoshop to keep your file clean and reasonably sized 🙂
Lauren | July 17, 2017
|
Thank you for your quick response!
Clarise Botha | December 1, 2017
|
Hello, i just discovered your page and I almost did all the illustrator tutorials. But with this one as soon as I go to my brushes to create a new one, I select art brush and it says ” The select artwork contains an element that cannot be used in an art brush?” I tried to google for answers but nothing seem to work. Any ideas?
Thank you
Teela | Author | December 12, 2017
|
Hey,
You’ll need to be using Illustrator Creative Cloud in order for this specific technique to work – apologies for any confusion there!
Karolina | October 1, 2018
|
Thank you, that’s great !