I first realized how big of a deal enamel pins were when I worked on the Coca-Cola sponsorship of the 2014 Olympic Winter Games. The design studio I was working at had a giant collection of pins from past Olympic Games and they were incredible. Lately, I’ve been seeing them more and more and thought a tutorial on how to create the concept art for one would be fun. In this tutorial, I walk you through the exact steps I took when presenting enamel pin concepts to a client for approval. The goal was to give a general impression of how the pins would look once created. Once the client had approved them, our production director got in touch with a manufacturer who provided the info we needed to prepare production files. This video details the very first step of that process – read on to see!
Pin it for later!
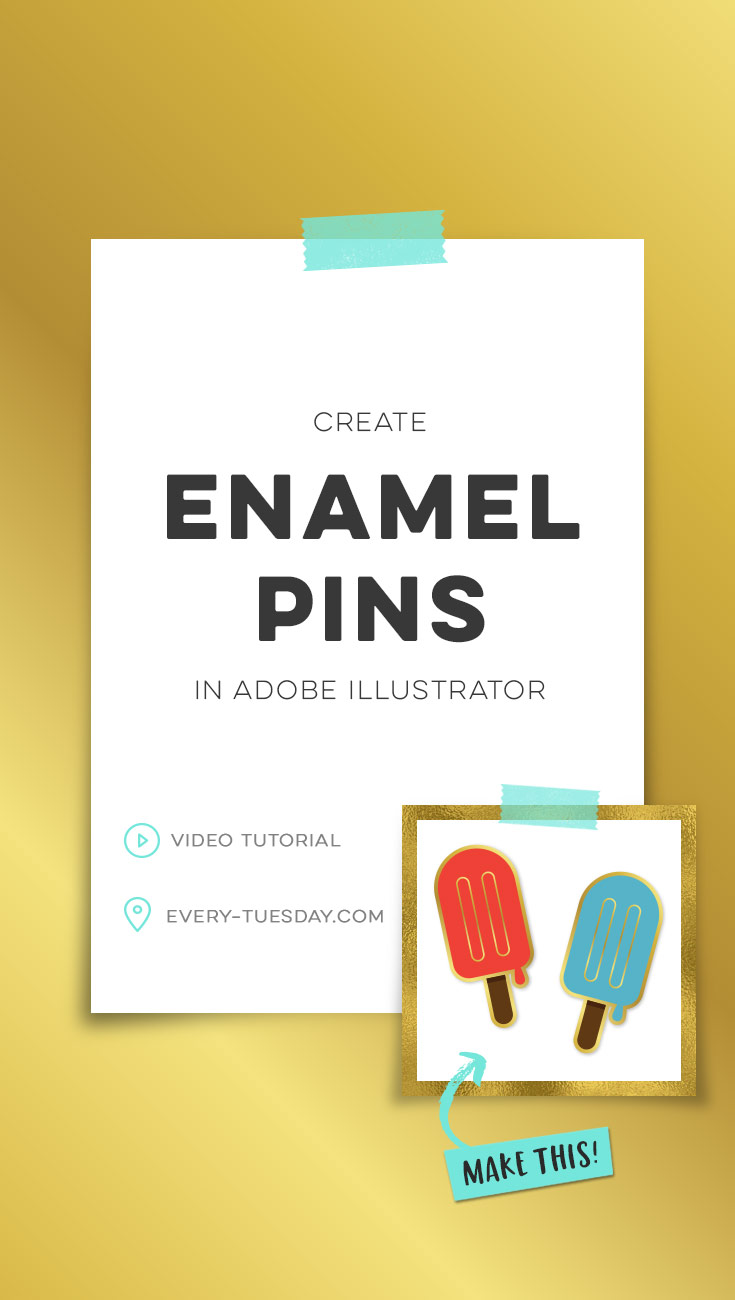
Create Enamel Pins in Adobe Illustrator
Mentioned in the video:
Gradient colors (RGB):
- Medium brass: 213/179/64
- Light brass: 244/227/126
- Dark brass: 179/141/52

Here are the written directions after the popsicle has been designed to apply the brass + shadow:
- Group the design and make a copy, then paste a copy of the design directly on top. Use the pathfinder palette to merge the top copy into one shape.
- With the shape selected, go object > path > offset path. Check the preview box and test sizes until desired, the one used for the video was 0.025in.
- Remove the smaller, merged shape and send the larger shape to the back. Apply the gradient and change its angle to 45*.
- Adjust any design tweaks, like lowering the stick size and adding the interior brass details on top of the popsicle shape.
- Apply the drop shadow. With your brass shape selected, go to your appearance palette (window > appearance) and toggle down the ‘fx’ icon. Choose stylize > apply drop shadow. Check the preview box and adjust the settings. The settings used in this video were: mode: mulitply, opacity 25%, x offset .01 in, y offset .01 in, blur .01 in, color: black.
Receive special offers on courses + products, a new design file every month plus instant access to the Resource Library!

Pick up over 50 design + lettering files as our gift to you when you join the Tuesday Tribe for free!
error
Congrats!
Please check your email to confirm.




Marie | September 5, 2017
|
Wowza!
Jeanne Sullivan | September 5, 2017
|
Really fun project, Teela! Thanks so much!
Carmen | September 6, 2017
|
Love it! Thanks!!
Renee | September 7, 2017
|
Hi I’m Renee, Im in love with your website. You have done a wonderful job here.
Nele | September 27, 2017
|
Hi Teela – I just found you and love all your tutorials you offer. Enamel pins have been back of mind for awhile and I think I’ll make one soon. You work is beautiful! Thank you!
Kelcie | October 18, 2017
|
This tutorial is really cool. I would have never known how to do that until you told me.