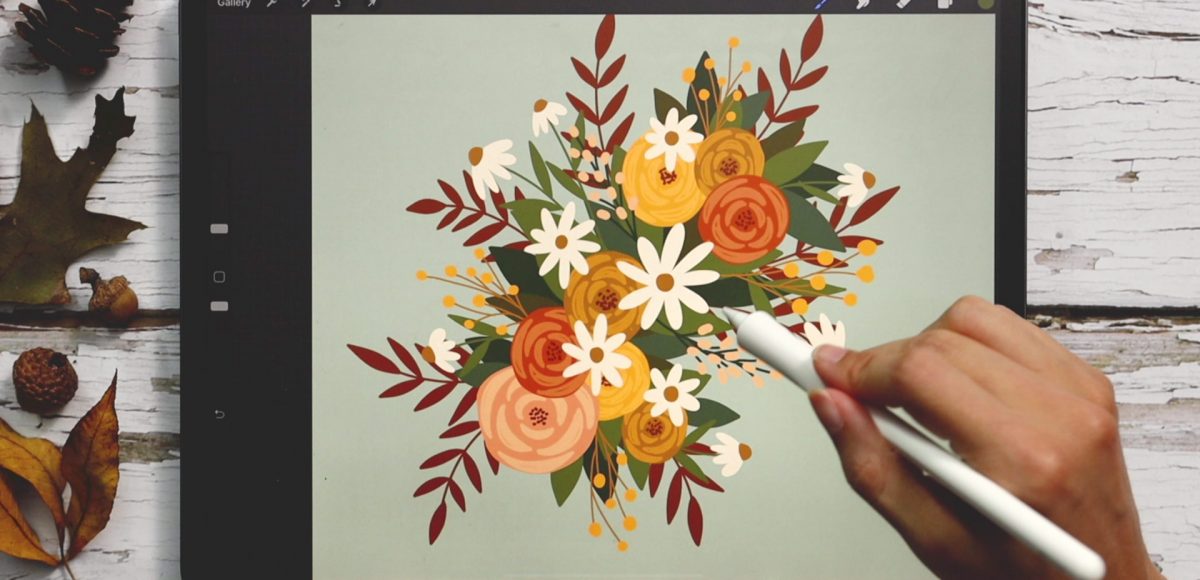
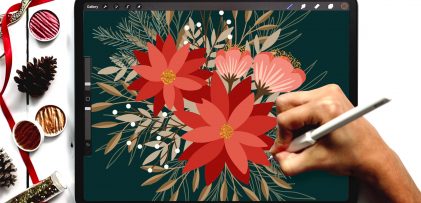
Happy Tuesday! This week we’re returning to one of my favorite styles: flat florals! This style is very beginner friendly; the hardest part is keeping your layers organized as you work so you can move and manipulate your elements as your flat fall bouquet comes to life. In this video, there are a bunch of elements, so if you want some good layer practice, this is it 😉
Pin it for later!
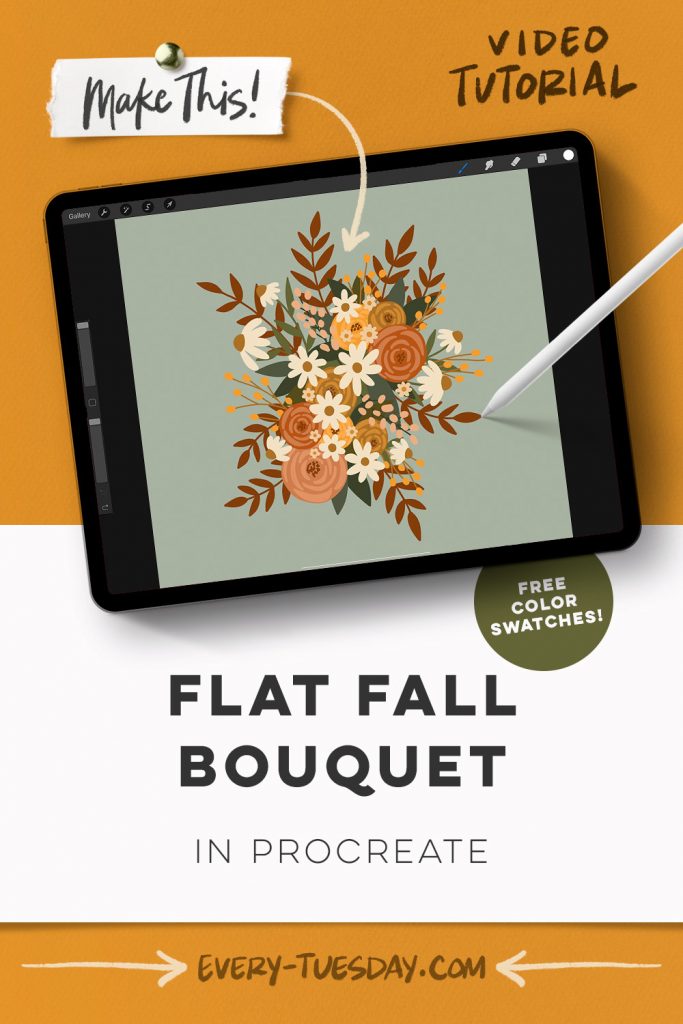
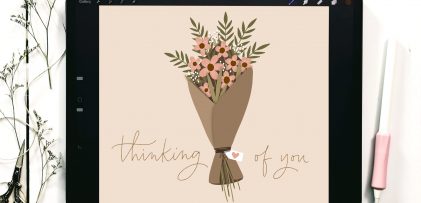
Flat Fall Bouquet in Procreate
Mentioned in this video:
- Free monoweight brush
- Free color palette
- Procreate 5x for Beginners course

Here’s a written overview of how to draw a flat fall bouquet in Procreate:
- Begin your canvas by drawing your roses. Duplicate any roses that you need to fill your overall layout.
- The next major element are the daisies. Start by adding them on top of the roses and the center for a focal point and then around the border of the bouquet.
- Add branches of flower buds and supporting leaves to start filling everything out. Vary up the shades of green used for the leaves to change the depth. Add in dramatic colored leaves that are more reddish and make them the furthest back element.
- Draw in berries behind the roses but on top of your foliage layers.
- Add in the rest of the daisies to surround everything and put the focus back towards the center. Because they extend beyond the bouquet, add a stem to them. Drop the stem layer to the very bottom of your layers. Add in some leaves as well.
- The last little detail is to add in some little daisies to fill everything in and add an extra little pop of color!
- Center the bouquet on your canvas by turning on snapping to find the crosshairs to find the exact center.
- Done!
Receive special offers on courses + products, a new design file every month plus instant access to the Resource Library!

Pick up over 50 design + lettering files as our gift to you when you join the Tuesday Tribe for free!
error
Congrats!
Please check your email to confirm.


No comments