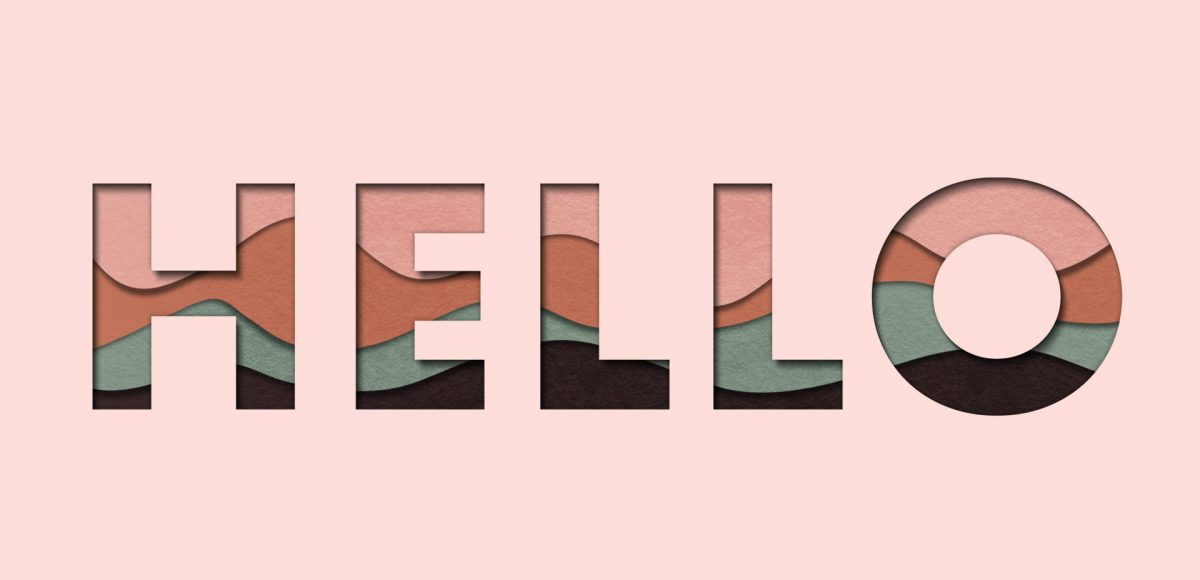
This is one of my new favorite lettering effects in Procreate! A couple years ago, I showed how to do something similar in Photoshop, so I thought, “Why not try it in Procreate?” Turns out, it’s even easier in Procreate! I love how it looks with multiple letters, too. This week, we’re creating a paper cut out effect in Procreate. Read on to see how and pick up the colors + brush used in the tut for free!
Pin it for later!
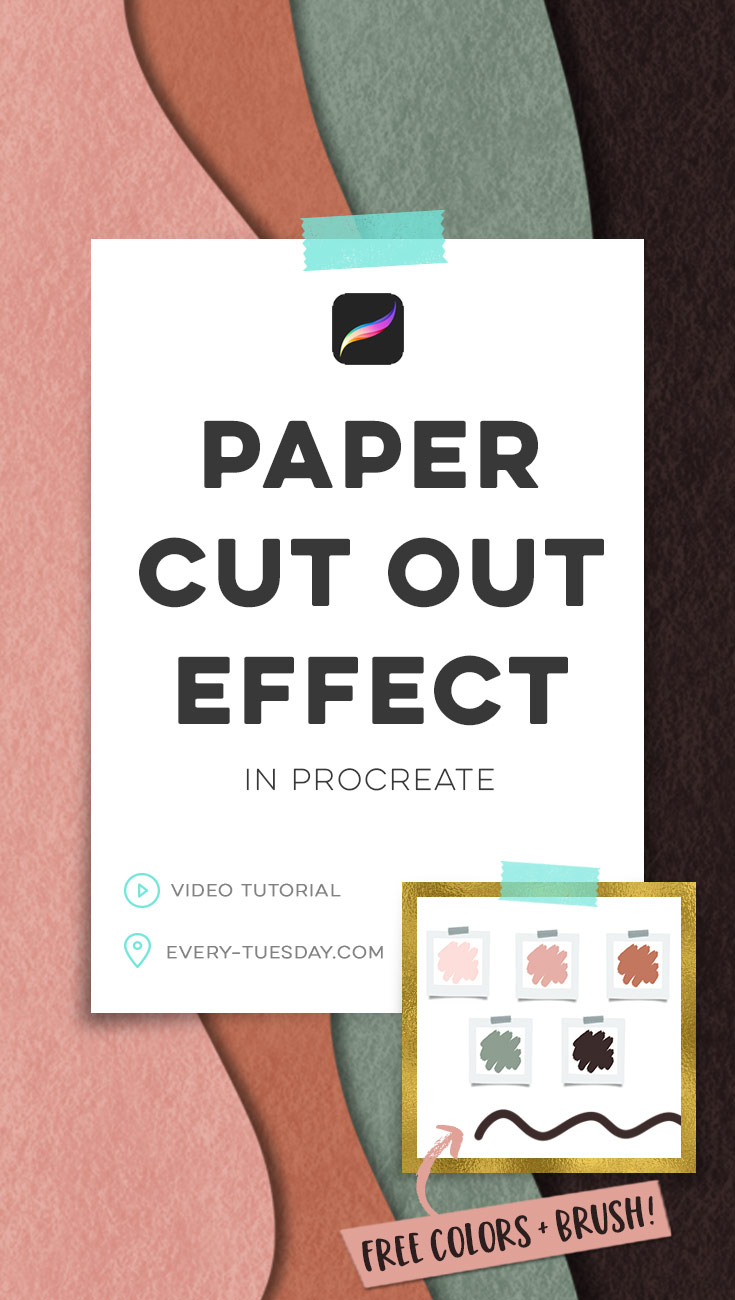
Create a Paper Cut Out Effect in Procreate
Mentioned in this tutorial:
- My free course, Procreate for Beginners, is available here.
- My tutorial on layer masks can be seen here.
- Here are the colors if you’d like to input them manually (HEX):
- Light pink: #fdded9
- Medium pink: #e6b0a7
- Burnt orange: #c3775e
- Sage: #8e9f91
- Dark plum: #3c2b2a
Save time by downloading the color swatches instead!
Paper Cut Out Tutorial Colors
Procreate Color Swatches
- File type: .swatches
- Size: 468 bytes
- Minimum software version: 4.0
The brush we used is my free Procreate Monoweight Brush:
Every Tuesday Monoweight Brush
Custom Procreate Brush
- File type: .brush
- Size: 22kb
- Minimum software version: 4.0
If you’re a free Every Tuesday email subscriber, both are available for quick download in the Resource Library!
Here’s a quick recap of how we created a paper cut out effect in Procreate:
- Apply your darkest color to the background, then on a new layer, create a light color fill and mask out your typography.
- Beneath your lightest layer and above the dark layer, draw your first squiggly shape and fill it with desired color. Repeat with the number of colors you’d like. Alter the squiggly so it never feels too repetitive from the layer above or below it.
- Make a black version of each squiggly, right below it. For each black version, warp its shape, add a gaussian blur, set the blend mode to multiply and reduce the opacity (to 50-70%). This will give a believable shadow to your squiggly shapes.
- Next, create a layer above each colored squiggly layer. Apply a clipping mask, set the blend mode to multiply and reduce the opacity slightly (to 50-70%). Use the default Carbon Stick brush found in the Charcoals brush category to brush a texture on these layers. You should be using the same color of the squiggly shape below the texture layer for each texture.
- Finally, select the layer mask applied to the light layer, create a new layer beneath it and fill with black. Tap the shape down and to the right a few times. Apply a motion blur in the same direction, then apply a slight gaussian blur. Apply a multiply blend mode and reduce the opacity as desired for the final paper cut out look. Done!
Receive special offers on courses + products, a new design file every month plus instant access to the Resource Library!
Pick up over 50 design + lettering files as our gift to you when you join the Tuesday Tribe for free!
error
Congrats!
Please check your email to confirm.


No comments