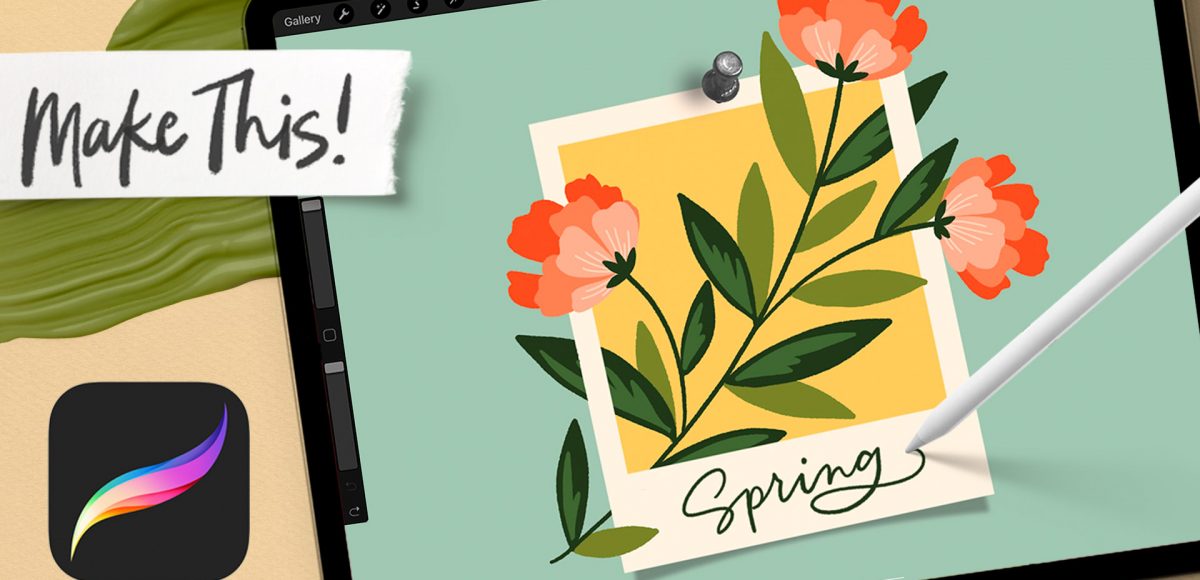
Last week I mentioned we’d be creating something fun with Polaroid stamps this week and here it is! Today, we’ll be making flat style Spring florals intertwined with a Polaroid photo frame and finishing it off with hand lettering ✨
Pin it for later!
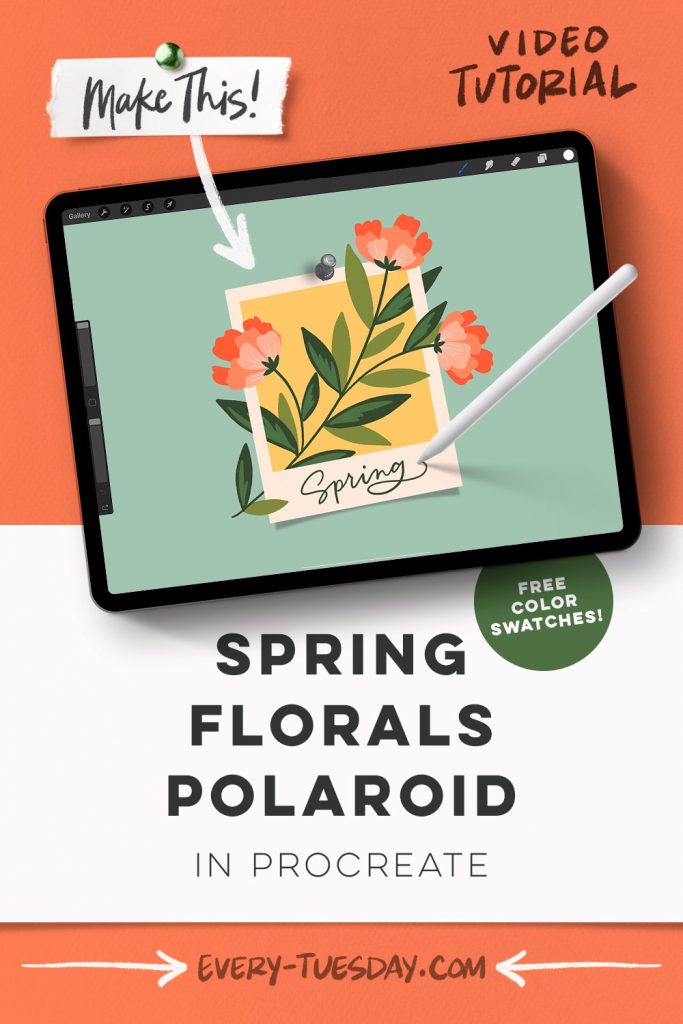
Spring Florals Polaroid in Procreate
Mentioned in this video:
- Polaroid Maker brush kit
- Inky Edge Pro brush (or any other full opacity brush)
- Color Palette (free)

Here’s a written overview of how to make a spring florals polaroid in Procreate:
- Set your background color and then stamp in your standard polaroid (you must tap with your finger instead of the stylus to guarantee full opacity of your frame)
- Add in a shadow under the polaroid and choose the shadow number 3. Make sure the polaroid brush size is the same size as the shadow brush size. Move the shadow into place.
- Add a layer of color in between the shadow and polaroid layer.
- Select everything that you have and rotate it to make it more dynamic.
- Add in a push pin at the top (choose your favorite option) or tape.
- Start painting in the florals by grabbing the inky edge pro brush and draw in three flowers, some that purposefully extend past the polaroid. Add on some leaves and fill with color. Draw in some additional leaves and fill with color.
- Draw in some detail to the leaves and fill them in.
- Create your flat style florals by drawing scalloped edge petals and fill with color. Create a new layer and draw shorter and wider petals and fill with color. Do one more layer of these. Add in some detail lines to the front petals.
- To connect the petals to the stem, draw in mini leaves to create a nice transition.
- To begin intertwining, flatten the flower artwork (create a copy of them to refer back to). Move this flower group within the polaroid, between the color layer and the frame.
- Create a mask and switch the color to white. Wherever you paint it white, that element will go behind the frame.
- Label the polaroid with whatever message you want!
- Done!
Receive special offers on courses + products, a new design file every month plus instant access to the Resource Library!

Pick up over 50 design + lettering files as our gift to you when you join the Tuesday Tribe for free!
error
Congrats!
Please check your email to confirm.


Jaima | March 8, 2022
|
I’m not sure what is going on with my brush set, but the polaroid frame seems to be not 100% opaque despite being set as 100% opaque. I’m seeing a line from the shadow even when the shadow layer is under the polaroid layer and also seeing the box that I drew to get color into the polaroid opening (I can go back and erase some to try to get a more exact line, but it’s time consuming and should be unnecessary). This issue carried over into the masking step as well where I can still see the leaves thru the polaroid frame. It really isn’t looking great. I’ve loved your other brushes and stamps, but this set isn’t working for me at all.
Teela | Author | March 8, 2022
|
Hey Jaima! You’ll have to use your finger to stamp in the elements, then you can use your stylus to adjust/rotate/reposition. Stamping with your finger will guarantee full opacity each time. For some reason, Procreate still allows transparency when stamped in with a stylus, even if the brush itself is programmed without transparency.