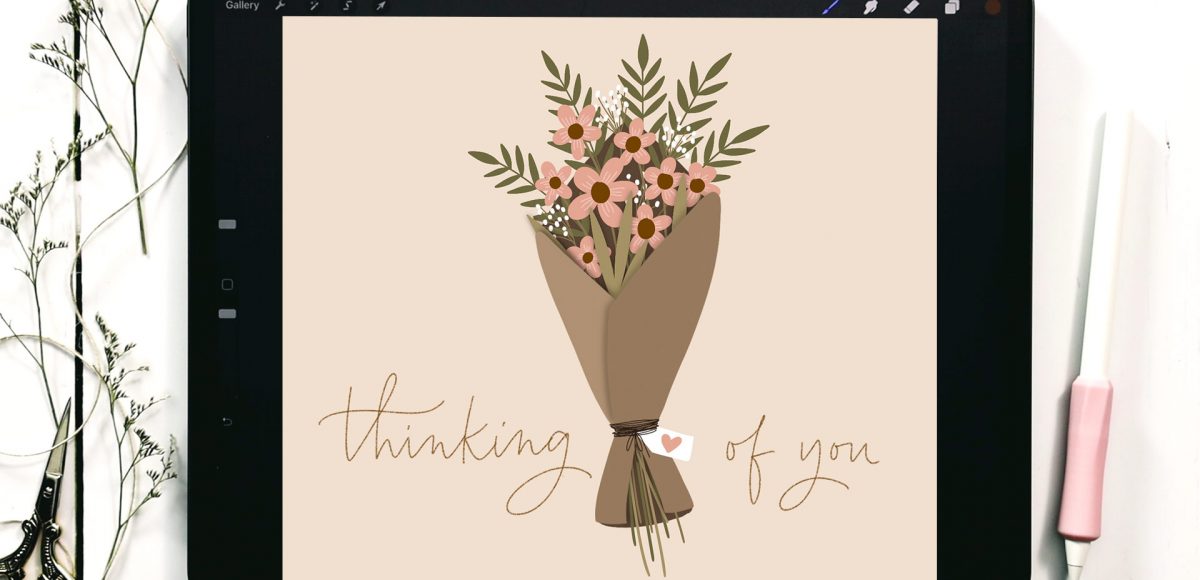
This week, we’re drawing a wrapped flower bouquet in Procreate! We’re adding a little bit of complexity to things by creating several floral elements and working in a very organized fashion with layers and groups. We’re also adding in a few shadow elements to add dimension to the whole piece. We’ll finish it off with a sweet message – hand lettered or with editable text.
Pin it for later!
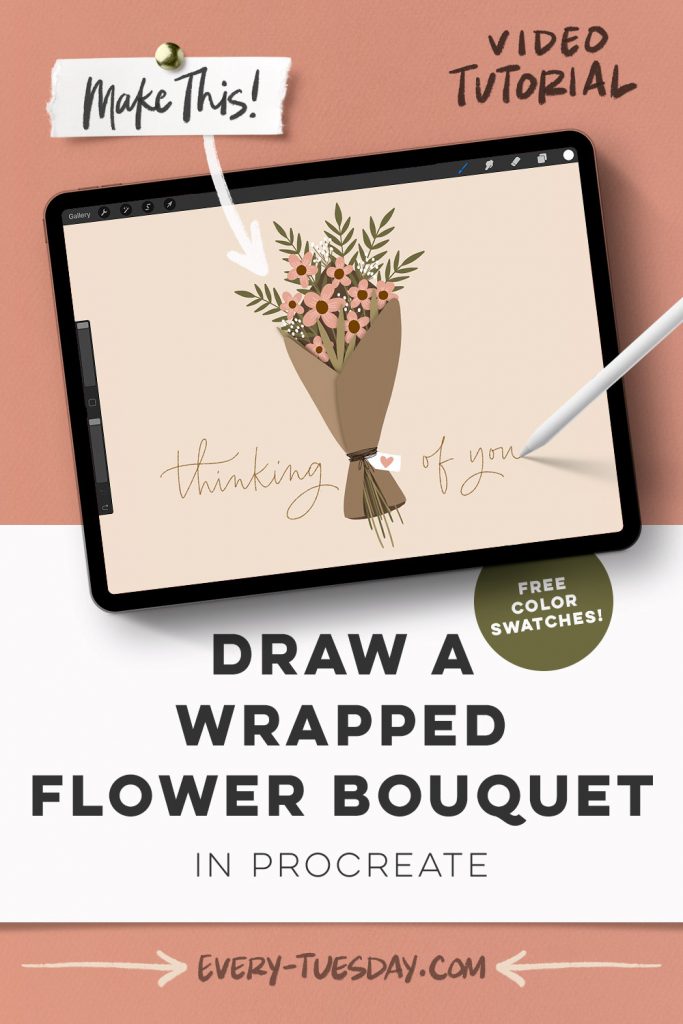
Draw a Wrapped Flower Bouquet in Procreate
Mentioned in this video:
- Free color palette
- Free monoweight brush
- Mono Marker brush from Font Lovers brush set
- Procreate for Beginners 5x free course

Here’s a written overview of how to draw a wrapped flower bouquet in Procreate:
- Start by sketching out the wrapping for your bouquet in a kite shape. Sketch in your stems at the bottom and flowers out from the top (daisies, baby breath & foliage) varying in size.
- On top of the sketch layer, draw your outline of the back wrapping. Do the same steps but now for your front wrapping in a different color. Between the front and back wrapping, create a layer with your lightest color for the middle wrapping.
- Begin drawing your flowers being sure to create a new layer for each part. This will help keep you organized for later steps. Do the same for the stems, baby’s breath and front/background foliage.
- Add depth by selecting your front foliage layer, add a new layer right below it and fill the layer with your darkest color. Apply a gaussian blur to the layer to create a shadow. Change the blend mode to multiply and reduce the opacity.
- Add dimension to the wrapping by creating a shadow on the inside edges of the wrapping layer. Create a new layer above your wrapping layer. Increase your brush size and draw a line along the wrapping layer edge. Apply a gaussian blur, change the blend mode to multiply and then drag the layer underneath the wrapping. Repeat these steps with the other inside edges of your wrapping.
- Draw in your stems using different weights of your brush to vary up the depth.
- Finally, add your lettering message using the Mono Marker brush (or editable text).
- Done!
Receive special offers on courses + products, a new design file every month plus instant access to the Resource Library!

Pick up over 50 design + lettering files as our gift to you when you join the Tuesday Tribe for free!
error
Congrats!
Please check your email to confirm.


No comments