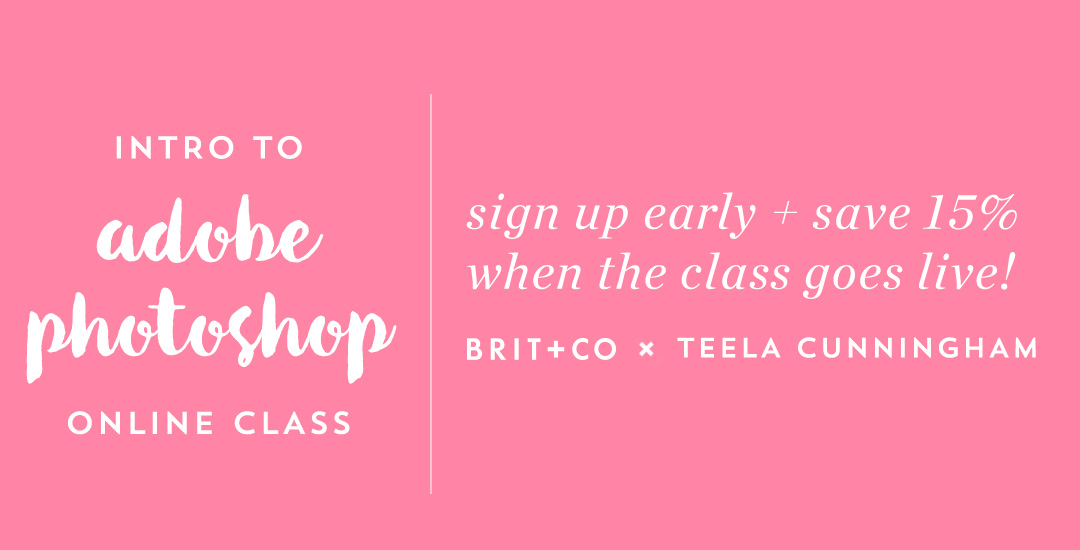
April 2016

This week’s tutorial comes courtesy of Kori, who requested an overview of the Illustrator Pathfinder Palette and I thought it was a great idea! The pathfinder palette is a ridiculous time saver when it comes to creating custom lettering, flourish designs, and vector-based Illustrations just to name a few. In this week’s video, we go over my favorite and most used pathfinder options. We’ll also go through a brief overview of the other options for you to get started. As a bonus, I’ve created a couple of Illustrator pathfinder palette cheat sheets (pdfs), so you have them handy whenever you may need them in the future. Download link to the cheat sheets and full overview video all below!

As we get closer to the end of April, I looked up when Mother’s Day was this year and was surprised to see it’s pretty early – May 8th! Looks like we’re also getting a Friday the 13th in May, which happens to be both my mom’s and my youngest sister’s birthday. I see a lot of card making in my near future 🙂

Speaking of cards – if you’re short on time or want to go DIY this year, here’s your opportunity to take care of things early for an on time mailbox delivery. This week’s freebie is a printable Mother’s Day card with a folded size of 6″x4″ (perfect for any A4 sized envelope). The card is laid out on an 8.5″x11″/A4 sized sheet of paper with all trim marks included so you can print it out at home without any hassle. Download link and preview image below!

Happy Tuesday! I want to start by saying wow to everyone who has checked out Bounce Lettering! I’m so grateful for all of the kind feedback and I am so impressed and inspired by all of the wonderful projects that are coming out of the class! I thought I’d take bounce lettering/waterbrush lettering even a little further this week with a free add-on tutorial to both classes.

A style that is gaining in popularity over on Instagram is rainbow brush lettering. It would take foreverrrr to alternate colors to form a word, let alone form the word as pretty as you’d like with so many re-dips. In this week’s video, I’m sharing a trick for applying a rainbow of color to your brush lettering without a zillion re-dips in the process 🙂 There are two methods shown in the video – one to ease you into the process and the other to take full advantage of all the colors you’d like. Links to the products used + everything you need to know to start rainbow brush lettering below!

With the release of my new class, Bounce Letters: Adding Character to your Hand Lettering this week, I thought it was only right to share a little bit of bounce lettering inspiration! I love how the bounce effect can really be used with any kind of lettering style. From quotes, to pantry labels, to plain old phrases, the addition of a bounce can give something plain or simple a pretty big personality. So grab a pen, paintbrush, marker, or crayon and put your new skills to work because you’re about to get hit with inspiration 😉 Click on any image below to be brought to its source!

My brand new Skillshare class, Bounce Letters: Adding Character to your Hand Lettering, is officially live! To celebrate its launch, today I wanted to share the trailer for the class, as well as a sneak peek of one of the class videos which you’d only see if you were enrolled. Below the video, I’ve also included links to everything you saw mentioned in the sneak peek if your current lettering supplies could use a few more friends 😉

If you’ve taken Waterbrush Lettering Essentials, this is the perfect follow up class to take your own personal lettering style that much further. In the class, we talk about how bounce is influenced on letter direction, how much exaggeration is *just* enough, the best places to add bounce and not add bounce, as well as some practice words to get you started. Have a peek below for everything covered in the class!

In Full Time Graphic Design, we go over how a self promotion (a small sendable/gift or leave behind to briefly show the quality and style of your work) can take you far with influencing a potential employer to set up an interview or even get you hired. When I started my very first job out of college, on my very first day of work, the COO stopped by my desk, complimented my work and said he still had the promo I handed them at the job fair I attended months earlier (you can see the self promo I made in this video). So yea, definitely a powerful tool if you can fit it into your budget!

If creating a self promo is something you’re interested in, this week I wanted to share 5 unique and inspiring self promos that all work in different ways to get a designer’s style, skills and personality across quickly to the right person. Along with each piece, I’ve also included a tip to help your own self promos along. See them all below and click on any image to be brought to its source!

I’ve been asked quite a few times recently how to take one layout and have multiples of it on a single page when printing. In other words, if you have an invitation that’s 4″ wide by 6″ tall, you’d want to fit two of them on an A4 or 8.5″x11″ sheet of paper instead of just one. This is an especially great idea for anyone who sells digital printables through etsy, or delivers digital printables to clients which are editable/customizable in Adobe Reader, like in this tutorial I created awhile back. If you’ve ever wondered what the quickest way of doing this in Illustrator is (with trim marks included so you get the exact size you need), here’s the answer 🙂

GDPR Icon

Your Privacy Matters

We use cookies to customize and create content that’s most important to you. We’ll never share the info we collect.

View Privacy Policy